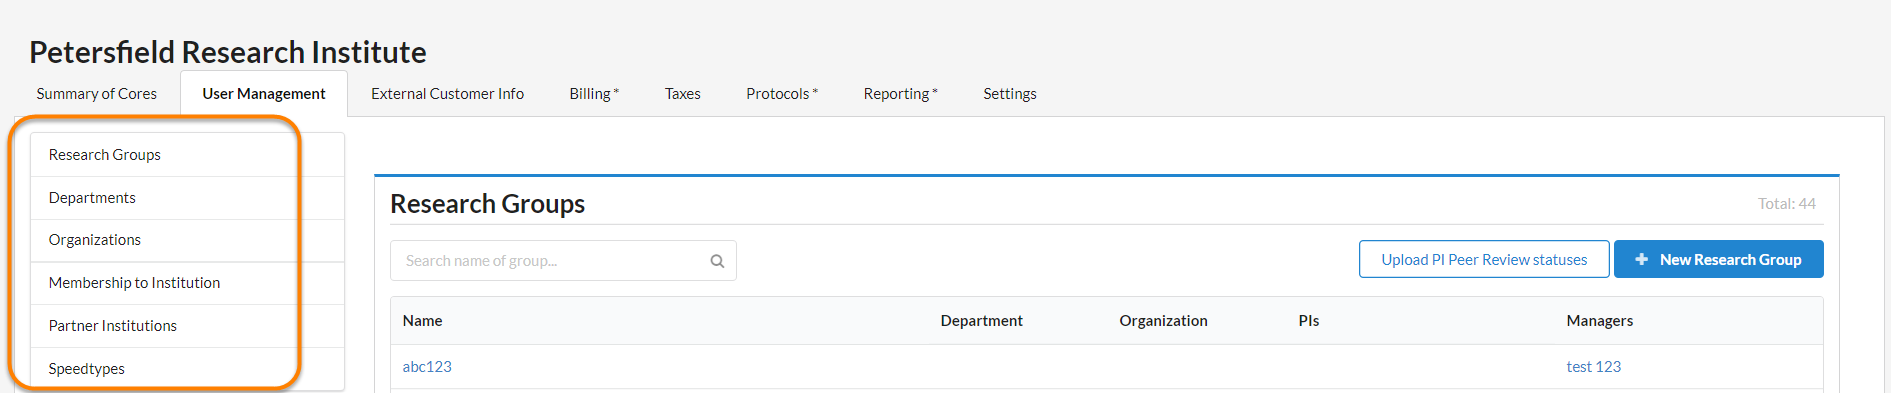
The User Management tab on your institution dashboard allows you to manage different groups within your institution. To navigate to a specific section in User Management, you may use the table of contents on the left side.
- Research groups
- Departments
- Organizations
- Memberships to Institutions
- Partner Institutions
- Fund numbers
Research Groups
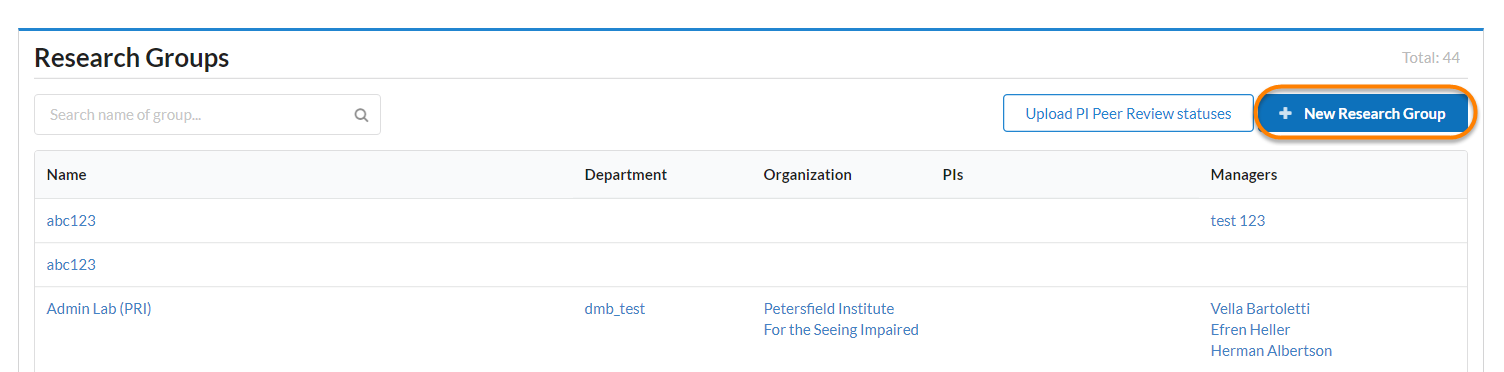
A research group is a lab consisting of a Principle Investigator (PI), lab administrators and lab members. The research groups section will list all internal labs at the institution. To view details about each research group, click on the hyperlinked name. More information can be found in the Overview of Managing a Group section. To add a new research group to your institution, click on the New Research Group button.
The New Research Group window displays.
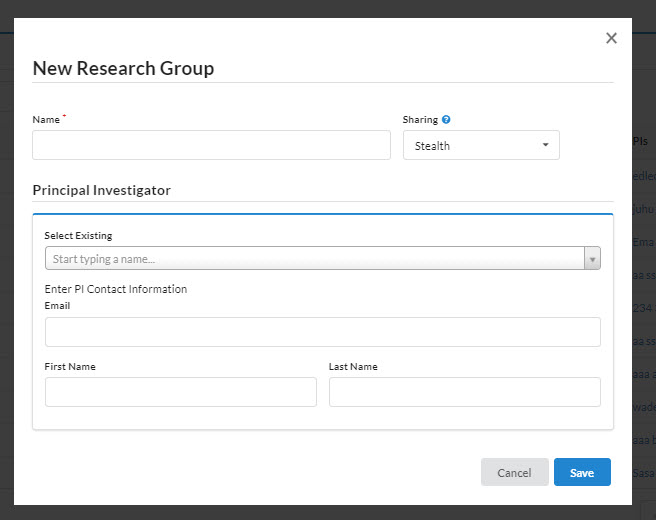
Enter a name for your new research group, and then select who should be able to see it. The options are:
- Stealth: Invisible to everyone except members.
- Private: May appear in anyone's search results, but only members can see its full information, and membership is controlled.
- Public: May show up in anyone's search results and there is no limitation on membership.
Now you will need to designate a PI. If you would like to assign an existing PI, begin typing the name in the Select Existing box and select the appropriate name as it displays below your search. To designate a new PI, enter the email, and first and last name of the new PI, click Save. Your new research group has been added and is ready to use. If lab administrators/managers and/or lab members/users need to be added to the lab this can be done from the Members tab on the group's page.
NOTE: If your institution has ID integration, you will need to contact iLab support to add the SAML or LDAP authentication context for new PI before they can log in to iLab.
Departments
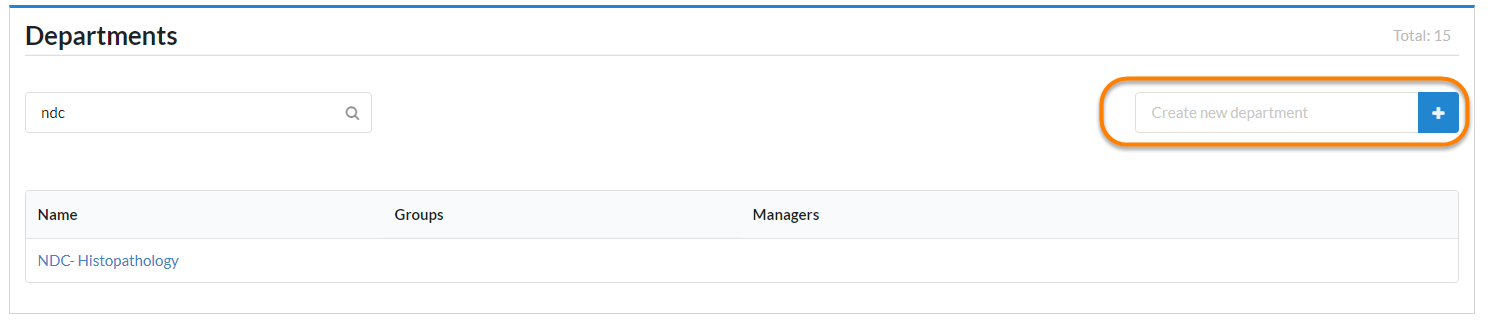
The department is an organizational group that manages multiple research groups. There can be several departments within an institution. The main use of departments is for financial administrators to manage payment information and reporting for all groups within the department. To view details about each department, click on the hyperlinked name. Here you can add financial administrators, research groups and manage department settings.
To add a new department, enter a name in the Create new department box and click the blue add sign.
Organizations
An organization is a management group of core facilities under the institution. There could be several organizations within one institution, this could include a School or Center. Organizations may be used to provide separate settings or branding for these sub-groups.
Organizations are typically created by your iLab Project Manager during the integration process. When the organization is created by iLab, the proper organization managers will be added. Institution administrators will be able to see all research groups, departments, and core facilities.

You may view each organization by clicking on the hyperlinked name.
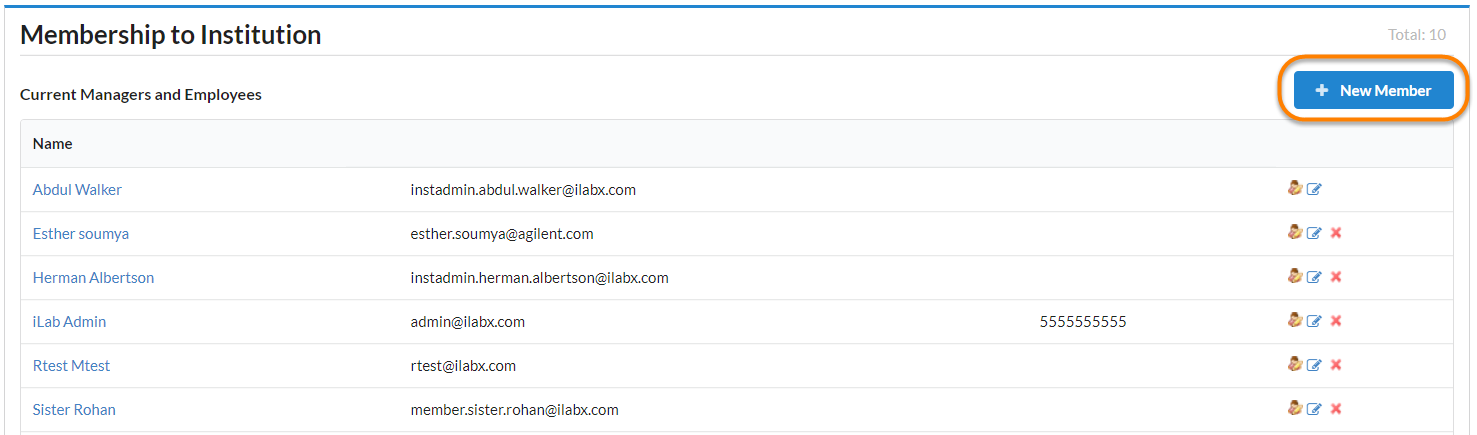
Membership to Institution
Institution administrators can view and manage the members of their institution here. To add a new member, click the New Member button.
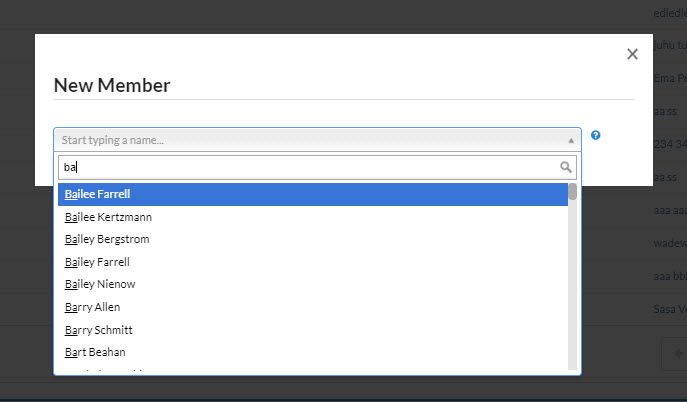
The New Member window displays. Begin typing the name of the member you wish to add and select from the drop-down menu that displays. Note: You can only add new members if they have an existing iLab account.
Then use the drop down box to select the role for the new member.
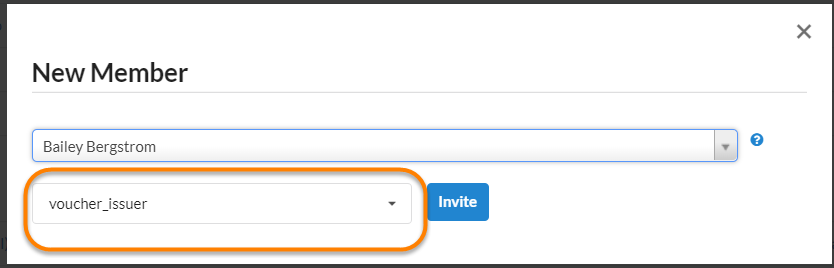
Then click Invite.
If you wish to edit an existing user, use the action icons.
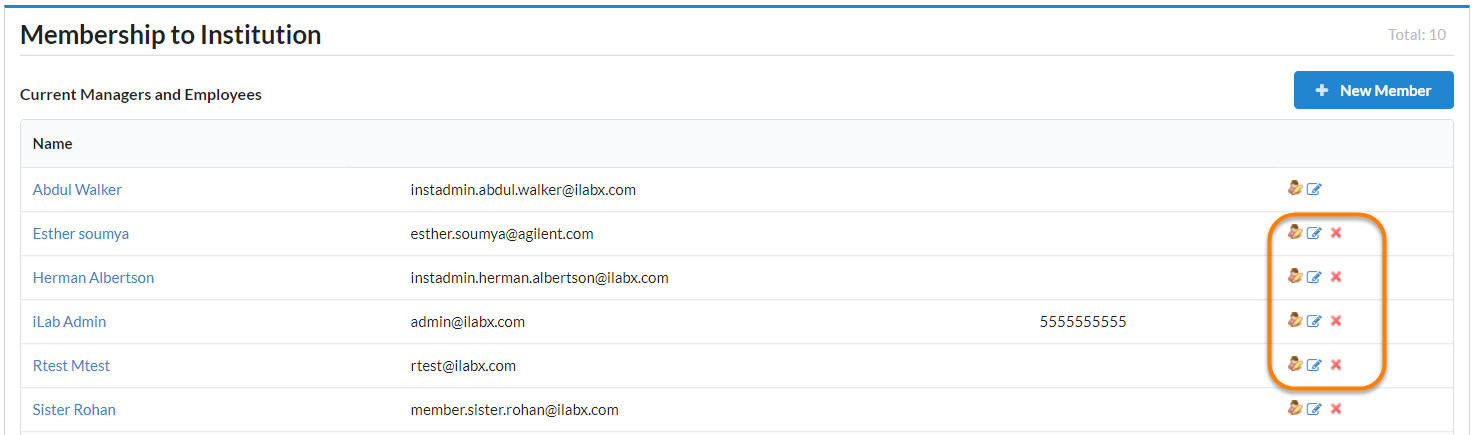
To edit a membership, click on the middle document icon to display the edit window.
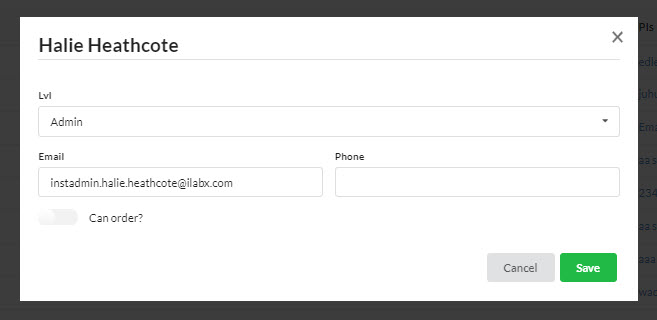
From here, you may edit the member's role, email address, phone number, and ordering privileges.
Use the red X to delete a member.
Partner Institutions
You may designate partner institutions anytime you would like members of another institution to have member-level access to your institution. This eliminates the need to add all the members individually.
Institutions available for partnering display on the left. Institutions you are already partnered with, display on the right. To add a partner institution, highlight it on the left side, and then click the right arrow to move it to the right side. To remove a partner institution, highlight it on the right side and move it to the left. To highlight multiple institutions at once, press the CTRL key while clicking the mouse.
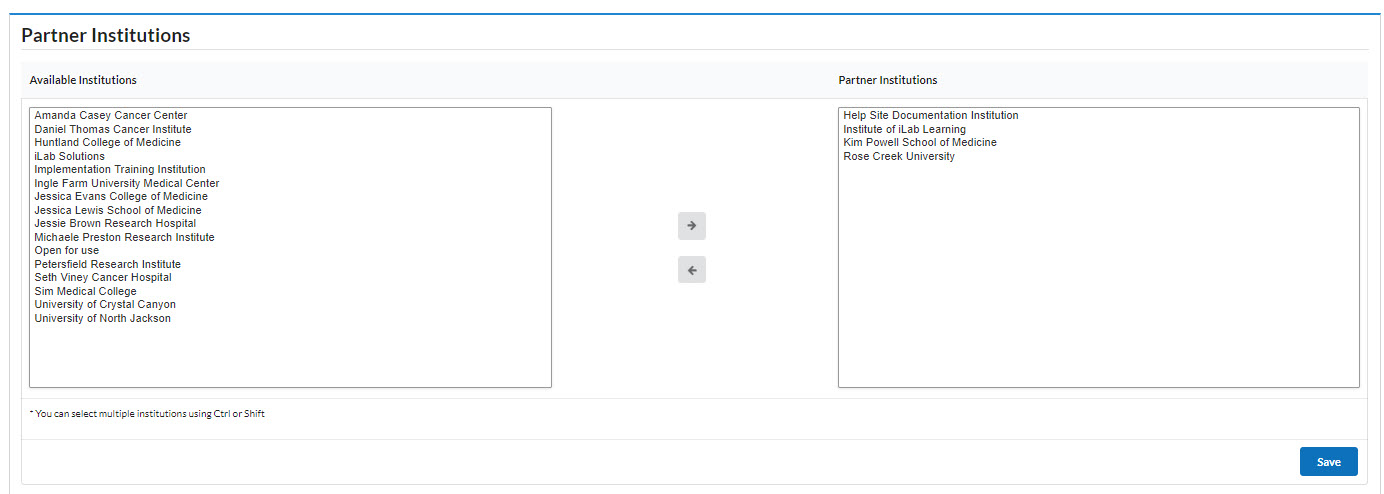
When you have completed your selections, click Save.
Fund Numbers
All fund numbers associated with your institution and listed in iLab, are displayed here. Note: a Fund may be known as a "Grant number", "Chart Field String", "Speed Code", "Account Number", "Project ID" or any other identifier.
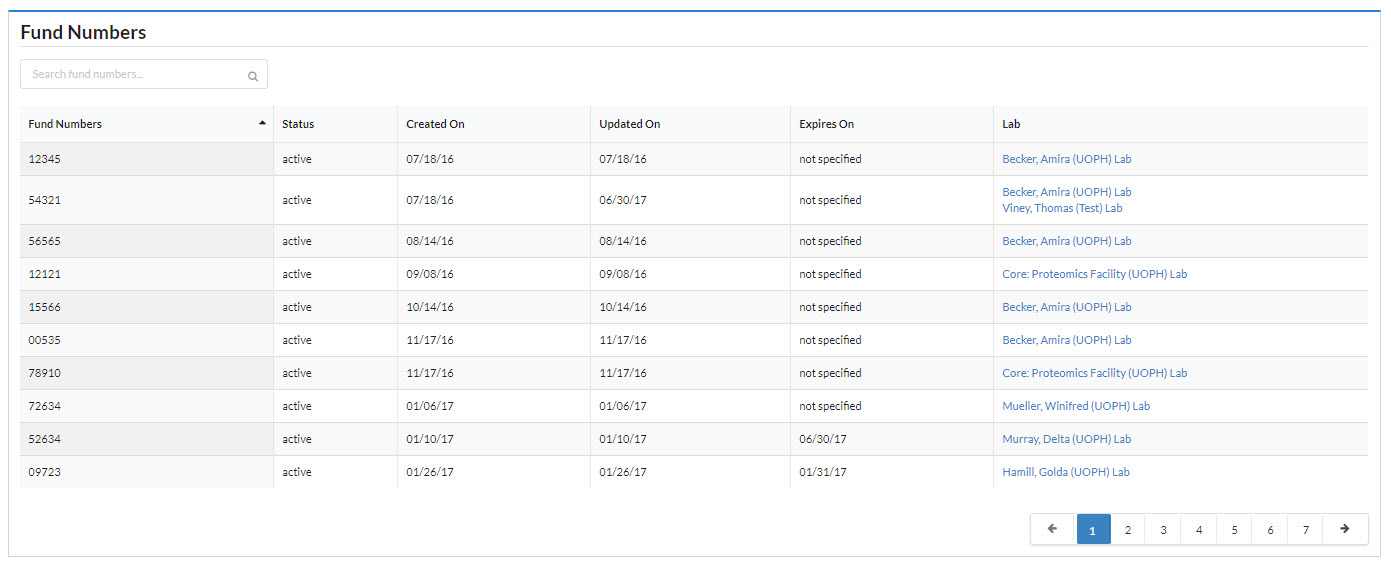
To edit any of the fund numbers, click on the lab name. You will be taken to the lab page where you can make your edits. To learn more about this page, see section Membership Requests & Fund Numbers.