The initial interlock set up will require close collaboration between the core, the iLab team, and the institution IT members. After the initial set up process, interlock is managed by core administrators.
Accessing Interlock
To set up and manage your interlock, click on the More button on the Schedule Equipment tab.
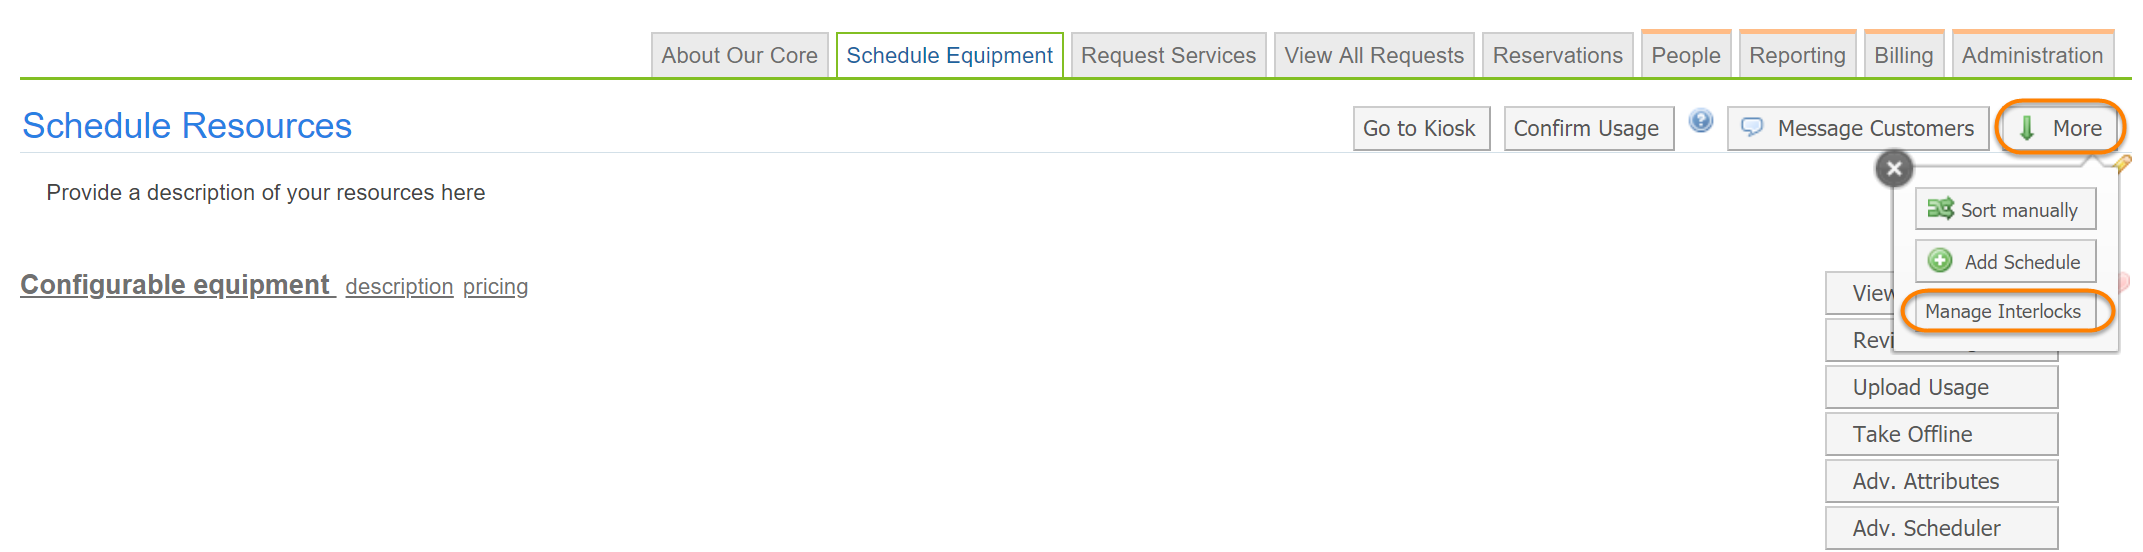
The interlock tool displays. From here, you can add new interlock devices and/or edit existing devices.

- Search: Allows you to search via the IP address or equipment name for a specific interlock device.
- Default to On: To be turned on in the event of a network outage.
- Add New Interlock: To add a new interlock, click on the Add New Interlock button.
Adding a New Software Interlock
Software interlock requires the use of Sassafras, third-party software that allows controlling application access. Additional information on how to set up Sassafras for use with iLab can be found using the iLab/Sassafras Documentation and Sassafras iLab Integration Article
Once Sassafras is set up and configured, a new software interlock can be added by selecting "Software Interlock" from the pull-down menu.

Enter a nickname for the device, the sassafras server IP address, and bridge.
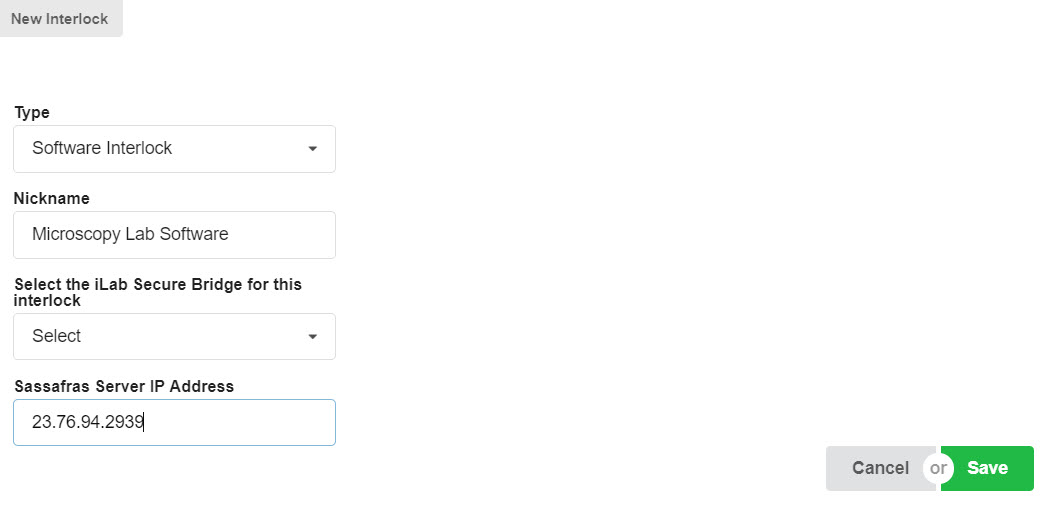
Click "Save".
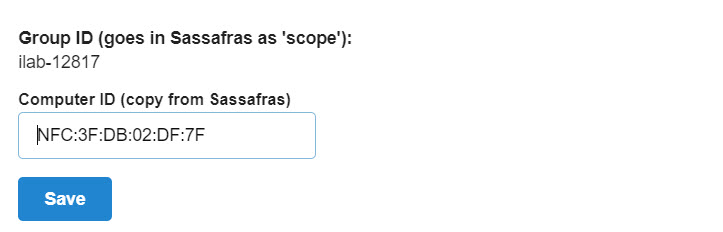
Sassafras software will be installed by the institution, which will generate an individual Computer ID per instrument. You will need to provide these Computer IDs to your IA to be entered on the iLab side. Entering the Computer IDs into iLab will generate a Scope ID (not displayed below). This scope ID will be given to the institution's IT Department who will complete the set-up.