As a Core Administrator you are able to Add, Edit and Remove Schedules in your core. All of these actions are initiated from the Schedule Equipment tab.
Add a New Schedule
As a Core Administrator you can add new schedules to your core's page. To add a new schedule to your core, click on the More button to open the advanced options for the Schedule Equipment tab. One of the options will be Add Schedule, click this button to start creating your new schedule.

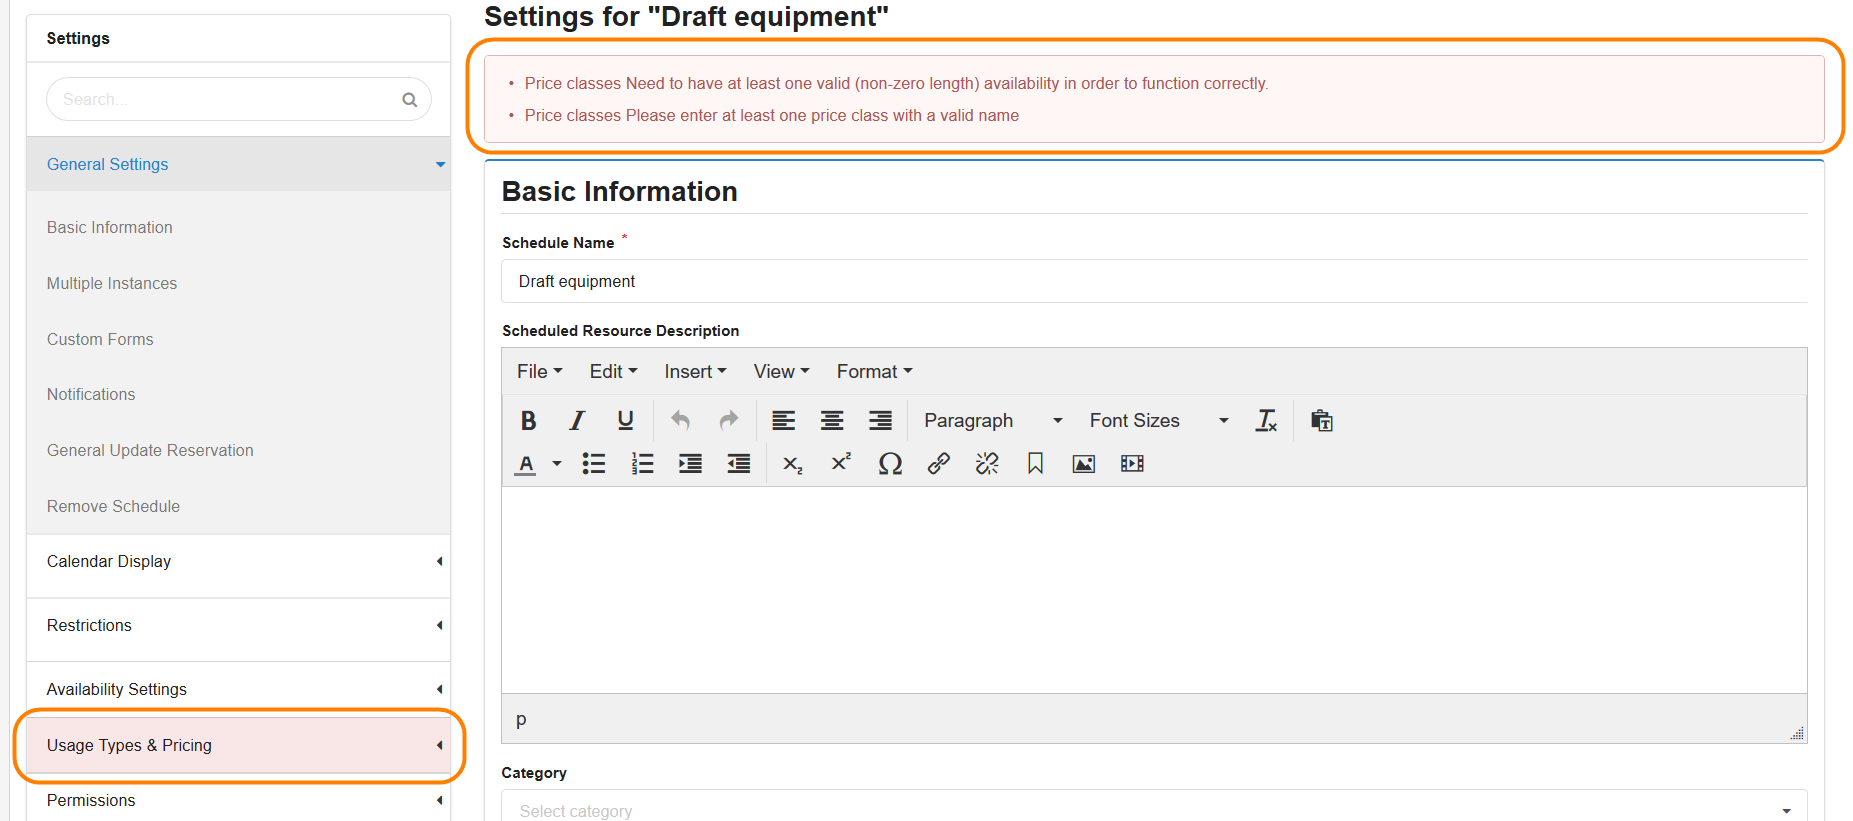
After you click the Add Schedule button the Schedule Settings will open where you will define the specific functions of the schedule. Along the top you will see an indicator for the settings that are required when creating a new schedule.
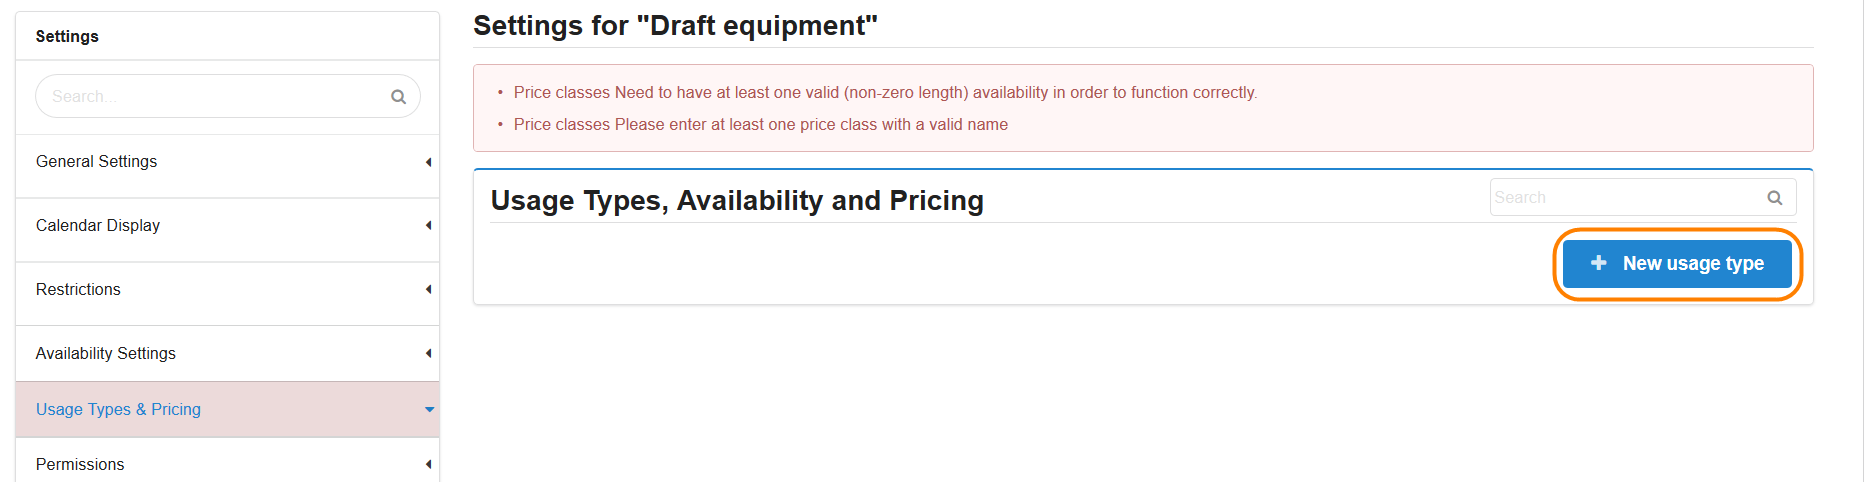
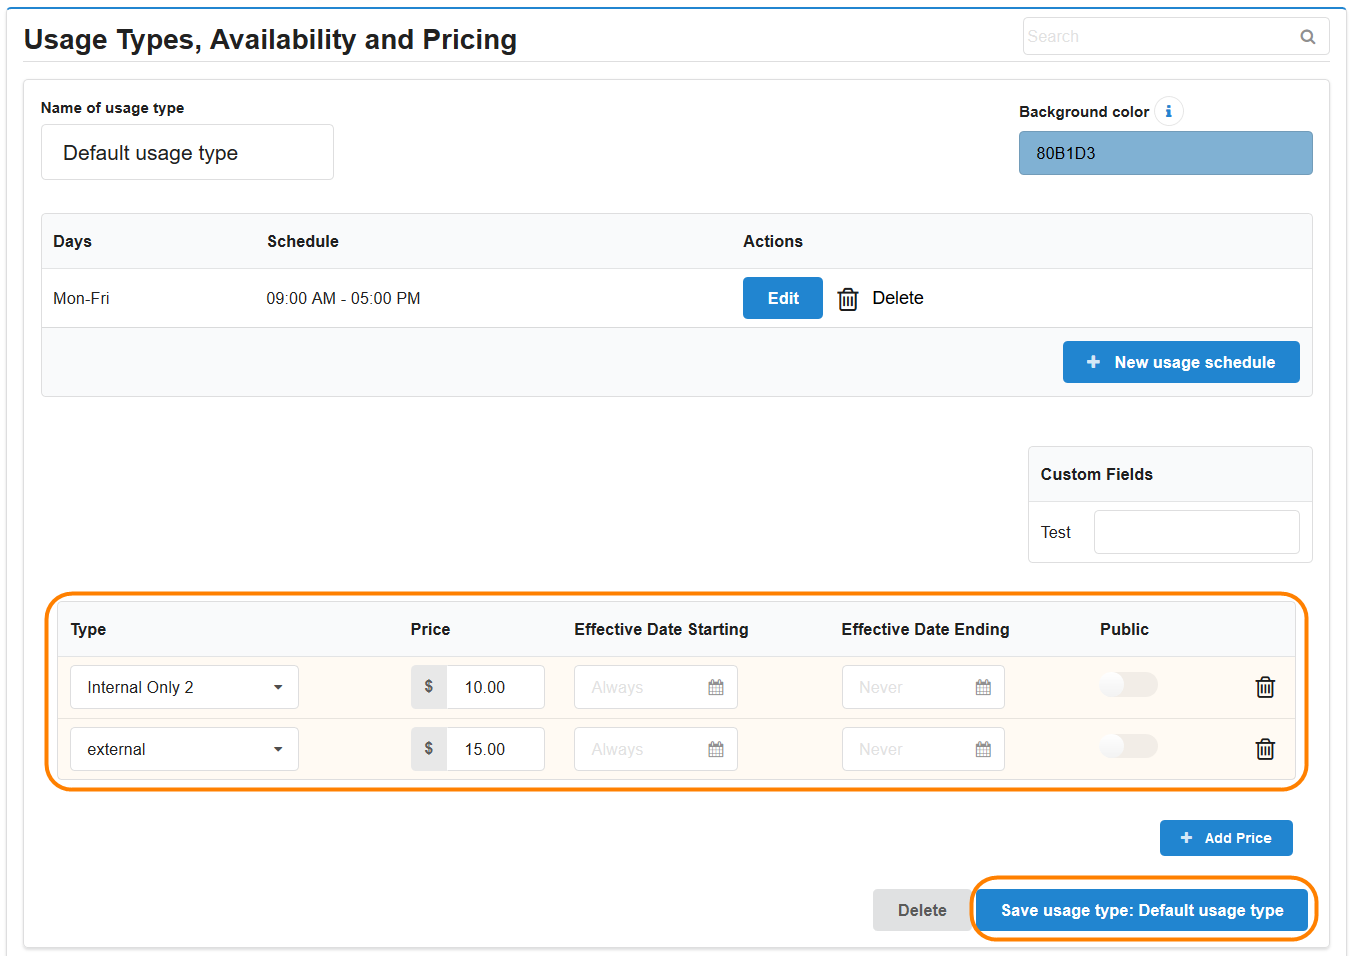
In the Usage Types & Pricing section click the + New usage type button to add usage types, availability and pricing.
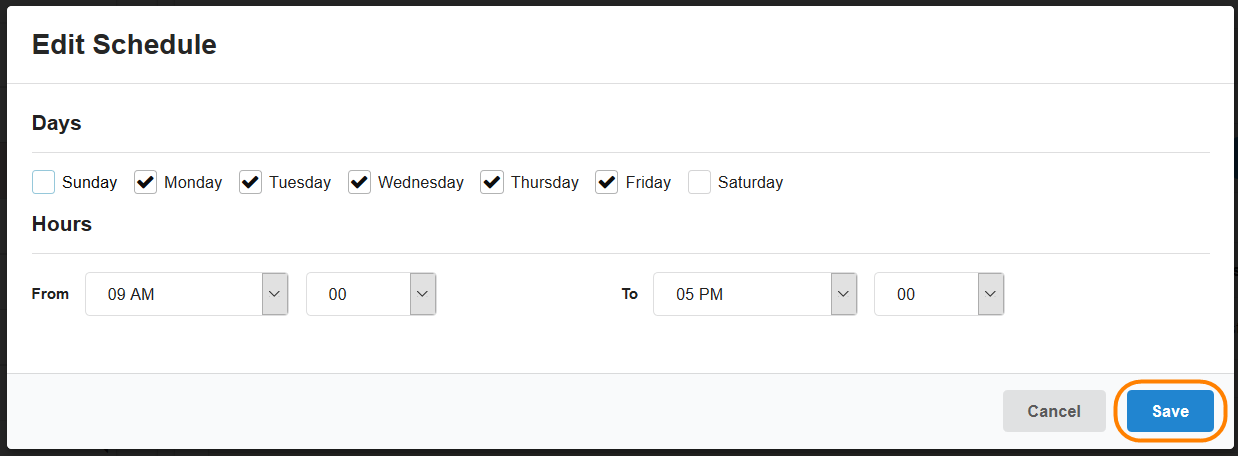
Within the new usage type click the + New usage schedule to add the days and times the schedule will be available.
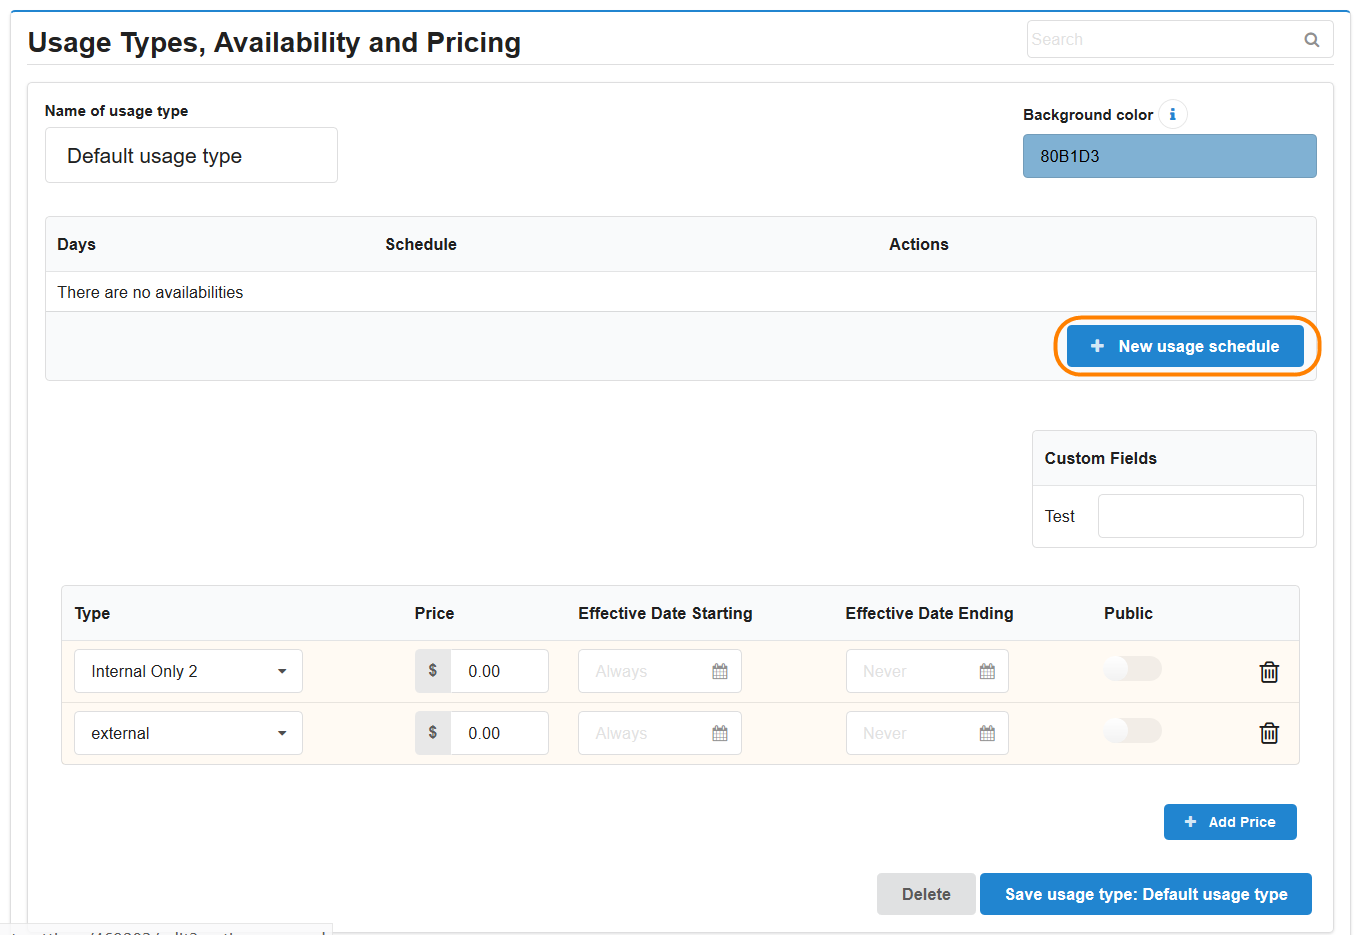
Once you select the days and set the available times for the schedule, click Save.
At least one price type must be available for the usage type. Here you can set the price(s) for each price type and the dates if needed. When you have completed the information for the usage type, click Save usage type.
These settings are required but there are many other setting you may need to change in order to have the scheduled function as needed for your core. The Schedule Settings article provide information on all the equipment settings.
Edit a Schedule
To edit the current settings of a existing schedule, click on the blue pencil icon to the right of the View Schedule button. This will open the Schedule Settings, the sections are listed along the left side. After making changes to a section, click Save before navigating away from the section changed.

Remove a Schedule
To remove a schedule, open the Schedule Settings using the blue pencil icon. Once the settings are open you will be directed to the General Settings section and within this the last sub-section is Remove Schedule. To proceed with deleting the schedule click the button Remove Schedule.

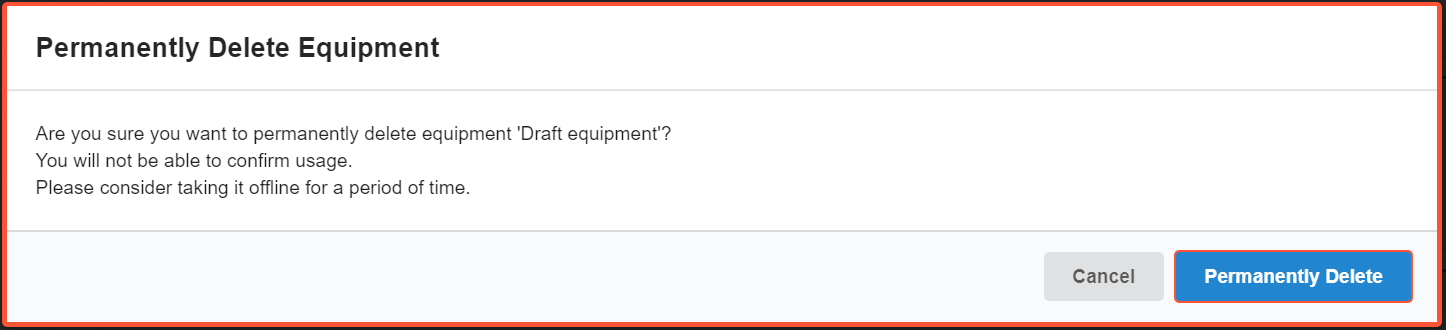
A confirmation prompt will be displayed for you to confirm that you would like to permanently delete the schedule, as this action cannot be undone. There is also the option to take a schedule offline if you do not want to permanently delete the schedule.