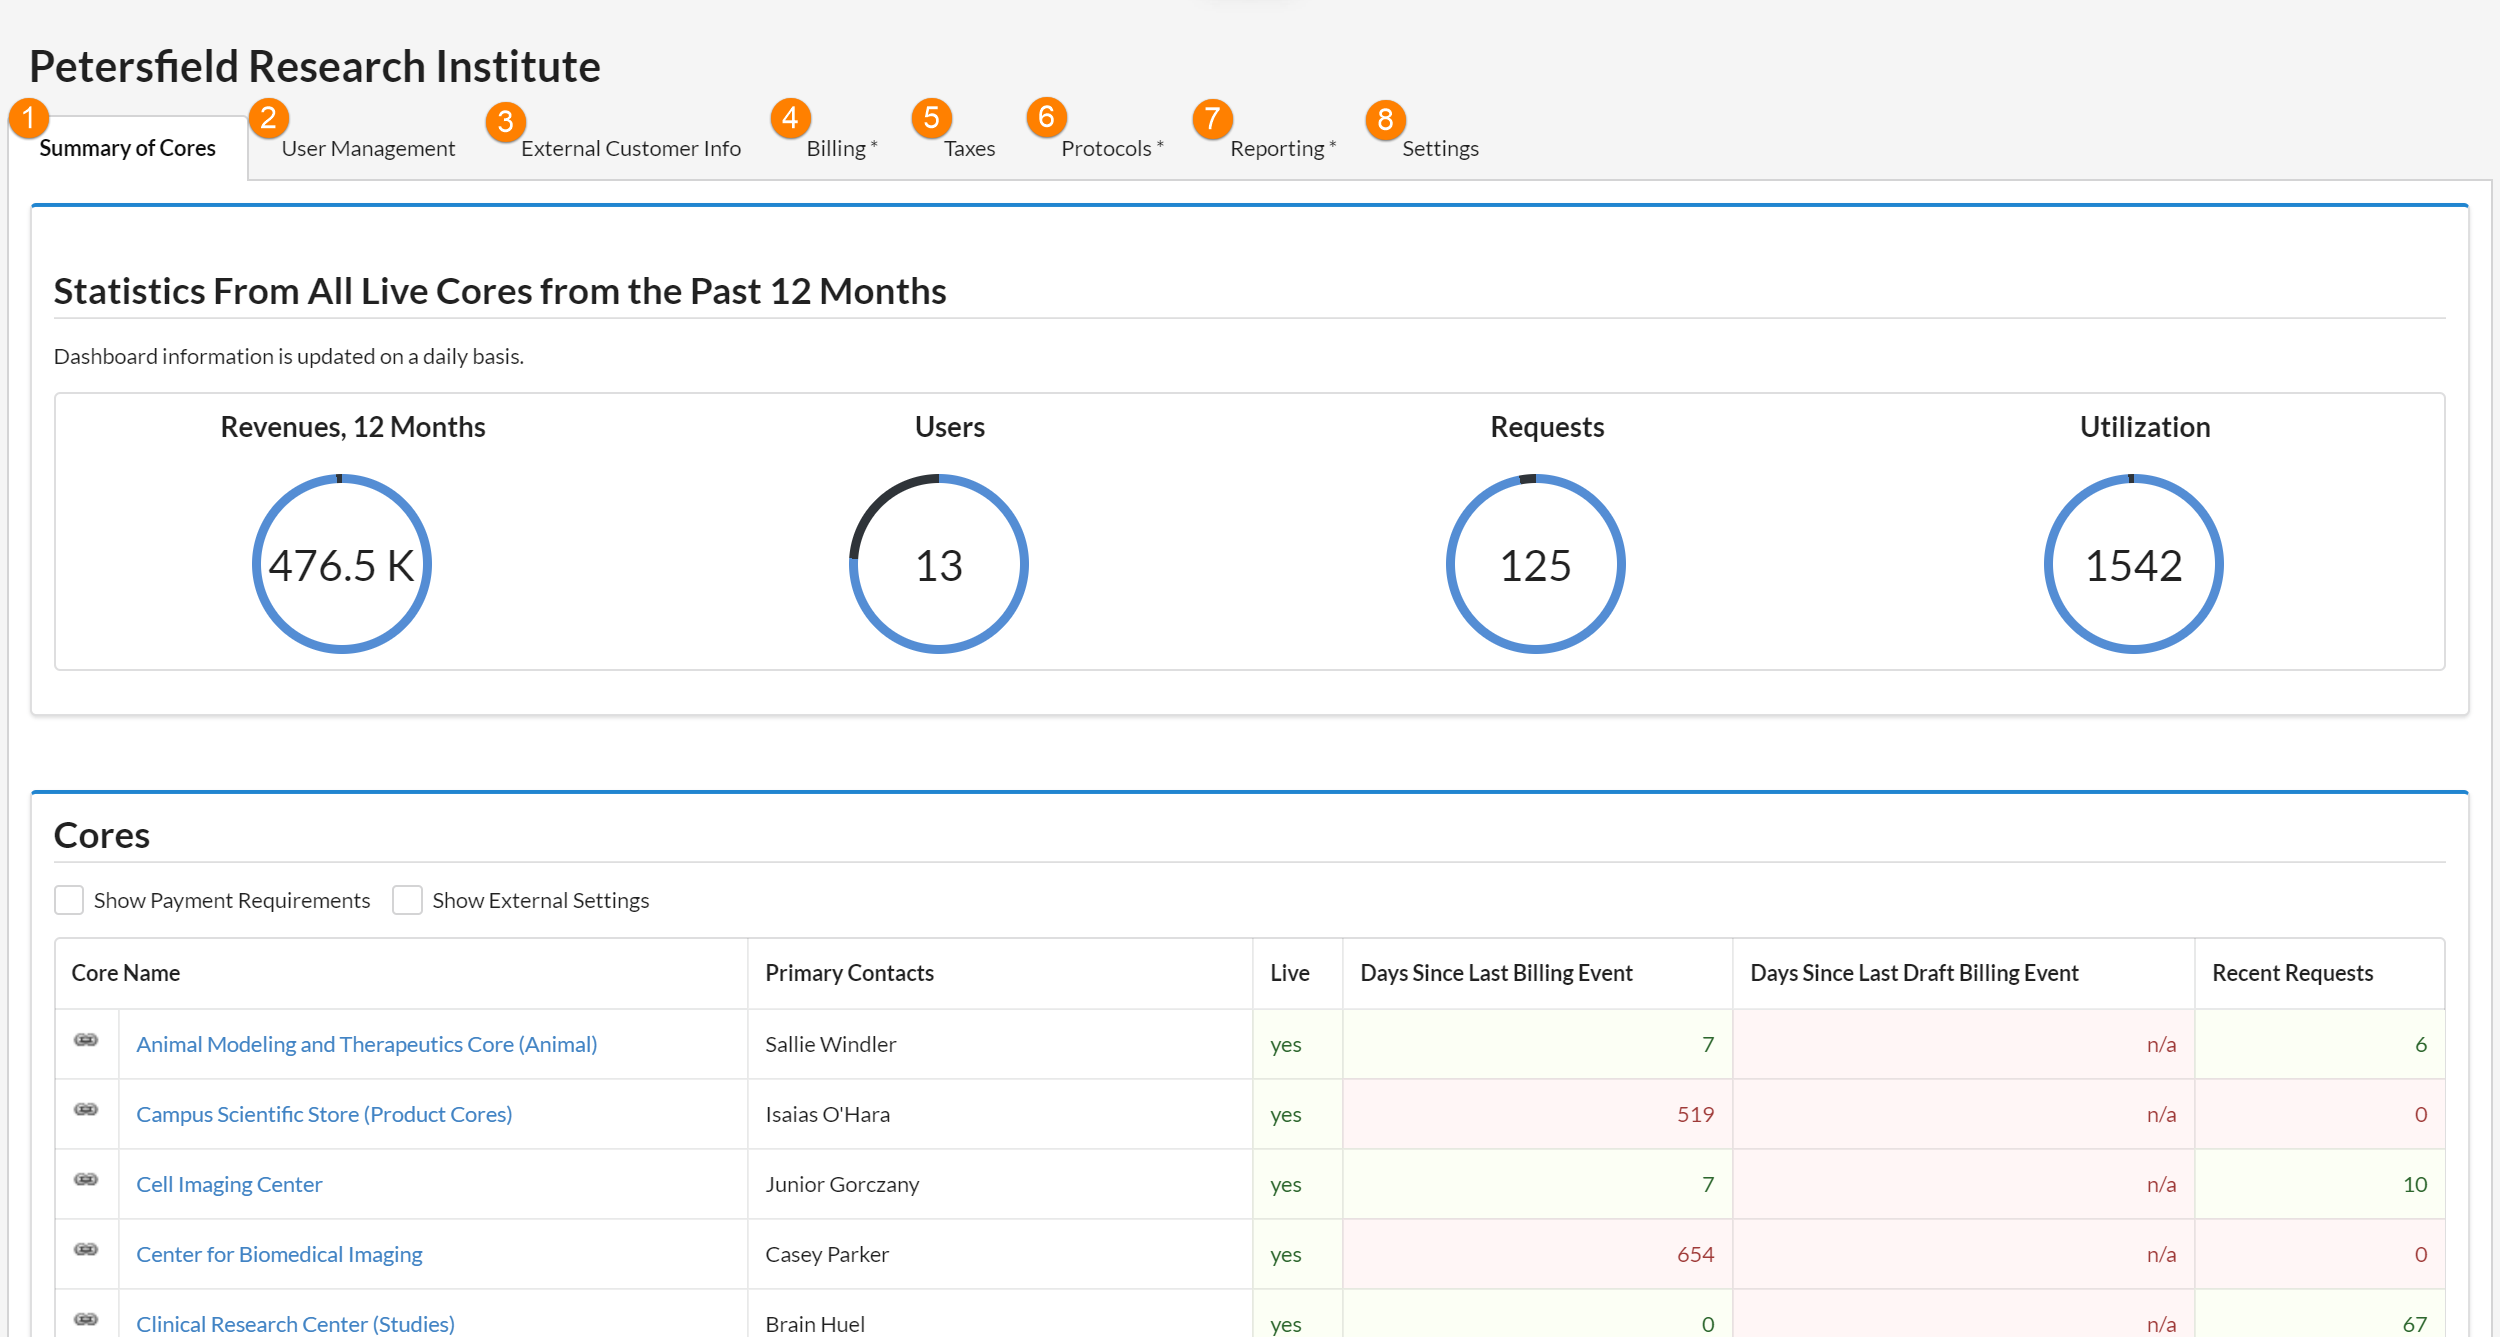
As an Institution Administrator, when you first log into iLab you may be directed to your institution dashboard or you can navigate to it using the left side menu and clicking on the name of your institution(s). On your dashboard, you will see a summary of all the cores within your institution, along with basic information for each core. Additionally, you will see a graphical representation of revenue, users, requests, and utilization for the institution.
Each section on your dashboard is described below. Click on the name to read more about each subject:
-
Summary of Cores: The Summary of Cores tab allows you to view specific information regarding your cores.
- User Management: The User Management tab allows you to manage the users of your institution, including groups, departments, research groups, and more.
- External Customer Info: The External Customer Info tab allows you to add an accounting code or external customer number to an institution or a group.
- Billing: The Billing tab will take you to the Billing tab for your institution, where you may view charges, billing events and invoices across your institution.
- Taxes: The Taxes tab allows you to view, edit, and create all the taxes that apply to your institution.
- Protocols: The Protocols tab allows you to view, edit, and create research protocols for your institution.
- Reporting: The Reporting tab allows you to create reports for your institution.
- Settings: The Settings tab allows you to review and edit institution-level settings.
Note: Depending on the current settings for your institution, all tabs listed may not be displayed.
If your Institution Dashboard has a different layout you may be in the old interface, to try the new interface scroll to the bottom of the page and click Try new design!, this will switch your view to the new Institution Dashboard interface.