Customers may initiate a study of a specific core by selecting from a list of core study templates. Initiating a new study is done from the Studies tab. (NOTE: Your tab name may vary depending on your core's settings.) It is important to note that each study template is configurable in the Fields and Forms section. This article reviews one example and you should not expect to see the exact same fields. If you have any questions, please contact the core.
- Including a Summary
- Including Study Fields
- Identifying the Research Team
- Completing a Form
- Including Subjects
- Identifying the Protocol
- Providing Cost Analysis
- Tracking the Study's Status and Dates
- Including Data Links
Including a Summary
The top-most section of the study form is the Summary.
NOTE: This section includes fields whose labels can be customized by the core. Please be advised that the labels for these fields may display differently for your core. Additionally, some cores may choose not to display some of these fields at all.
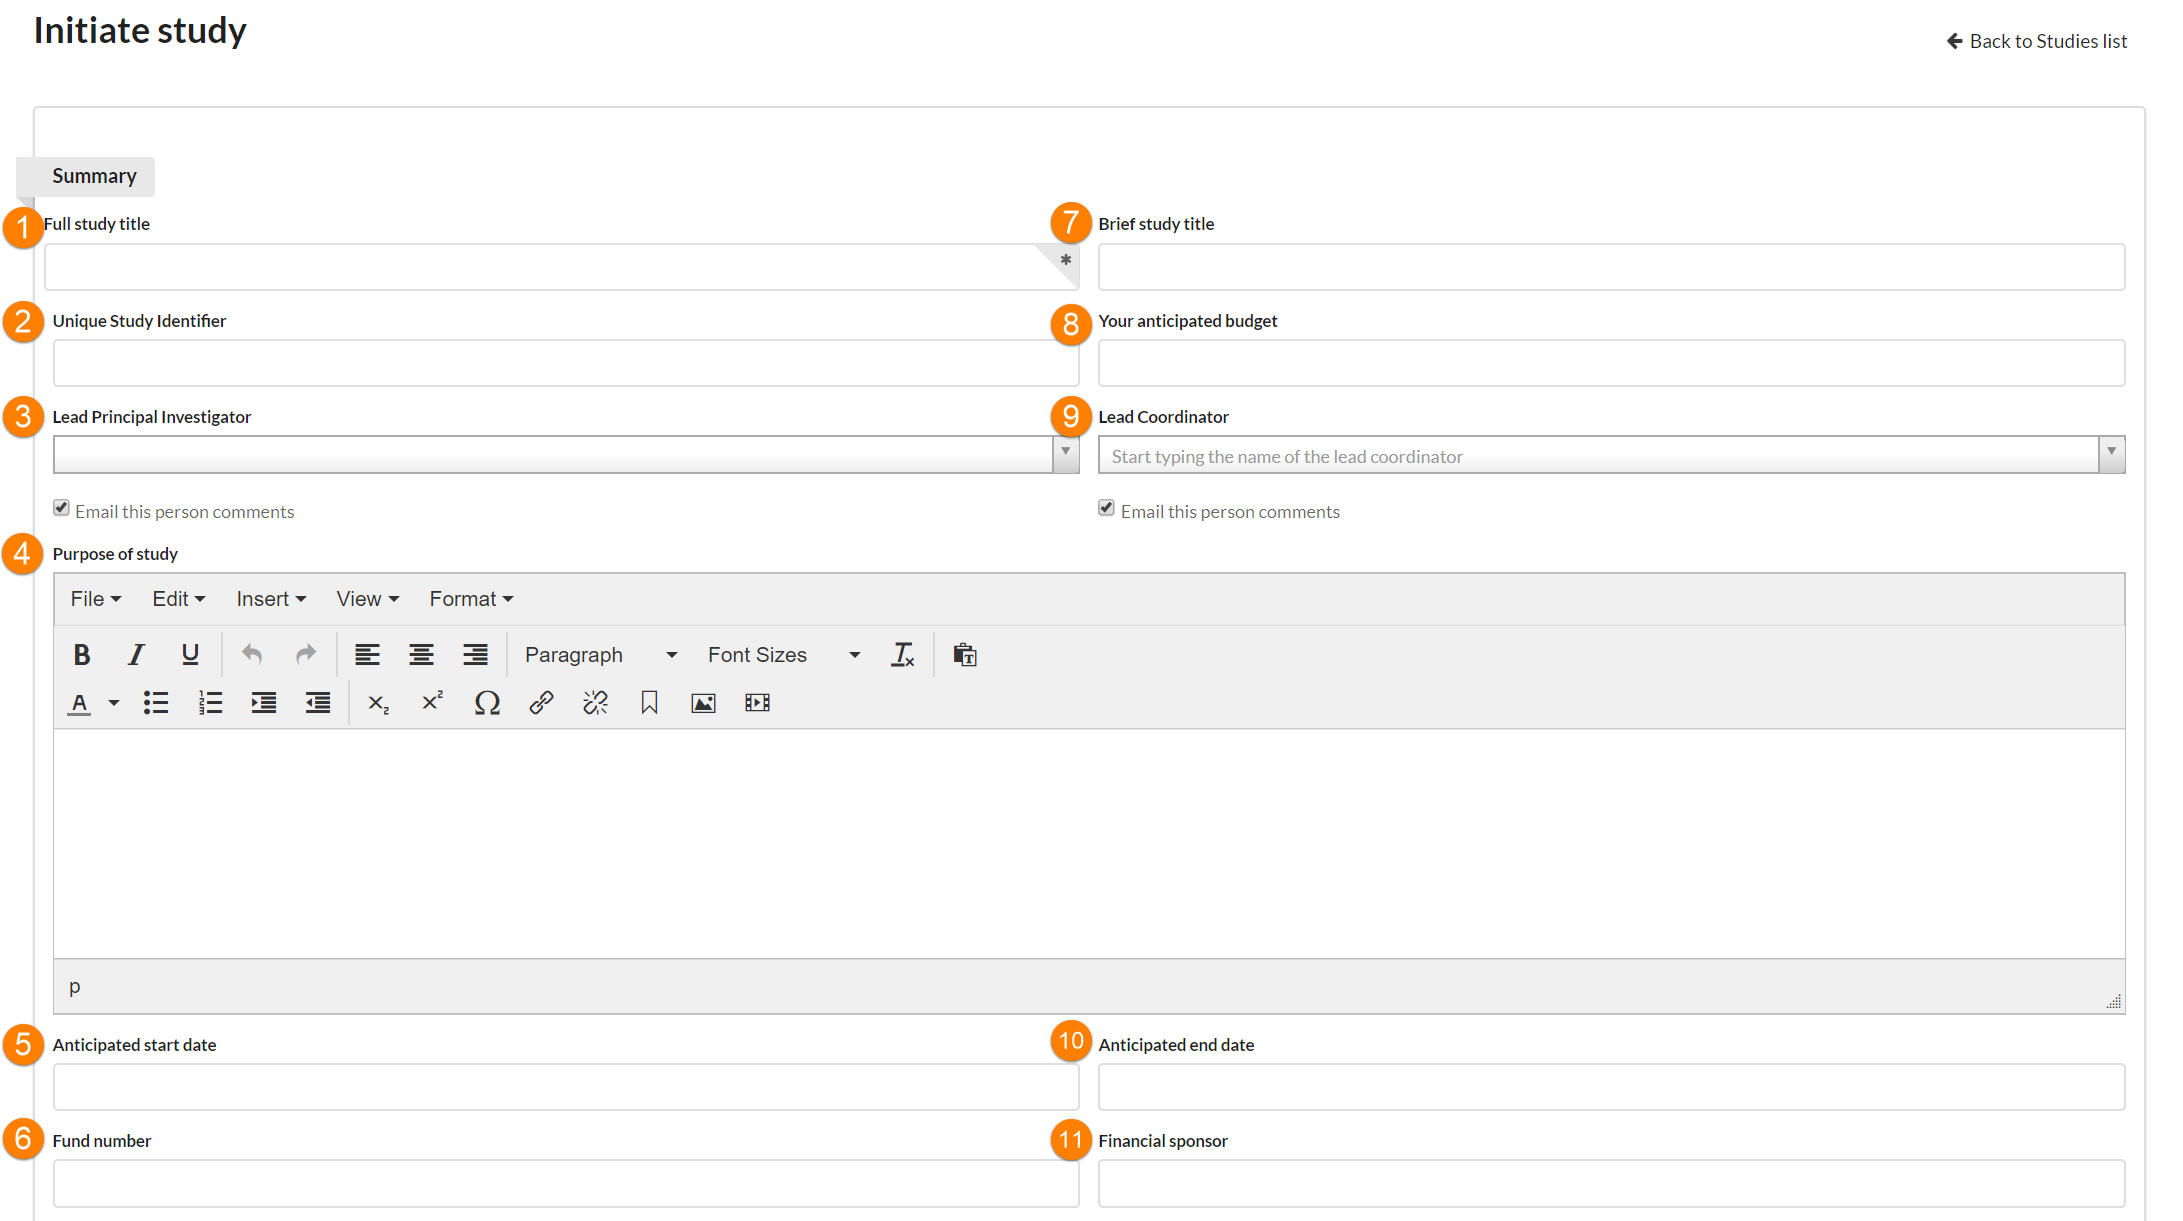
Summary fields you may encounter:
- Full Study Title: Enter the full title of your study.
- Unique Study Identifier: This value is set only by facility staff. It is not visible to the customer when initiating a new study.
- Lead Principle Investigator: The lead PI can schedule visits/request services against the study, and is typically financially responsible for the study. The Lead PI is considered one of the key contacts for the study on the research side.
- Purpose of Study: This is a free text field. Enter the focus of your study here. The label of the field can be customized by the facility on a per-template basis. (NOTE: This field is customizable on the core level so it may be called something else. You can edit it in the advanced template settings under the specific template.)
- Anticipated start date: Enter the date the study is planned to begin. (NOTE: the formal start and end dates of protocols can be tracked separately.)
- Fund number: Enter the payment information for your the study. This field is informational ONLY, and each piece of work can use a different fund if needed.
- Brief Study Title: If your study title is quite long, you may wish to create a short study title. You may do so here.
- Your anticipated budget: This is the amount the customer expects to have available for the project.
- Lead Coordinator: If there will be one primary person responsible for study logistics, enter that person’s name here. (This is an optional field.)
- Anticipated end date: Enter the date the study is planned to end.
- Financial sponsor: If there is a financial sponsor, end the sponsor's name here.
Including Study Fields
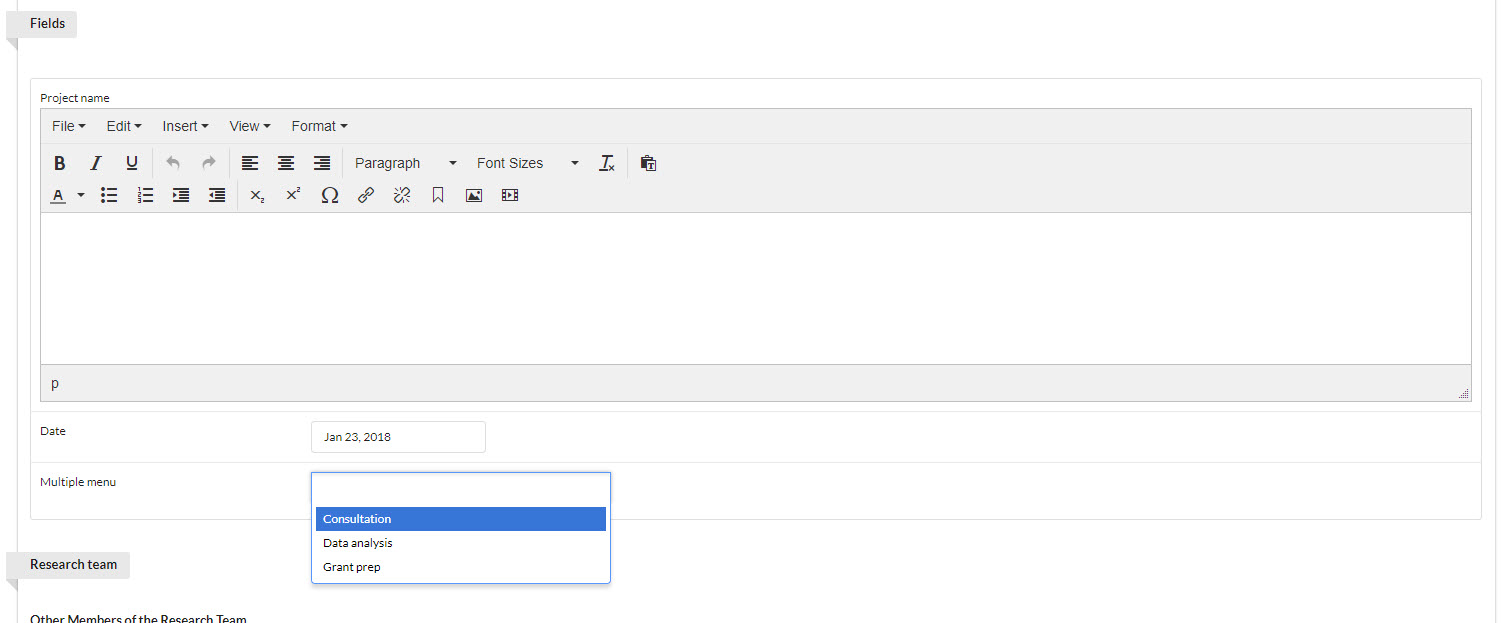
The Fields section is highly-customizable by the core and defines the methods of collecting information from your customers on studies. Fields are displayed prominently at the top of any new study request and provide a simple set of options that can be used to capture high-level information about the study from the customer. Each core selects a type of field they would like, and then are free to label the field any way they wish.
In the example below, there are three fields: Text (titled "Project name"), Date, and Multiple menu (where you may select any or all of three options). See Creating a New Study Project Template to see how these fields are added to project template.
Identifying the Research Team
The Research Team section allows you to define the people who will comprise your research team (and will therefore be contributors to the study).
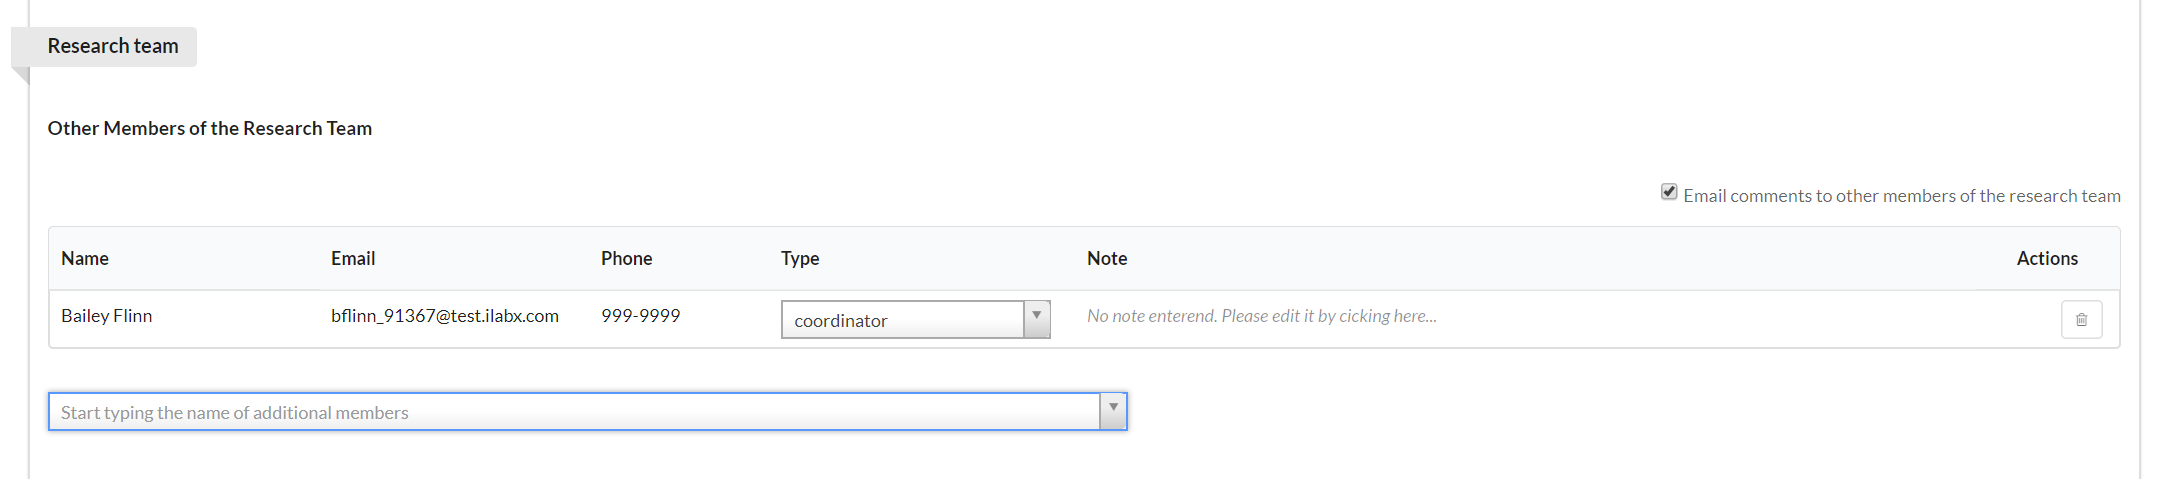
To add new members, begin typing their name into the text box. Matching names will begin to display. Click on the name to add. You may then define their role by clicking on the arrow in the "Type" drop-down box and selecting an option. Lastly, you may add a note for each member, if you desire, by clicking in the "Note" text and typing. (NOTE: Only people added as a "coordinator" will be able to take action against the study. The authorized user, radiologist, billing contact, and other types will only have access to view the study.)
If you have contact information for someone that does not have an iLab account, you can add it to the outside contact section.
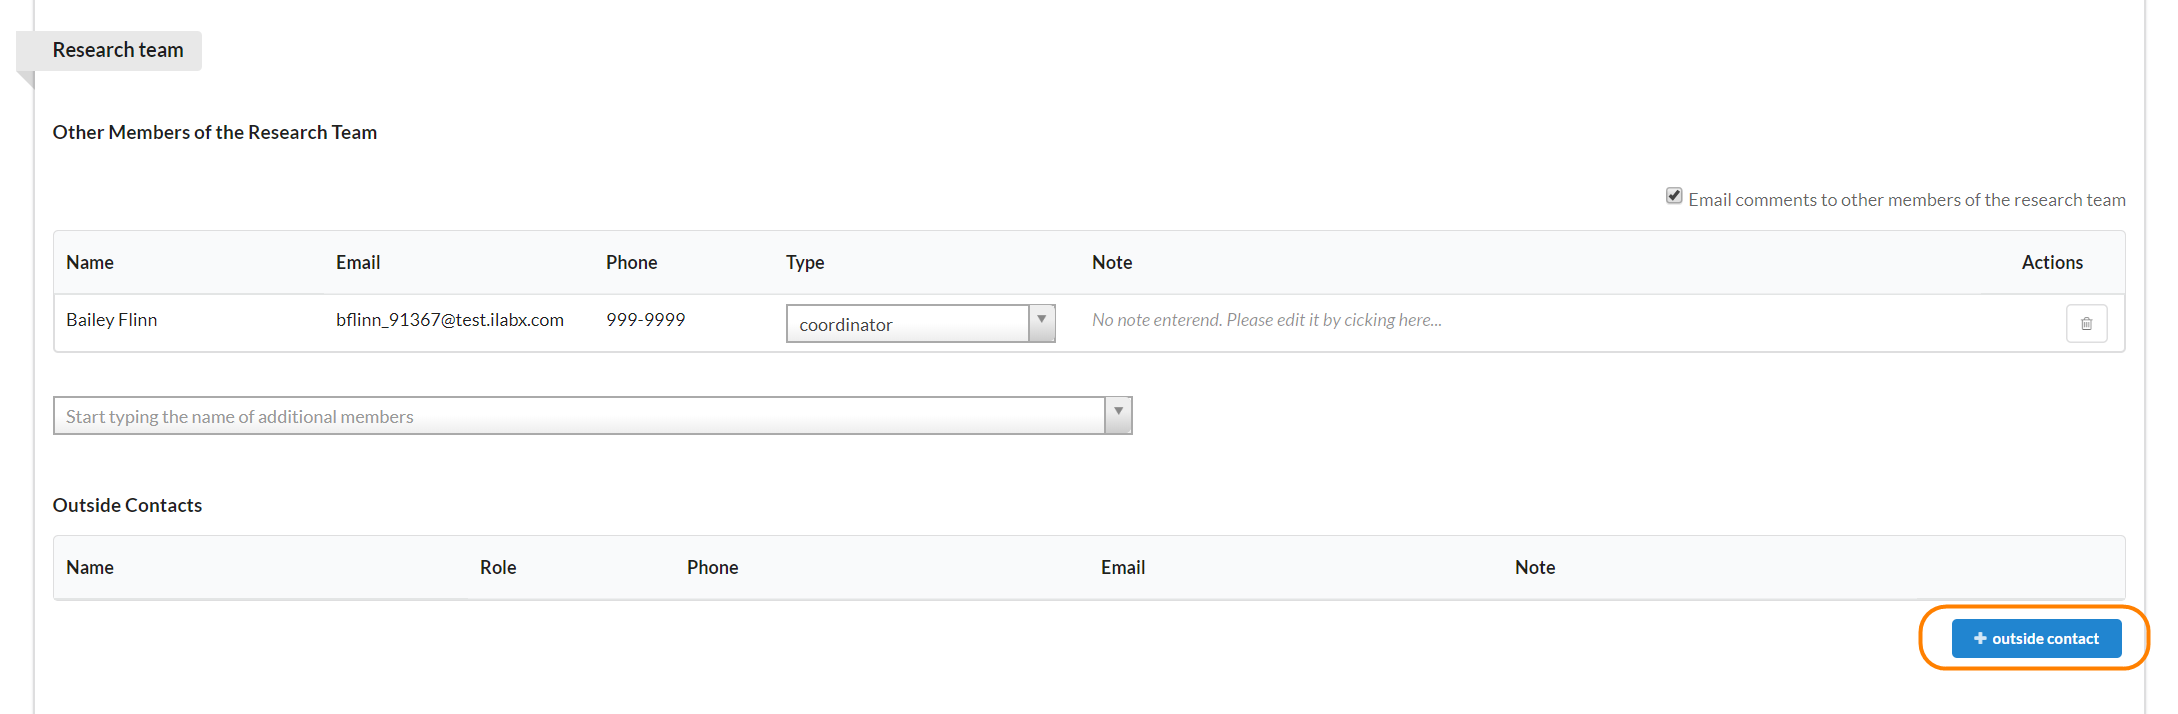
To add an outside contact, click the blue "+ outside contact" button and a new window will open.
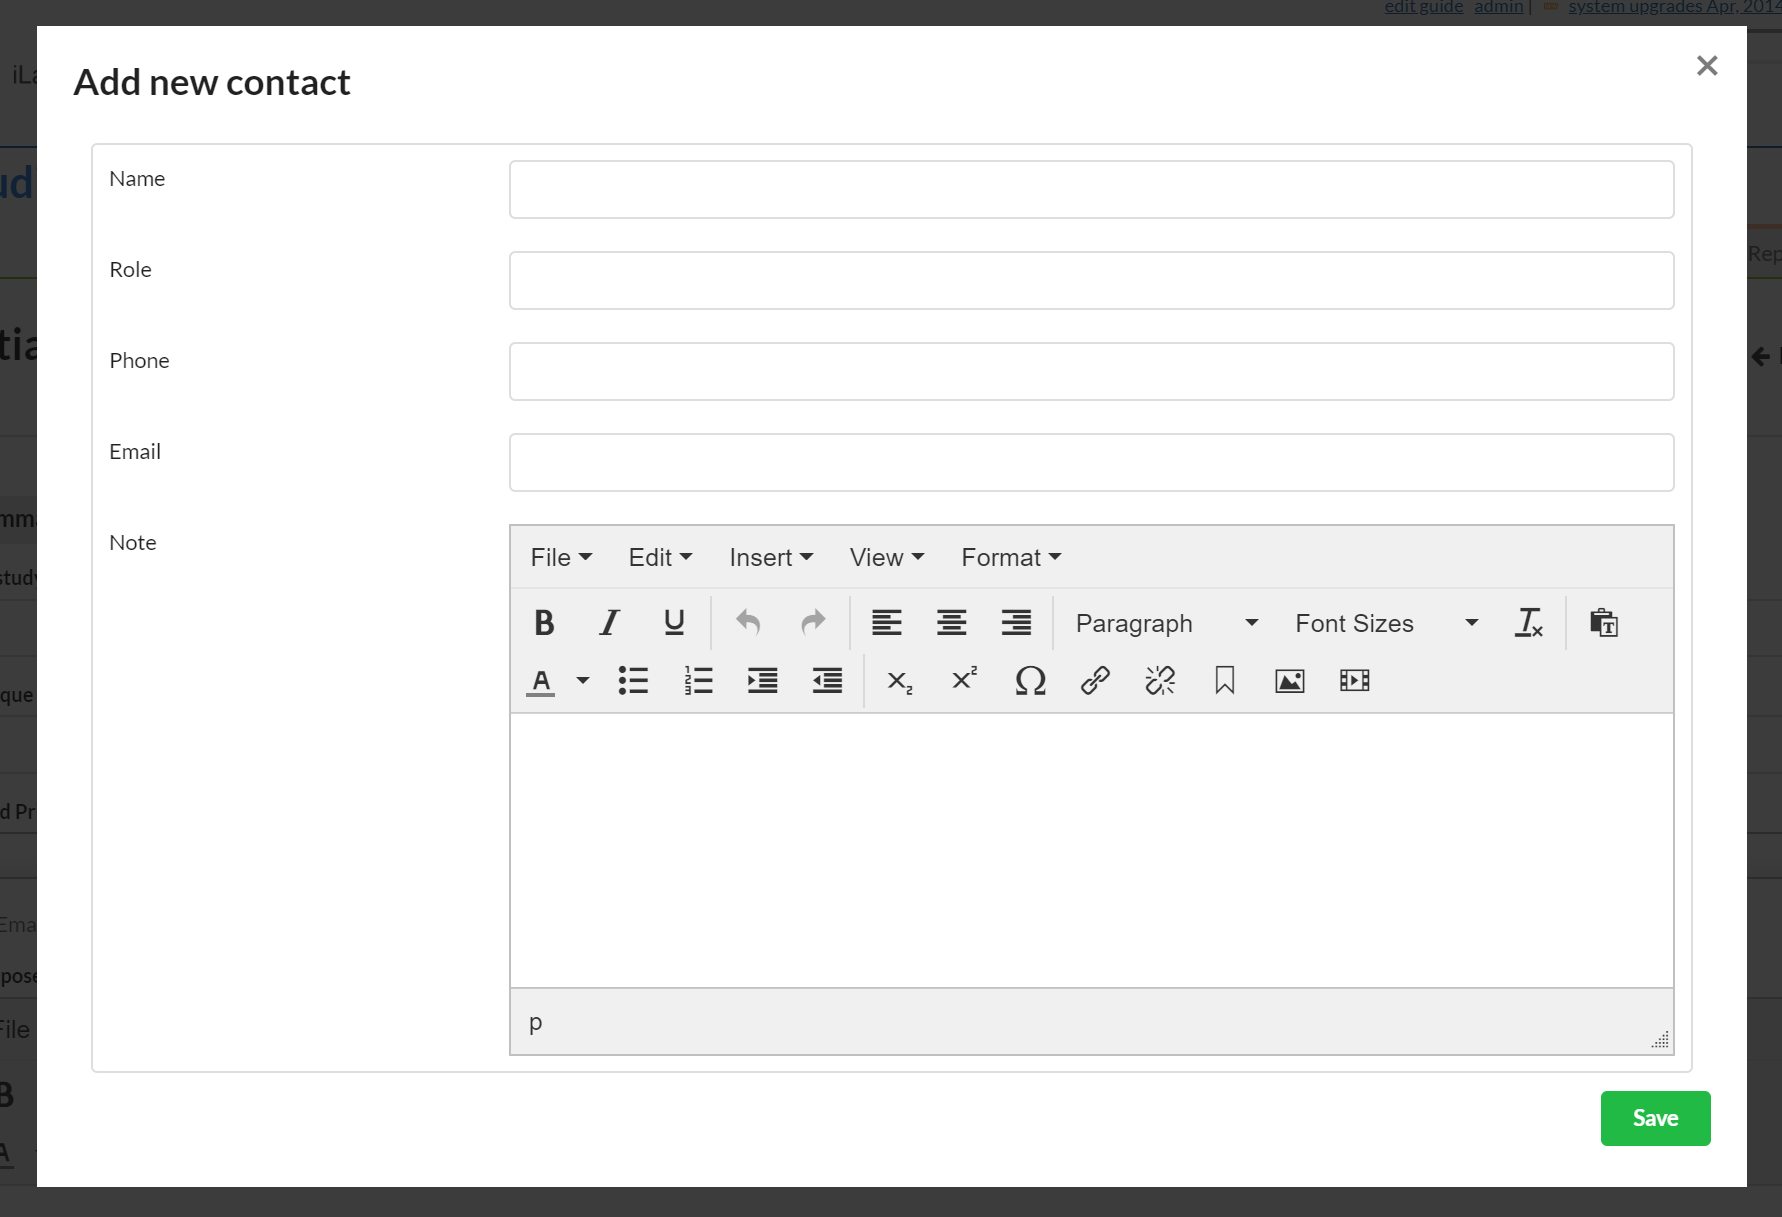
These are all free text fields. Enter your information and click the green "Save" button.
Completing the Form
Each core may decide to leverage any custom forms they have already built for the core as well as the advanced field format options that are included there, such as file uploads, templates, and advanced conditional statements. If your core includes custom forms in their study templates, click on each form to open. Then complete all the fields and save.

Each core may decide to leverage any custom forms they have already built for the core as well as the advanced field format options that are included there, such as file uploads, templates, and advanced conditional statements. If your core includes custom forms in their study templates, click on each form to open. Then complete all the fields and save.

Including Subjects
The Subjects section helps capture important information about the age and other characteristics of subjects involved in the study. The option to "formally track subjects in ilab" will allow your user to indicate which subject is associated with each request of the study.

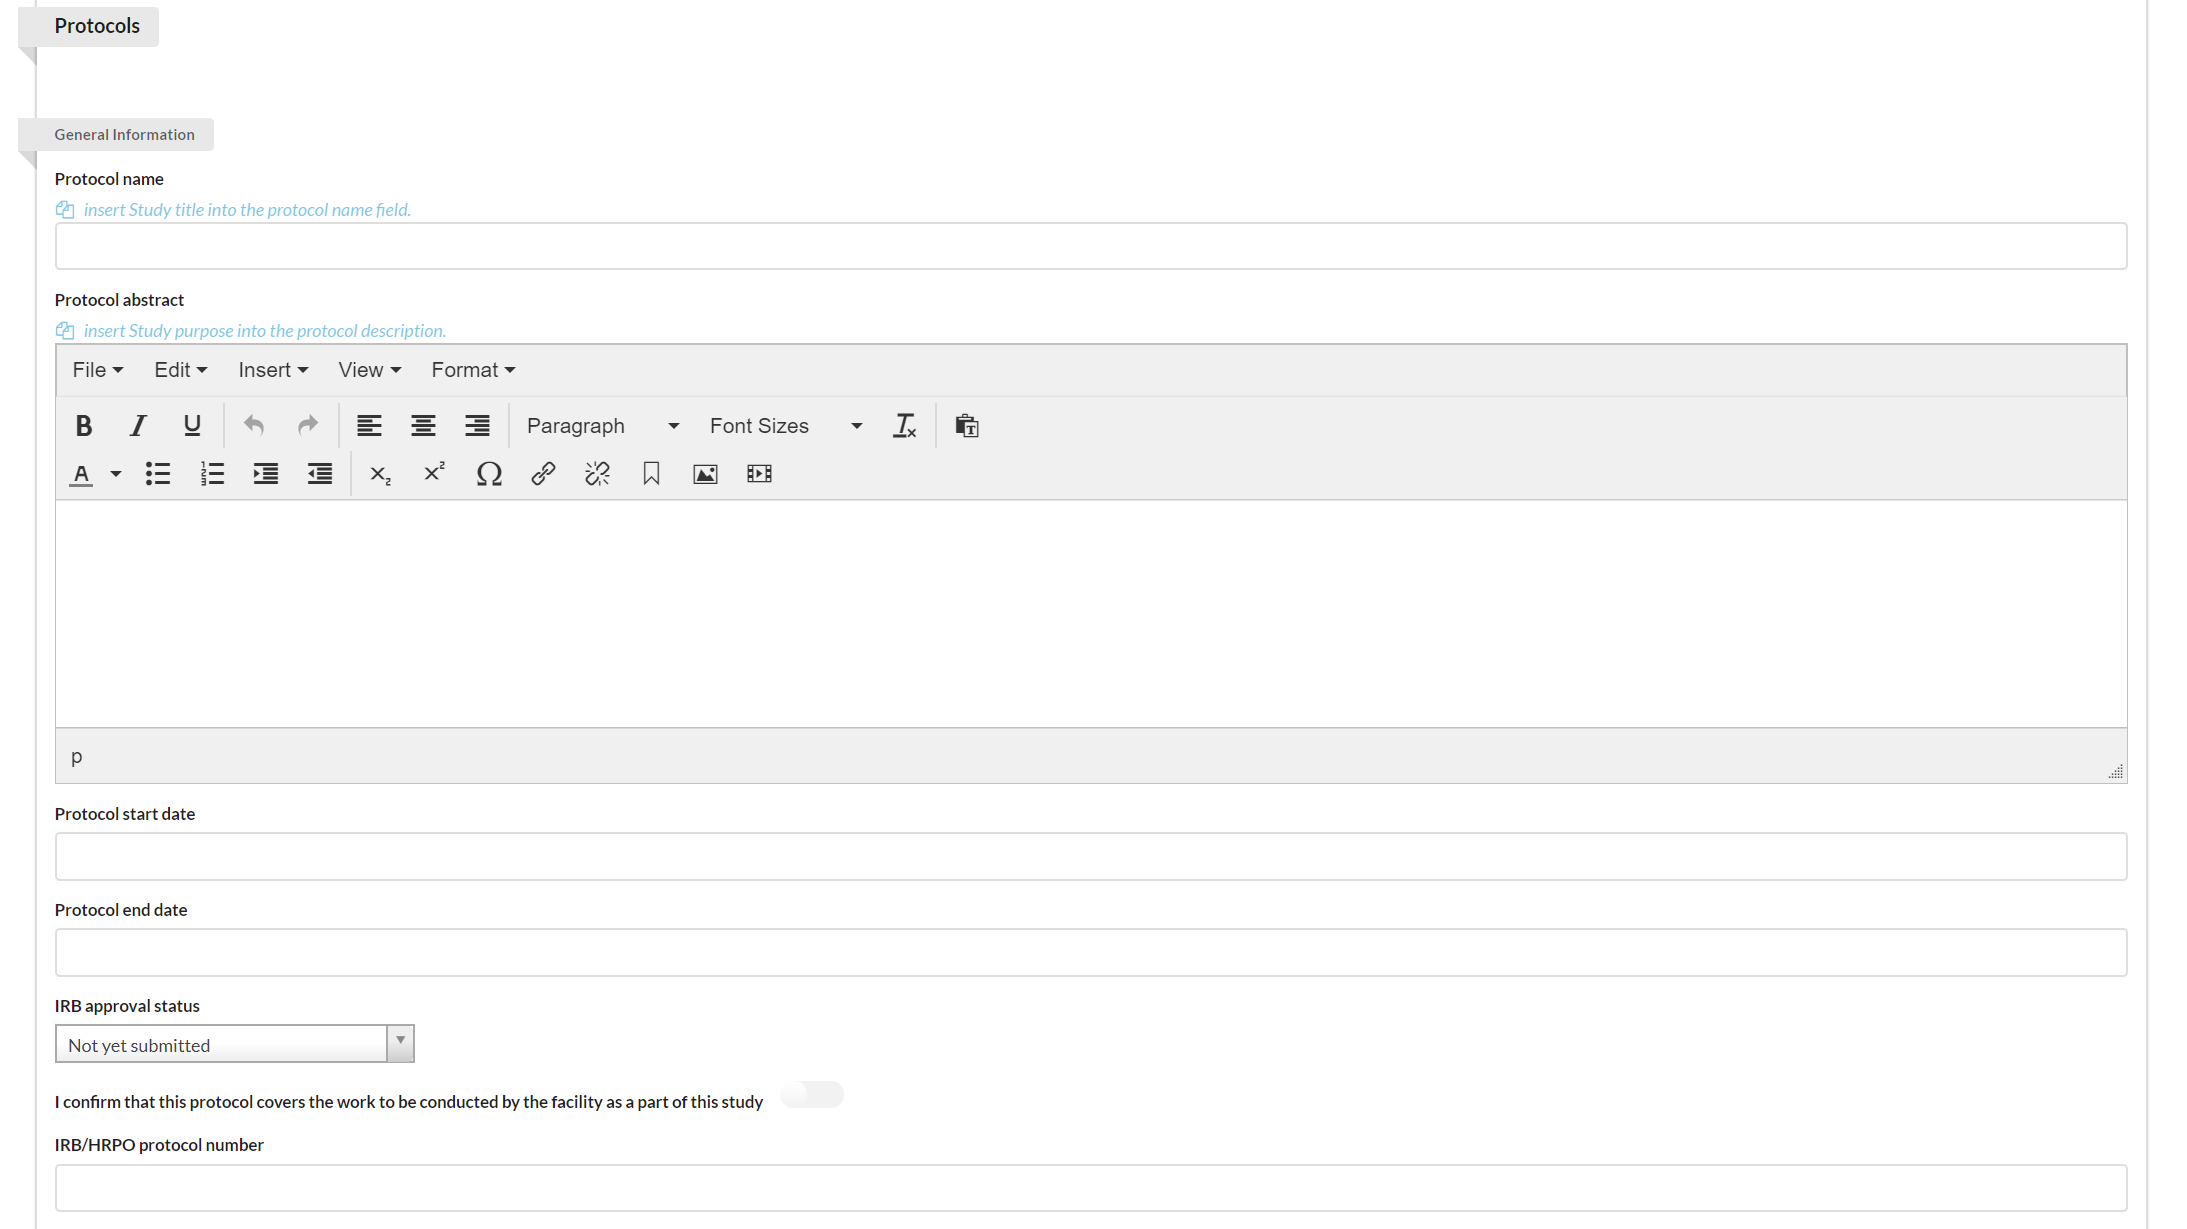
Identifying the Protocol
You may use the Protocol section to establish protocols for your study.
Use the attachment section to attach any pertinent files to your study. To add an attachment, click the green "New Attachment" button, and then click "Choose File" to browse your network for the appropriate file. To delete an attachment, click on the red x beside the file.

Providing Cost Analysis
If activated, the Cost Analysis section provides an overview of anticipated cost to the customer.
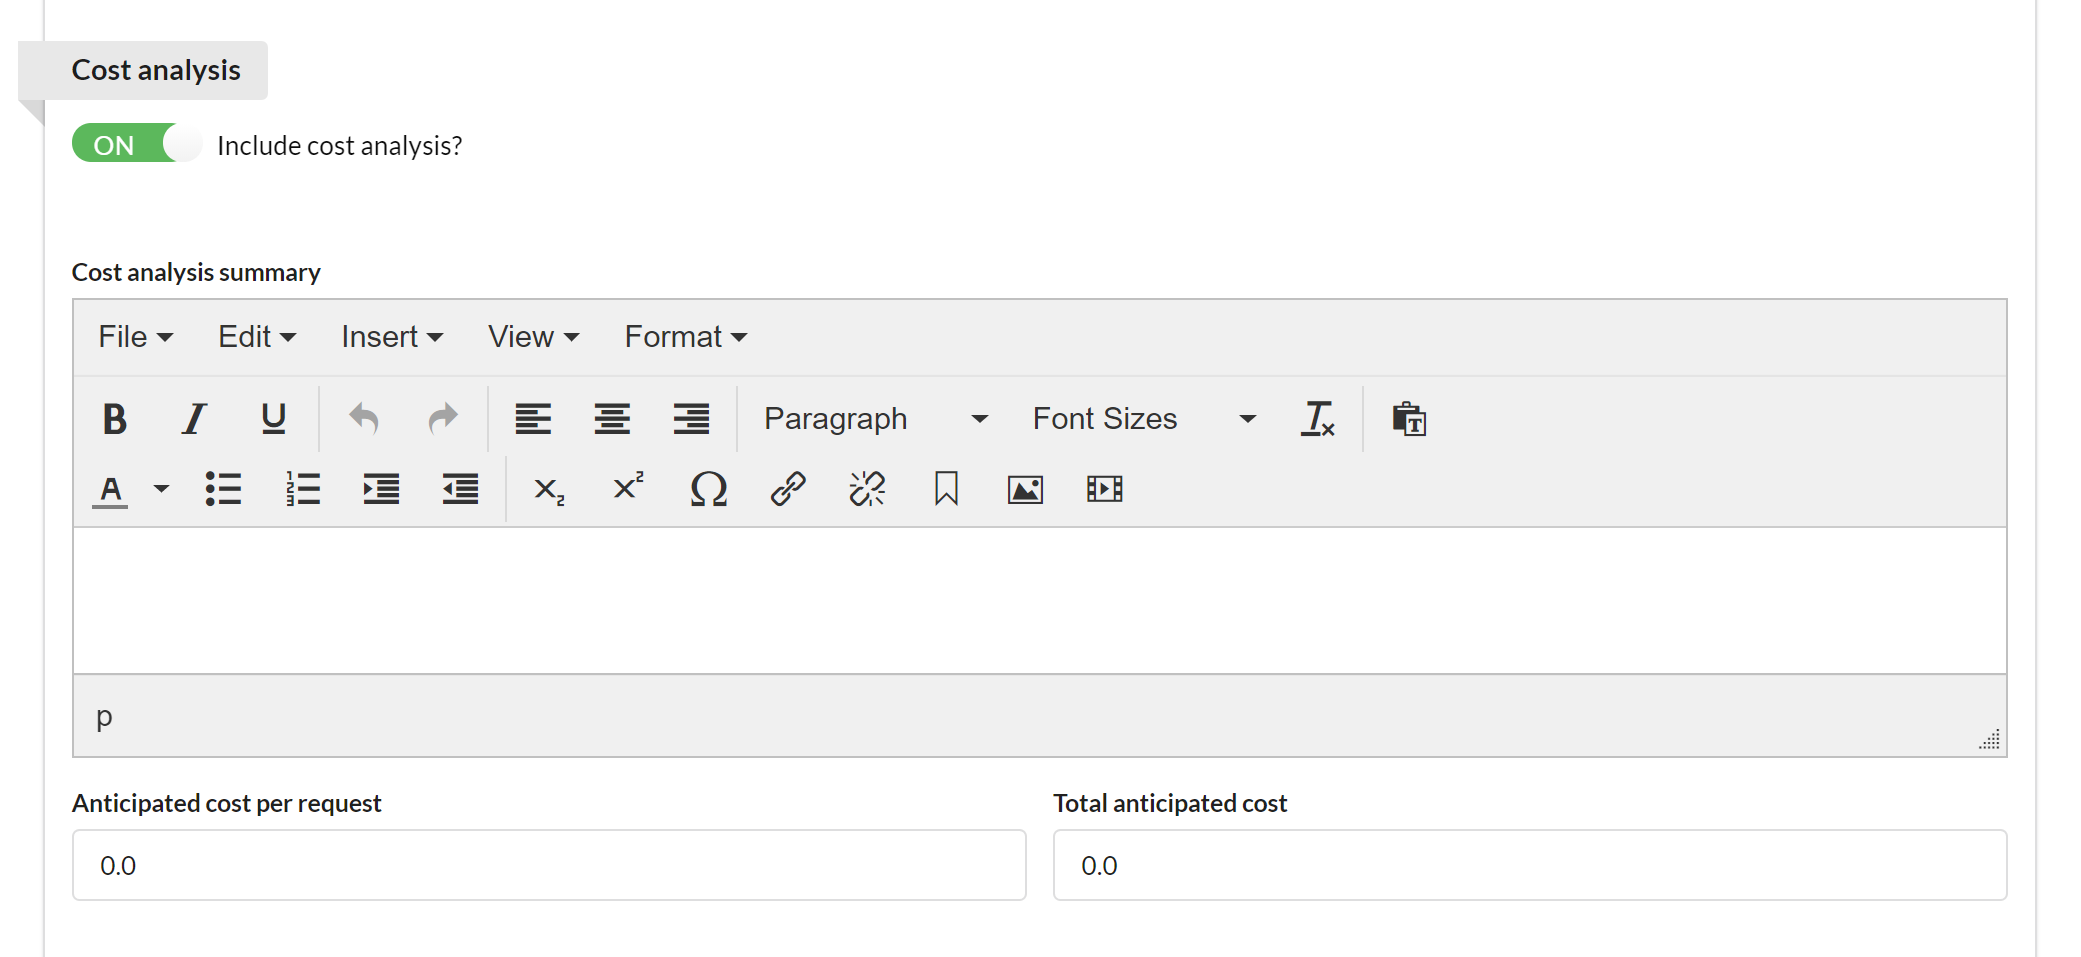
You may provide a summary of cost analysis, as well as cost per request and total anticipated cost.
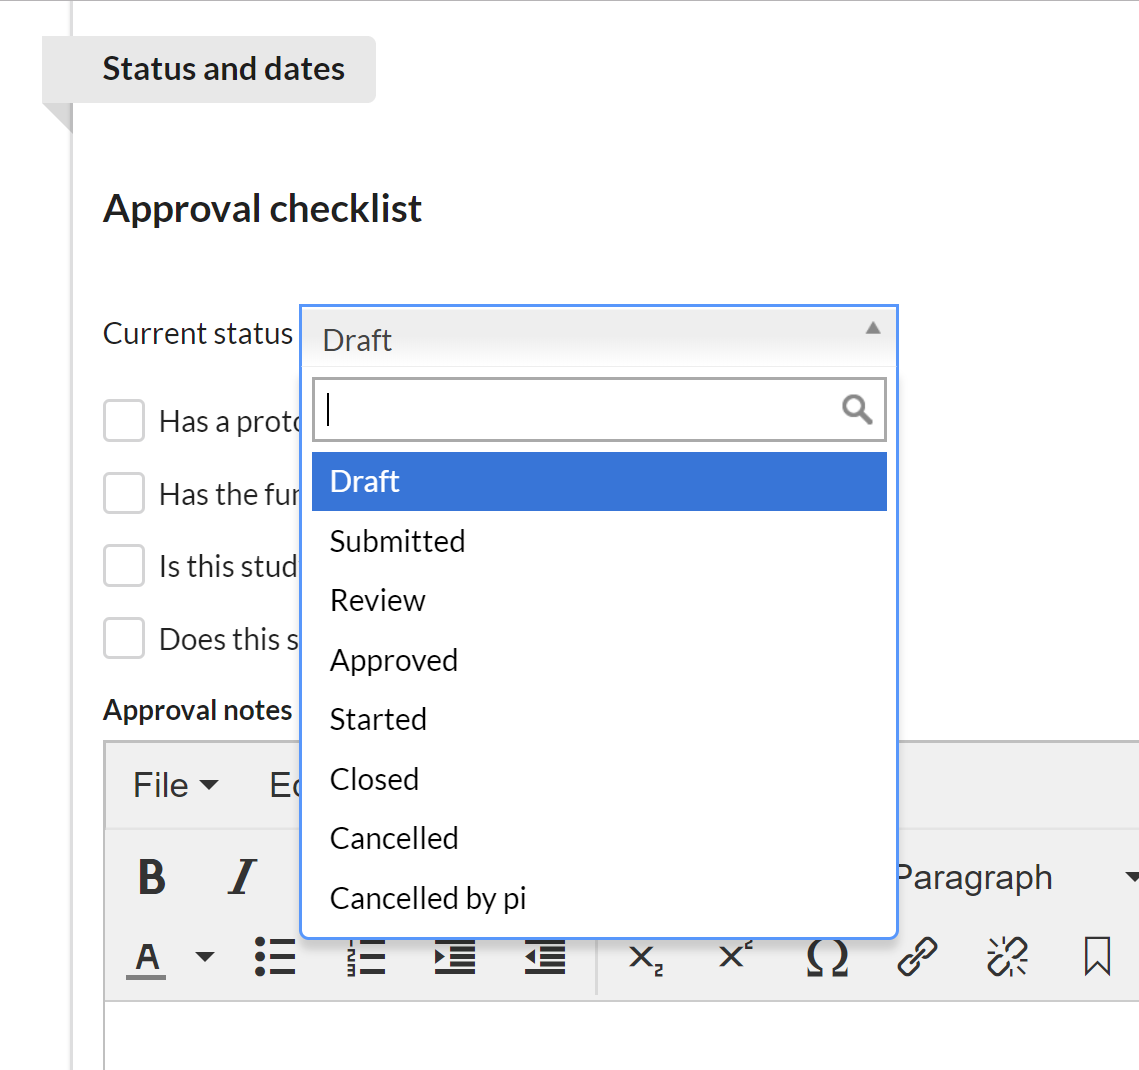
Tracking the Study's Status and Dates
The key function of the Status and Dates section is to track the status of a project. It includes the current status and approval checklist with visual indicators to highlight progress, as well as important dates.
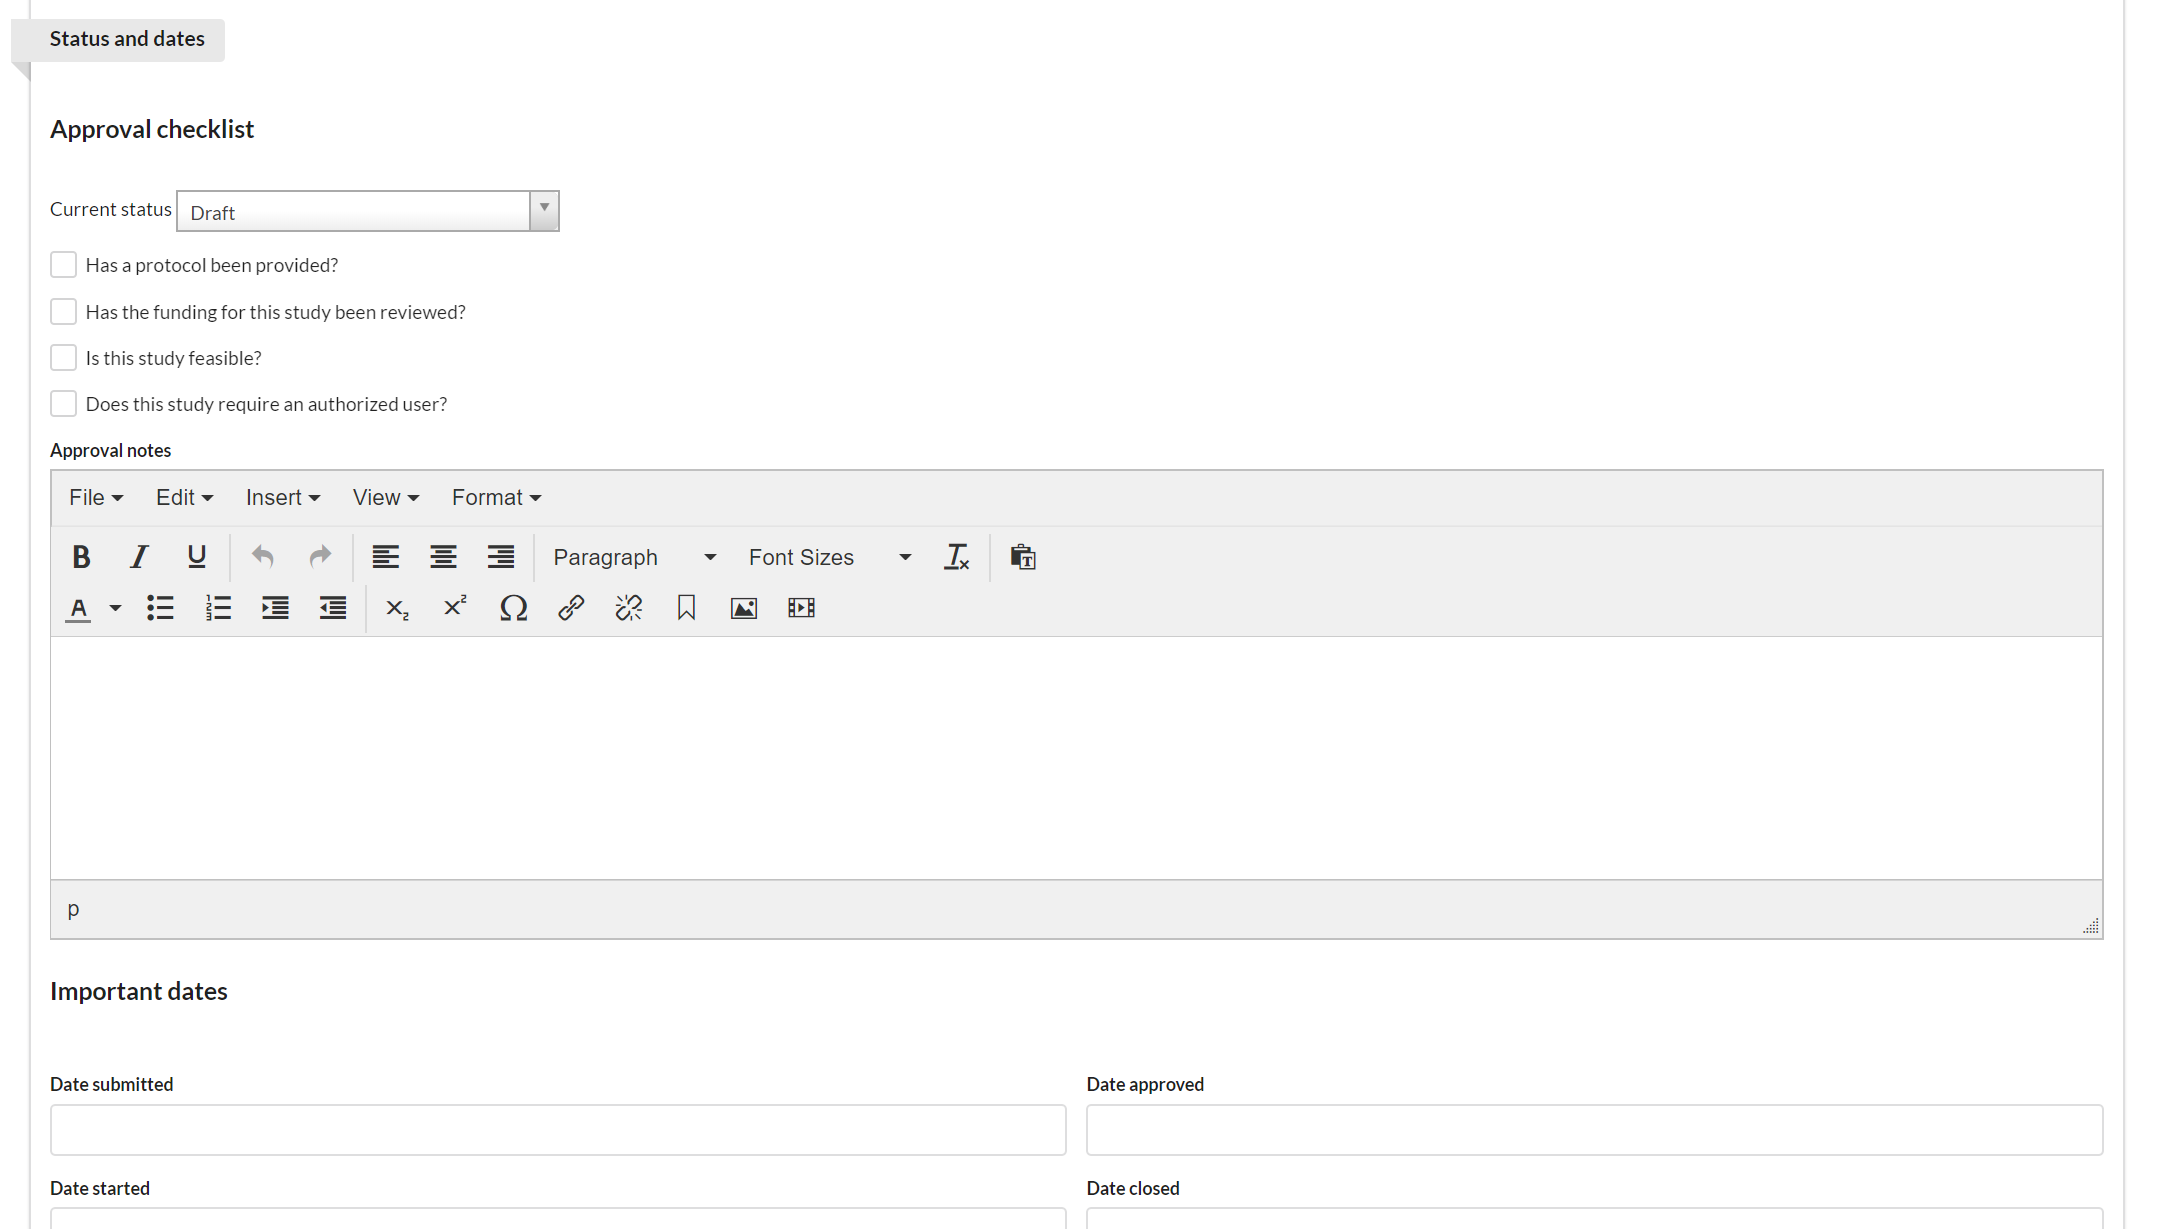
First select the current status of the study. Each core defines which statuses they would like to offer. (NOTE: the study status can also be managed using the action buttons on the Studies tab.)
Then, mark off each of the items in the checklist as they are completed.
If any of the items on the checklist have not been approved, a status icon on the studies list view will provide all users with a warning. Furthermore, several of the approval states tracked in this section can be used to filter for studies on the list view.
Including Data Links
This section allows core facility staff to formally track the digital location(s) where important data might be stored for a study.

More specifically, the facility is provided with two fields that can be filled out:
Core only study folder: This field is only visible to and editable by the facility staff. This allows the facility to distinguish where customer and non-customer facing results should be captured.
Customer facing study folder: One field, though not editable by the customer, is visible to the customer.
When you have finished all sections, you may save a draft version, cancel, or you may submit the study to the core.