Images can be inserted in your core in an several places, some of them are the About Our Core page, the description for a schedule, and headers on Service Request and Schedule Equipment pages.
Create an Image URL
To insert an image you will need to have an image URL. URLs for images can be created through software such as WordPress and Photobucket. If you choose to use Photobucket, you will need to create an account, then create an album you can add your images to, where you can then share the image URLs. Below are helpful articles from Photobucket to get you started.
If you need assistance creating image URLs contact the iLab Support Team.
Insert Image
Once you have an image URL you will use it to insert an image into iLab. Navigate to the appropriate settings page for where you want to insert the image, settings pages are accessed by clicking the pencil icon on the page or feature you need to edit.
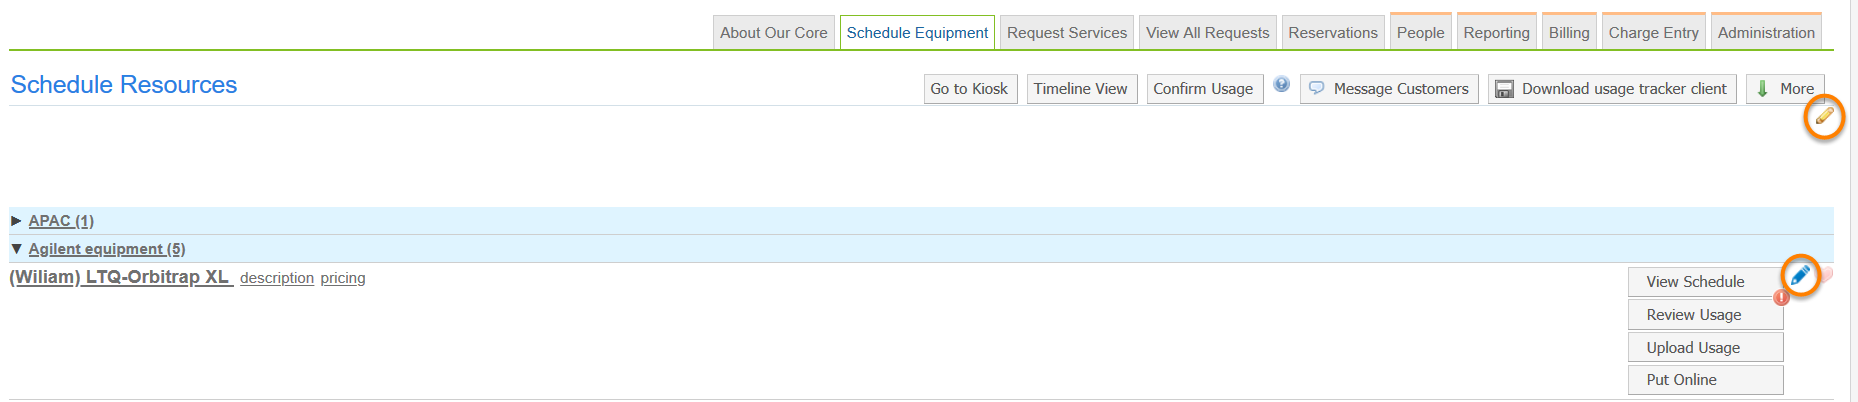
After clicking the pencil icon the settings and editor fields will open. Description and free text fields include the option to insert an image. Click on the Insert/edit image icon.
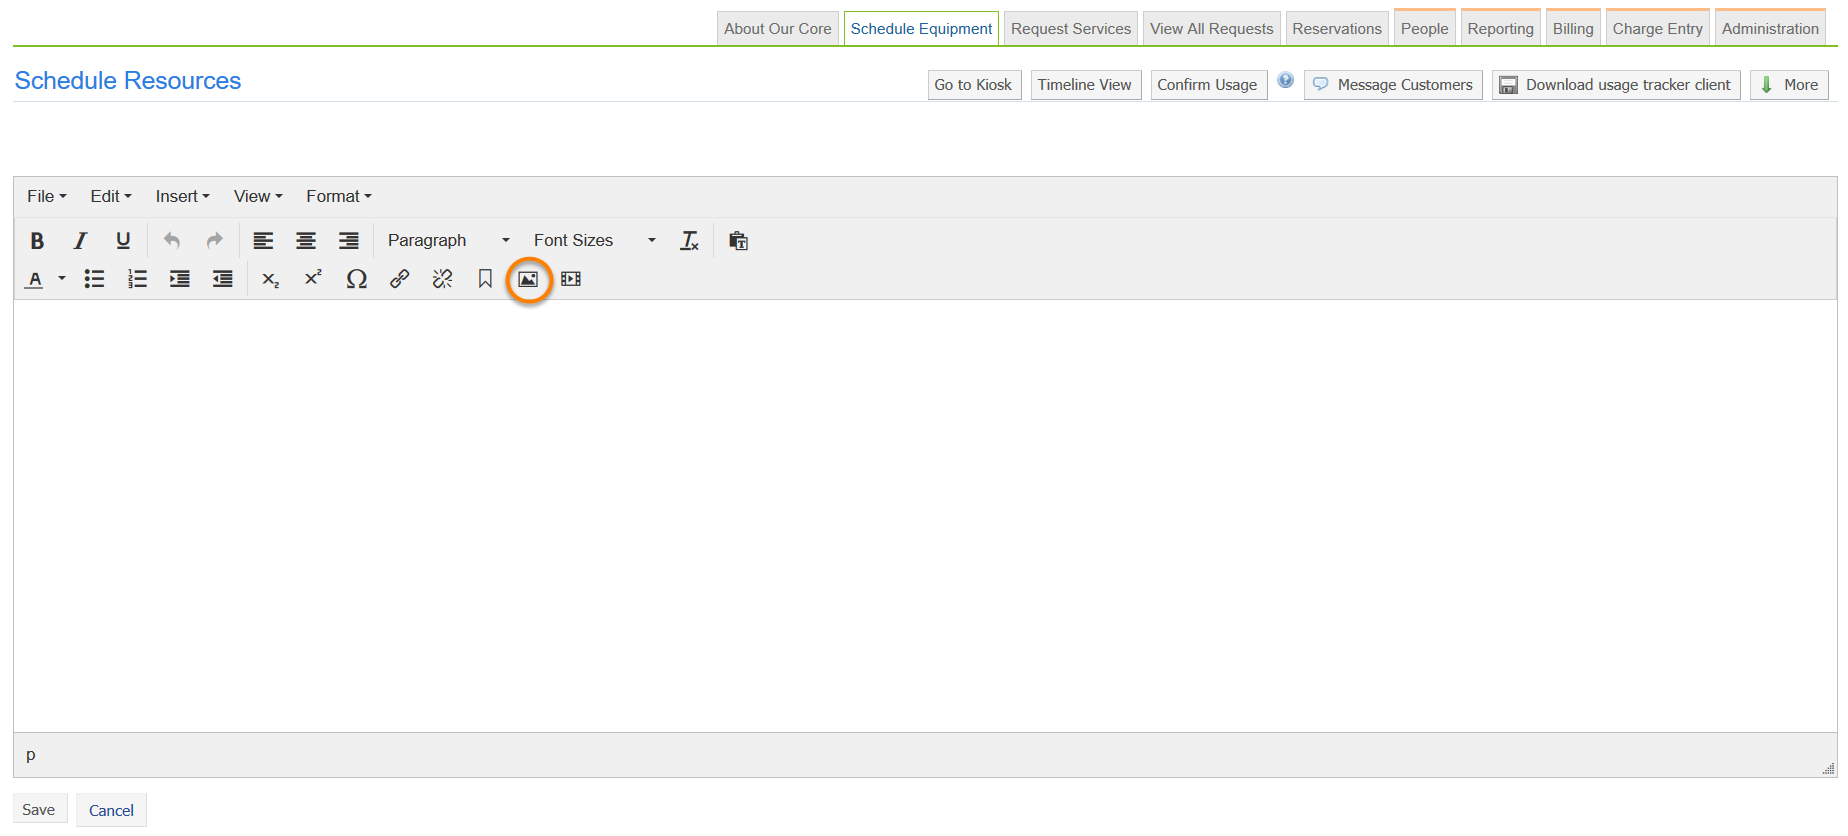
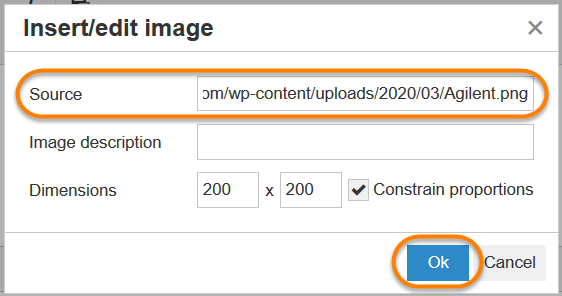
The Insert/edit image box will open, in the Source section paste the image URL, click Ok.
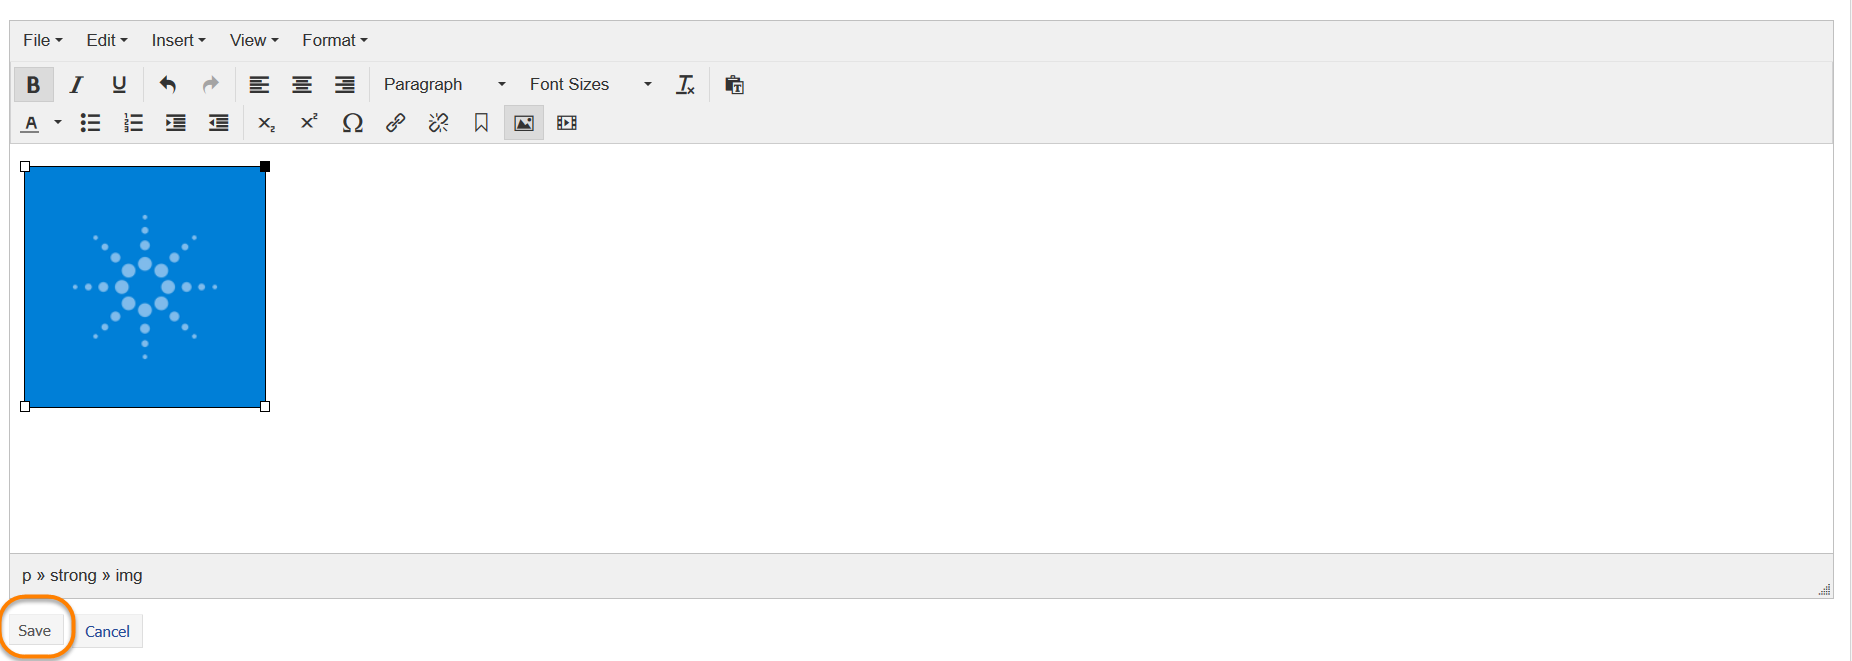
The image will now show in the description field. You can adjust the size manually by clicking on the image and dragging the squares on the corner of the image. Once you are finished, click Save.
Your image will now show on the needed page.