The iLab kiosk is an advanced module that allows a facility to track users' time on instruments. This interface allows users to use their credentials to login and start an existing reservation or to create a walk up reservation on an open instrument (if the core allows for walk up reservations). In conjunction with interlock usage, a user will be required to login through the kiosk in order to gain access to the instrument.
- Access the Kiosk interface
- View your reservations
- Start a scheduled session
- Create an unscheduled session
Access the Kiosk Interface
When looking at the kiosk dashboard, users have the ability to see any active session as well as the login screen. Typically, the core sets up a central computer within the facility where they have the Kiosk dashboard displayed to allow for easy access and logging in.
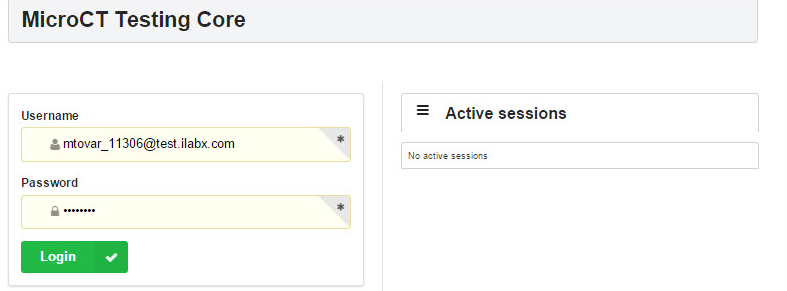
Enter your credentials and click Login. If an institution utilizes an active directory integration, the dashboard will reflect this and allow for you to login with institution credentials.
It is possible to login to the kiosk using any browser if you have the direct URL. The URL can be found on the Schedule Equipment page of the core and clicking on the 'Go to Kiosk' button.

View your Reservations
Once logged in, the kiosk dashboard will display and default to an overview of your current reservations:
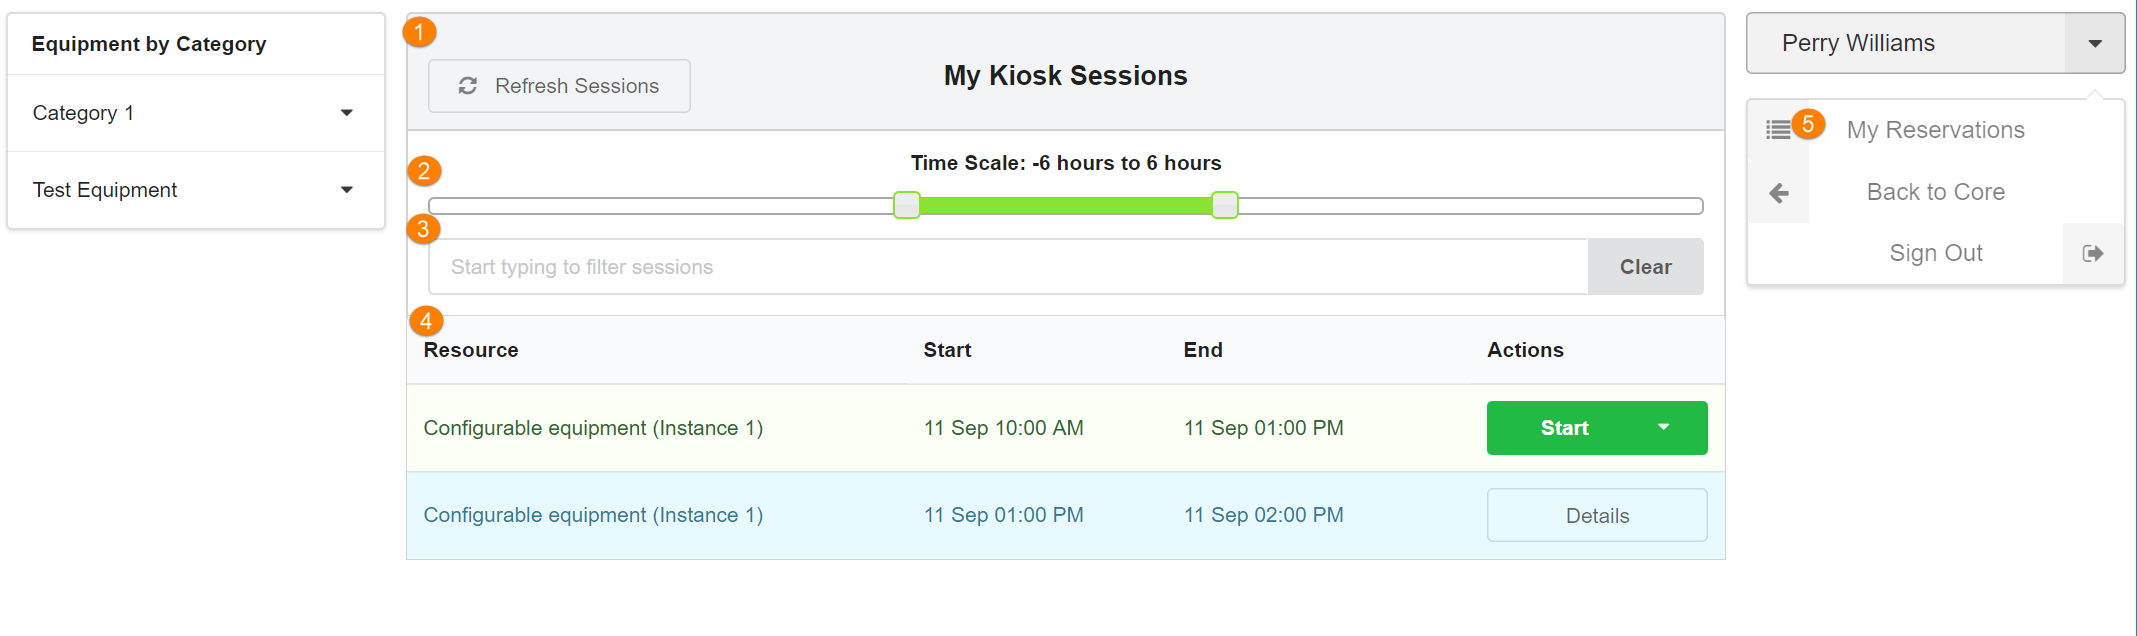
- Refresh Sessions: This button refreshes the display without needing to refresh your browser.
- Time scale: By default, all your reservation(s) from between 6 hours in the past through 6 hours in the future are shown. You can drag the end-points of the time scale bar to narrow down the time frame.
- Filter: You can filter which reservations are shown by entering parts of the name of the pieces of equipment.
- Reservations panel: This panel lists all of your reservations. If you have selected a filter, only filtered reservations will show.
- My reservations: This link, always available under the right-hand profile menu, will bring you back to this reservation display.
Start a Scheduled Session
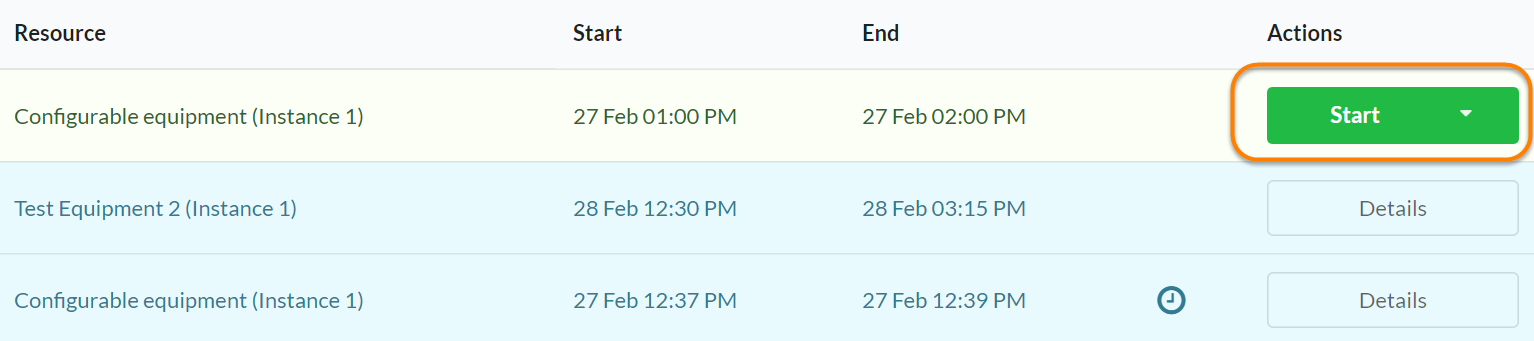
If you have previously scheduled a reservation, and that reservation is within allowable advance start times, a green "Start" button will display in the Action column for that reservation. You will be unable to start a reservation early if another user is using the instrument.
To begin the session, click this "Start" button. The kiosk will begin the session and display the elapsed time on screen. If the kiosk is configured to work with iLab software or hardware interlock, starting the session will power on devices related to the resource (typically a monitor used to control the equipment) or unlock an application needed to control the equipment. In either case, the session interface will display:
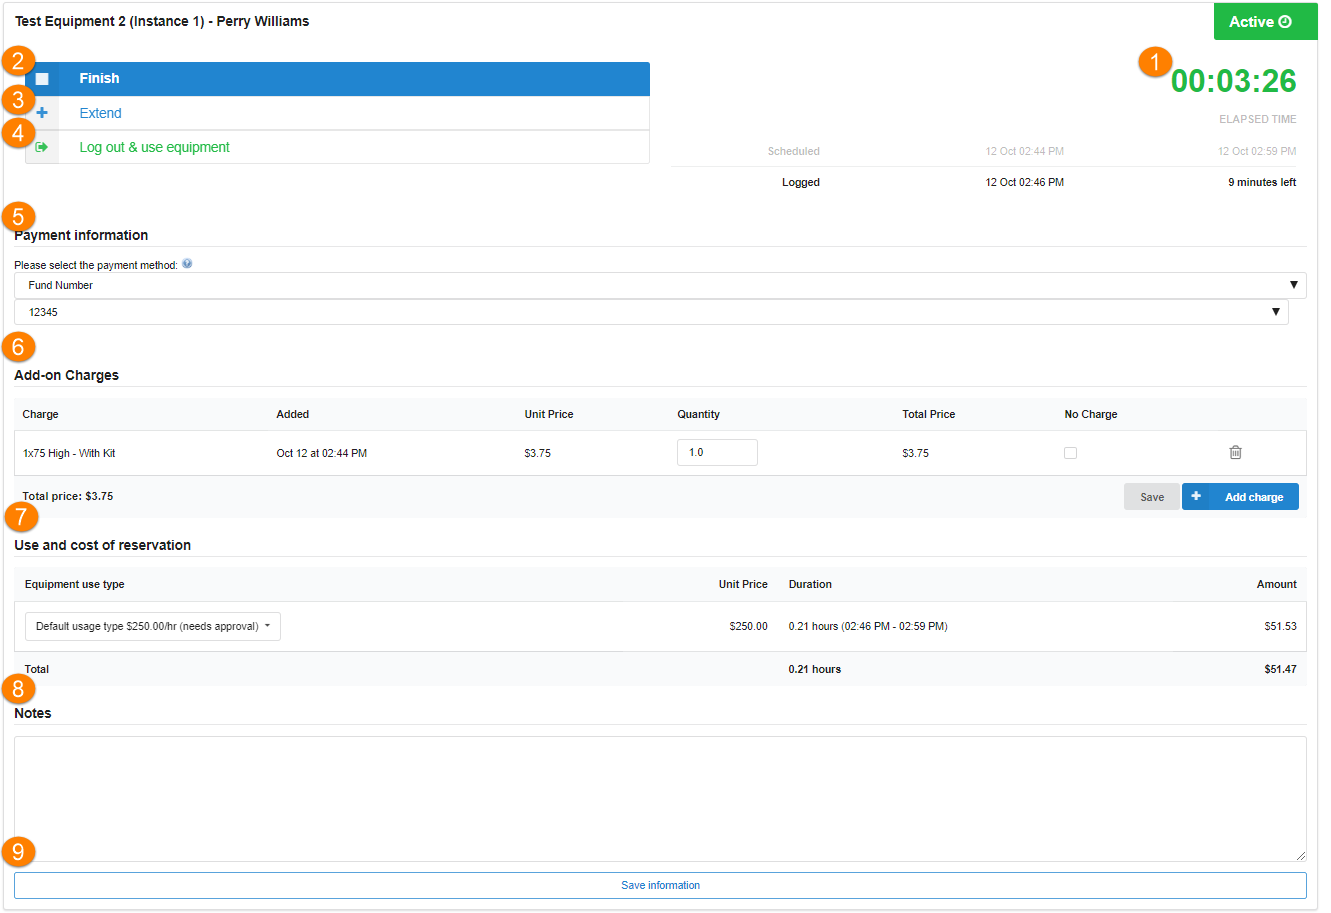
- Elapsed time: The running clock shows the time the resources has been used in this session so far
- Finish: End the session. If hardware or software interlock are set up, control devices will powered off or applications to control the equipment will be locked down.
- Extend: If allowed, you can add time to the current session with this option. Pick the additional length of time and click the "Extend" button.
- Log out and use equipment: Specifically for centrally located kiosks, you will want to log out of the kiosk so that other users cannot modify your session. Once you are done, you will return to the kiosk, log back in and finish your session.
- Payment information: Select or modify your payment information here.
- Add-On Charges: Users have the ability to adjust the quantity of any charges that have been added to the reservation. They can also use the blue button 'Add charge' to add additional available services to this reservation. Be sure to click 'Save'.
- Use and cost of reservation: Select the appropriate usage type and here and verify the associated costs.
- Notes: Users have the ability to add notes here that will reflect in the notes section in the reservation details on the main calendar. These notes default to be visible by anyone.
- Save information: save all information for this session
Create a Walkup Session
If allowed by the core, the kiosk interface can also be used to create a walkup session that starts immediately. To do so, click on the button that says 'Start Walkup Session' in the left hand side of the screen. You will then see a list of resources available for creating a walkup session. Choose a specific resource in the Equipment panel.
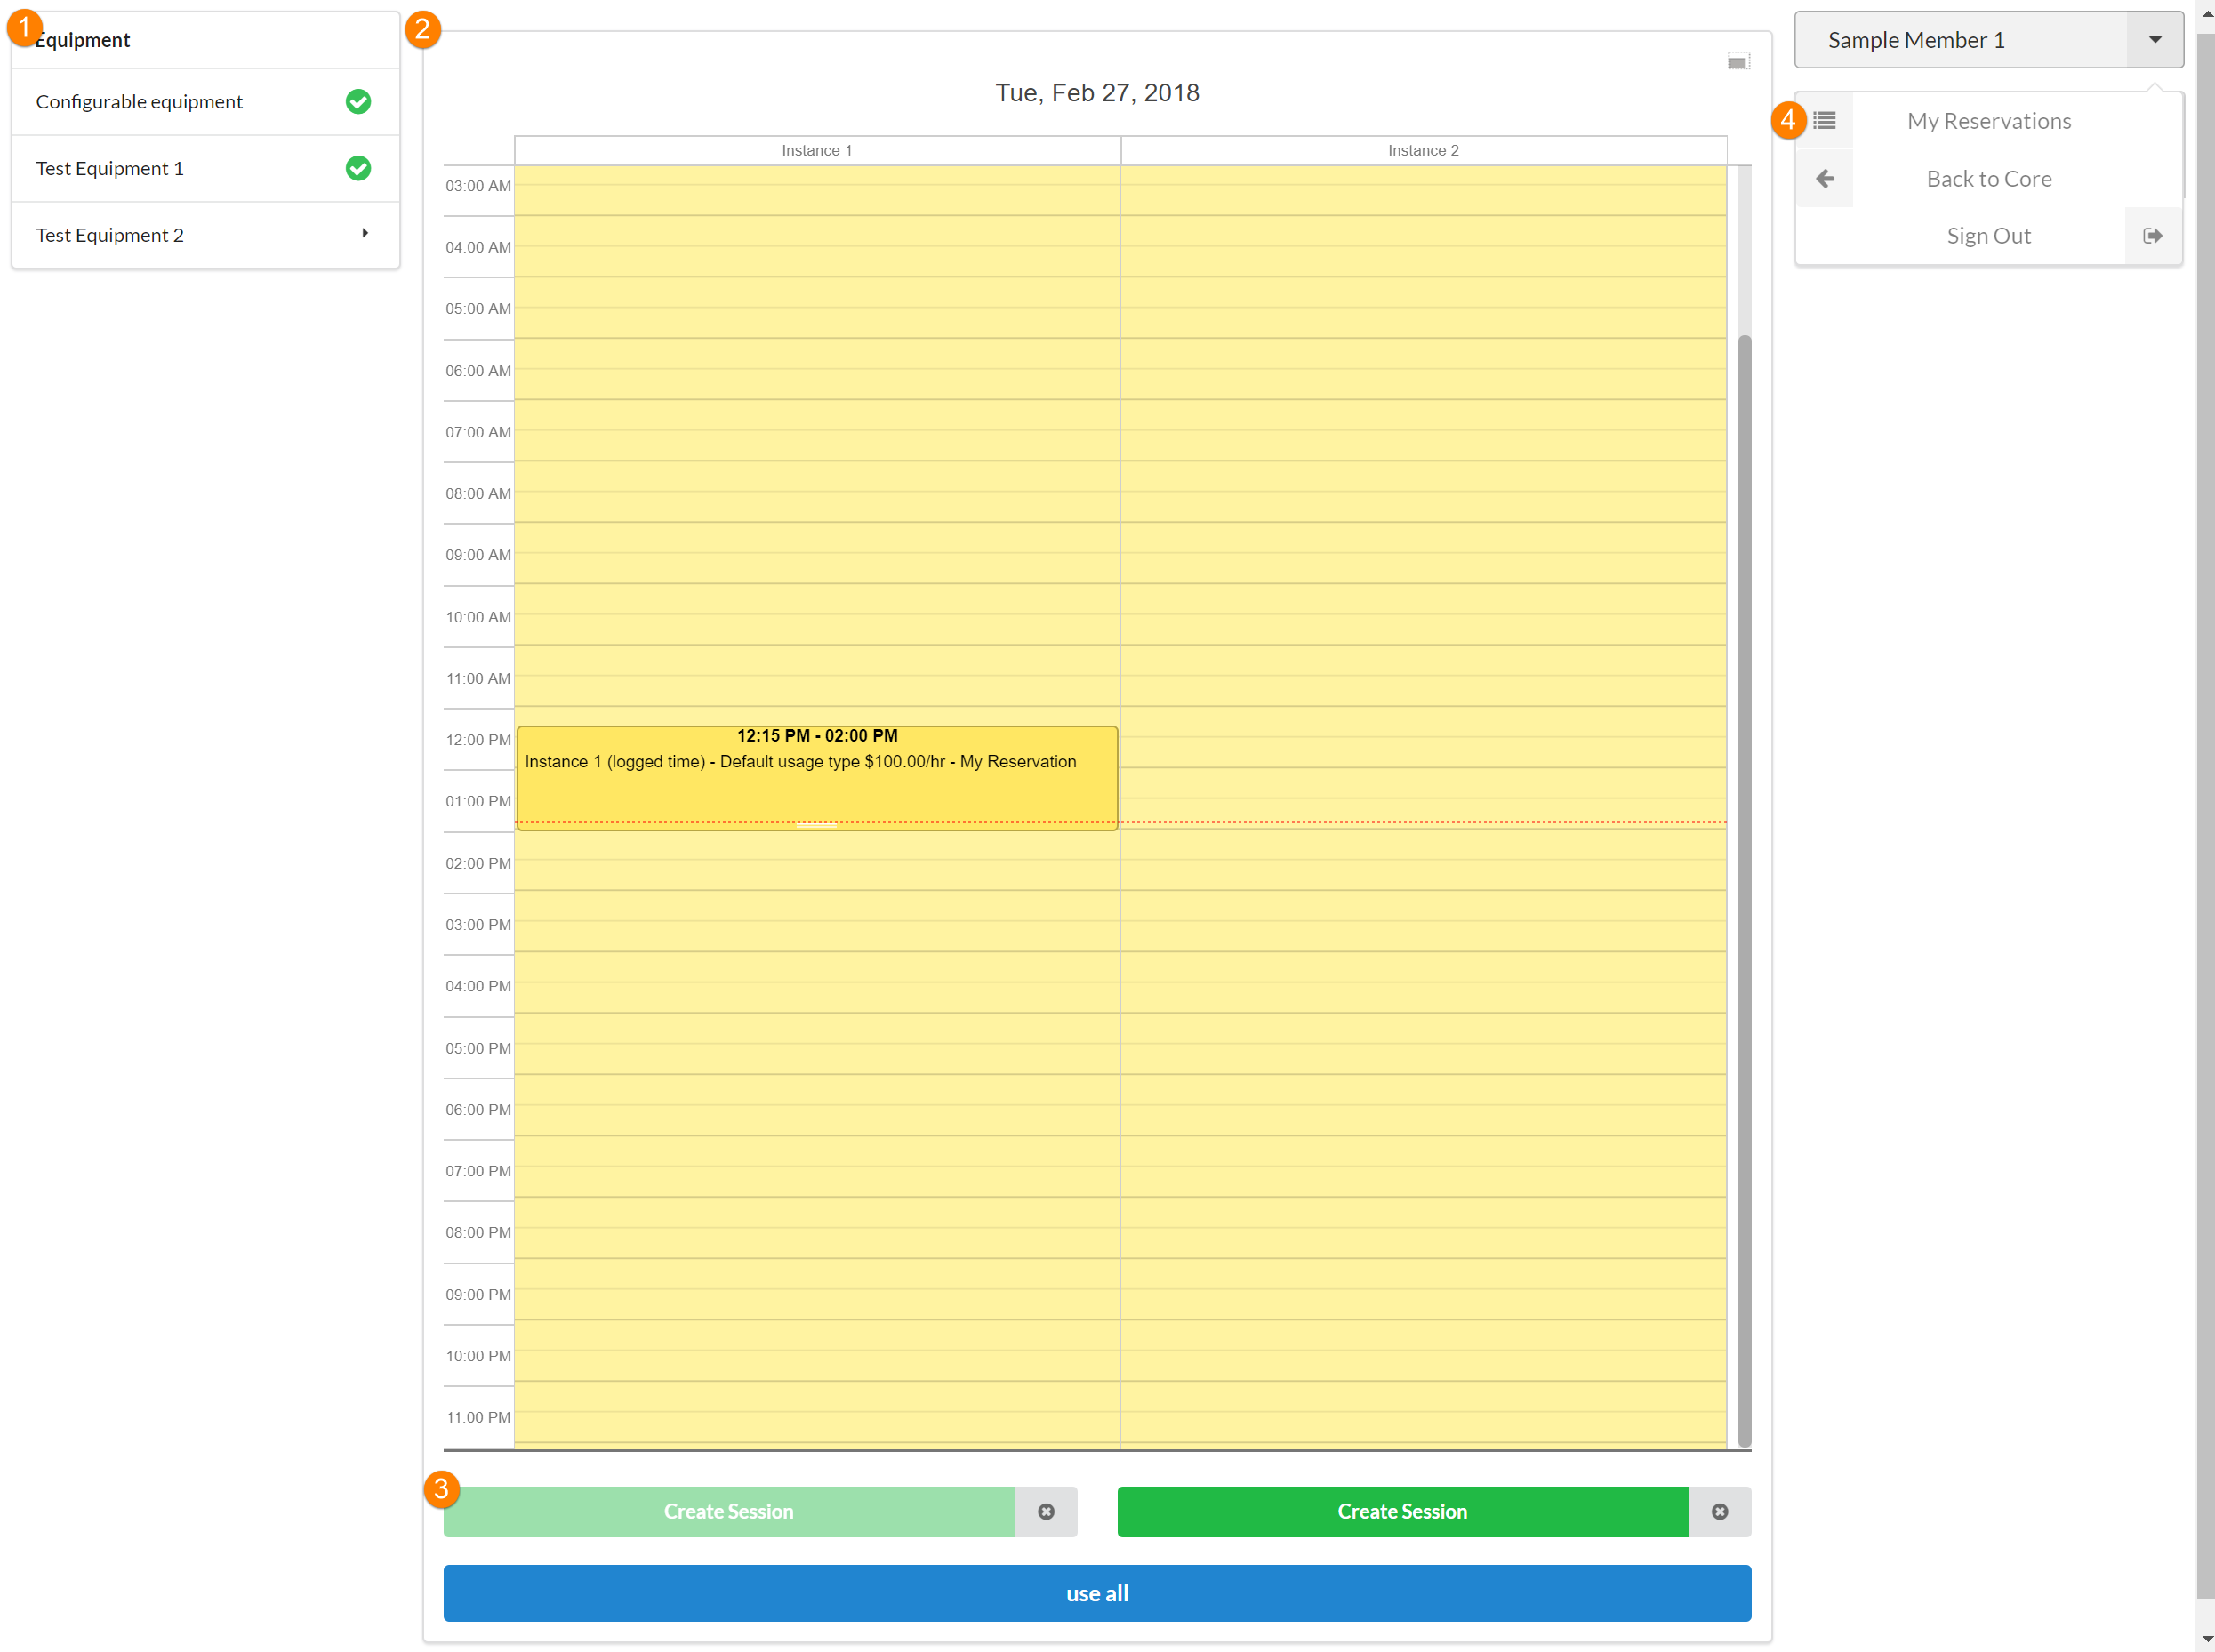
- Equipment: Select the equipment that you want to create a session on. Equipment with a green check mark is currently available for a session. For equipment with multiple instances (e.g. multiple physical instances of the same machine), a little arrow will display. Clicking on this resource will show a popup with the individual instances listed, together with an option to "View all" instances.
- Schedule: The middle panel will display the schedule for the selected equipment (or instances of the selected equipment). If multiple instances are selected, one column will be displayed for each (with the instance name shown at the top).
-
Create session: Start a new session. A pop-up will ask the planned length of the session. Click "Create Session" to immediately start a session. This will open up the Active Session display discussed above.

- My reservations: Click this link, available under the right-hand profile menu, to bring you back to the reservation display