The Settings tab in each institution allows you, the Institution Administrator, to define settings that will apply to the entire institution. The institution's Settings tab is accessed through the Institution Dashboard. To navigate to a specific section in settings, use the table of contents on the left side.
NOTE: The sections listed my differ based on your institution's initial configuration.
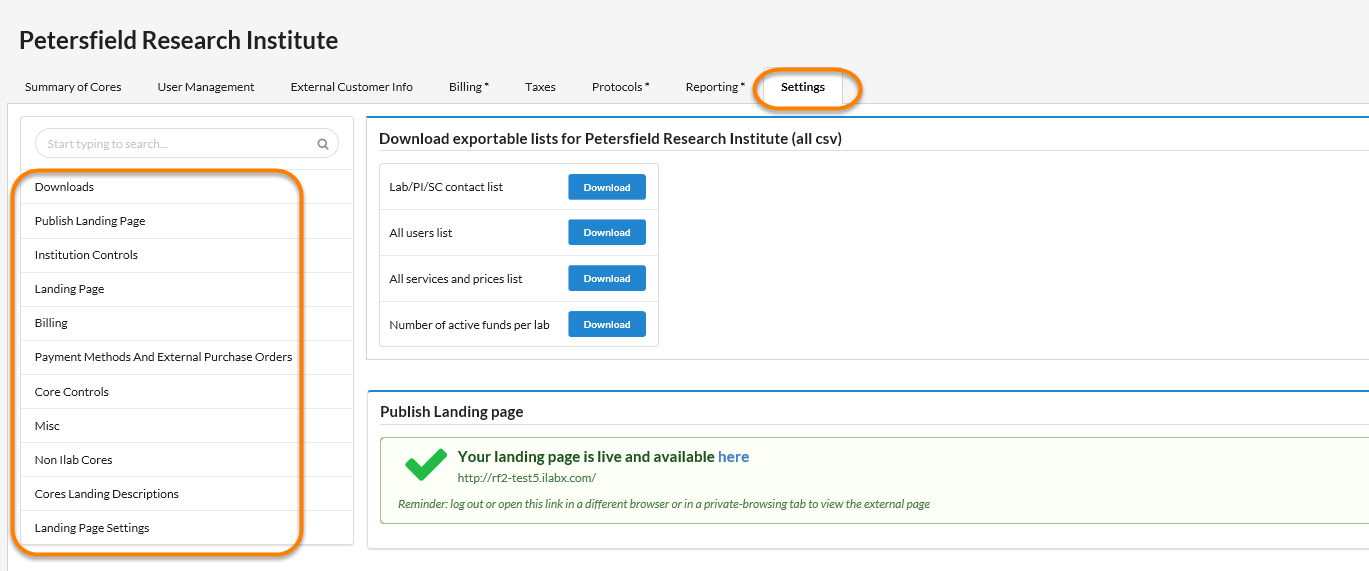
- Downloads
- Publish Landing Page
- Institution Controls
- Landing Page
- Billing
- Payment Methods and External Purchase Orders
- Core Controls
- Misc
- Manage Non-iLab Cores
- Cores Landing Descriptions
- Landing Page Settings
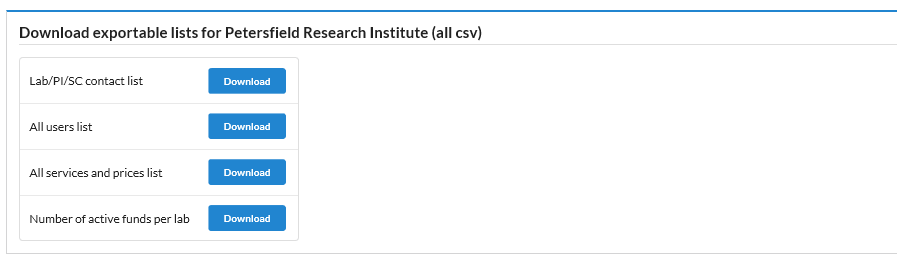
Click on the Download button to receive a .csv file of the data from your whole institution.
Publish Landing Page
This setting allows you to Publish or Unpublish your external institution landing page. To view what your landing page looks like in the preview or live mode, click the here links.


Institution Controls
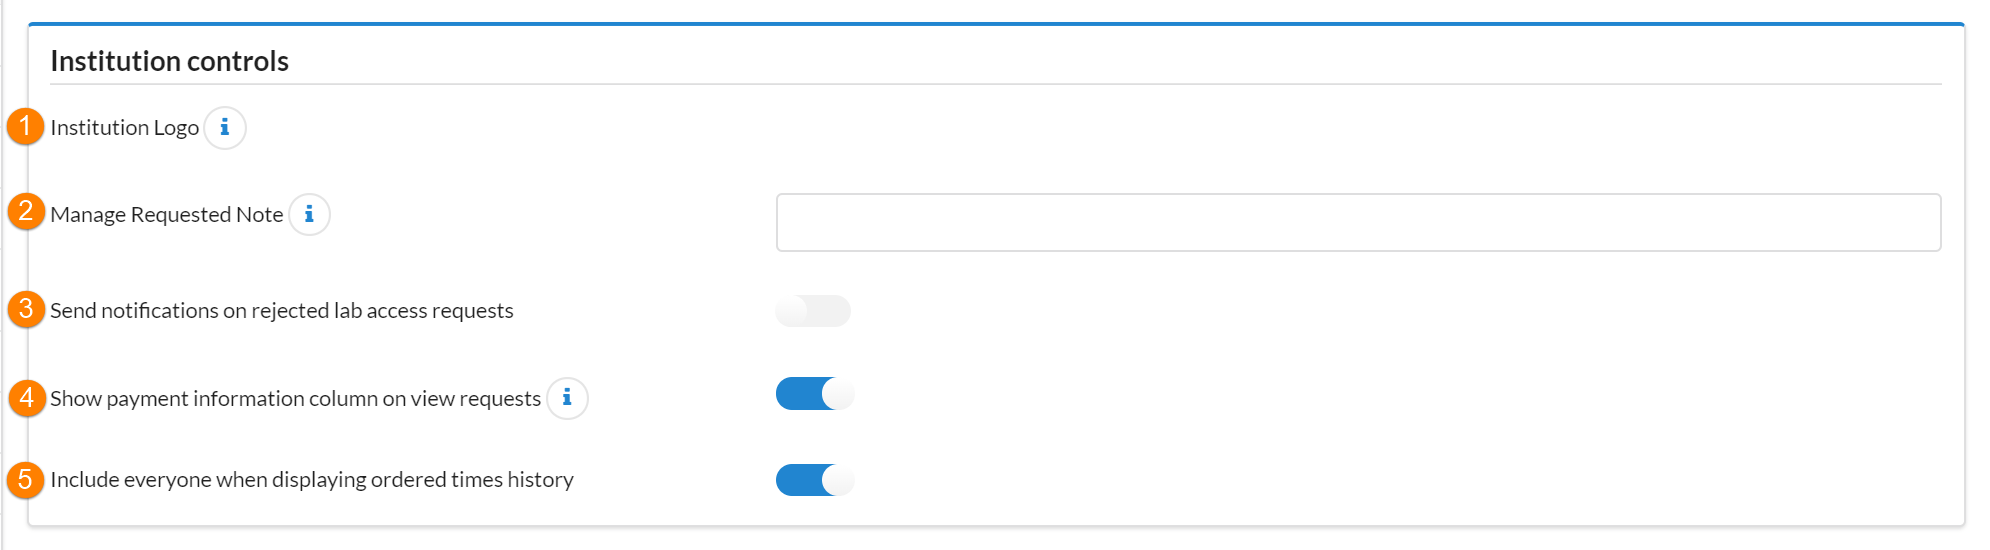
- Institution Logo: This is the logo link for your institution or organization, which is displayed in your About our Institution or organization tab as well as on invoices. If you would like to change your logo, contact iLab Support.
- Manage Requested Note: Enter a note to appear on the administrator's Managing Request page.
- Send notifications on rejected lab access requests: Indicate if institution administrators should receive an email when a lab manager within their institution rejects a request for membership. The institution administrator can recall and accept the rejected request, if desired.
- Show payment information column on view requests: Indicate if a payment information column should be visible on the view requests page. The view requests page can be accessed through the top left menu link.
- Include everyone when displaying ordered times history: Indicate whether to include everyone when displaying ordered times history.
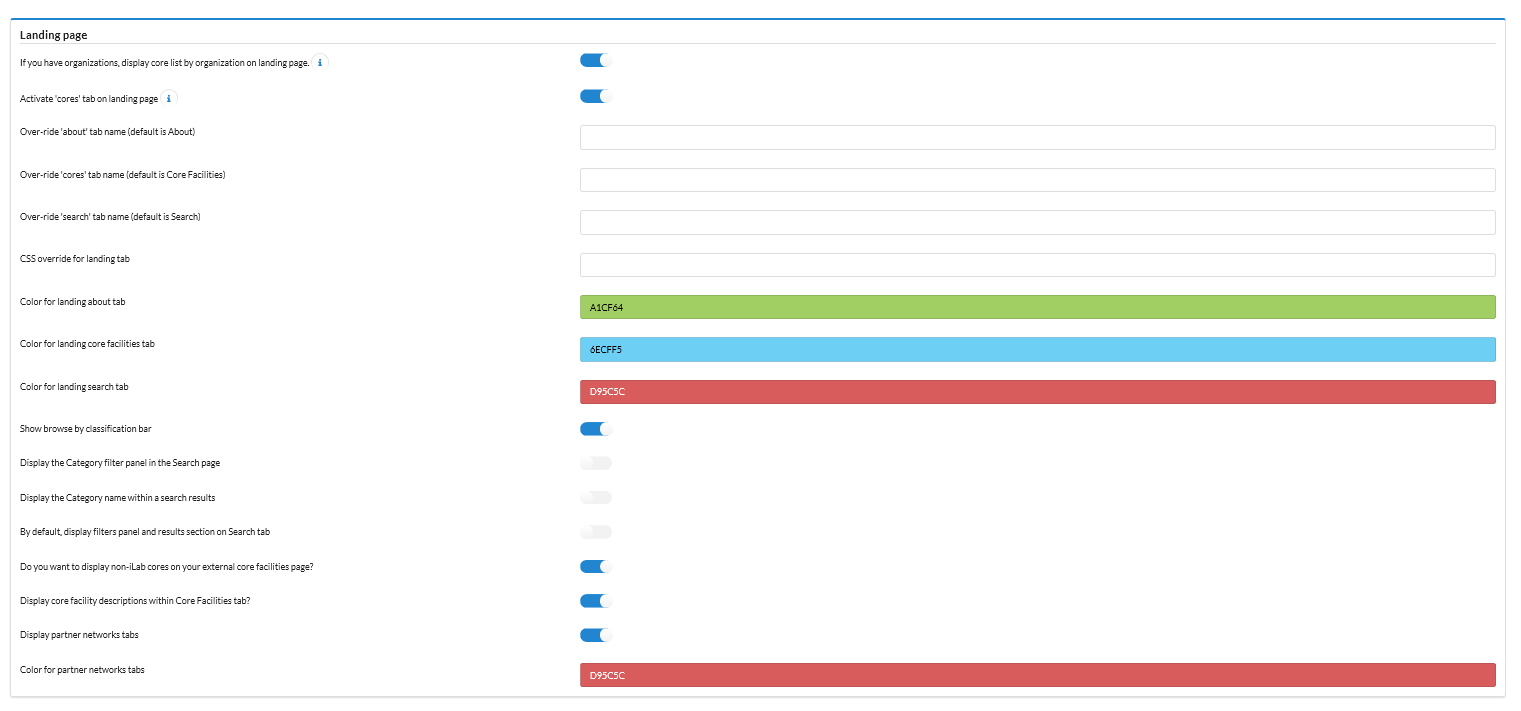
Landing Page
Please contact iLab Support to update/edit any of the landing page settings below.
Billing
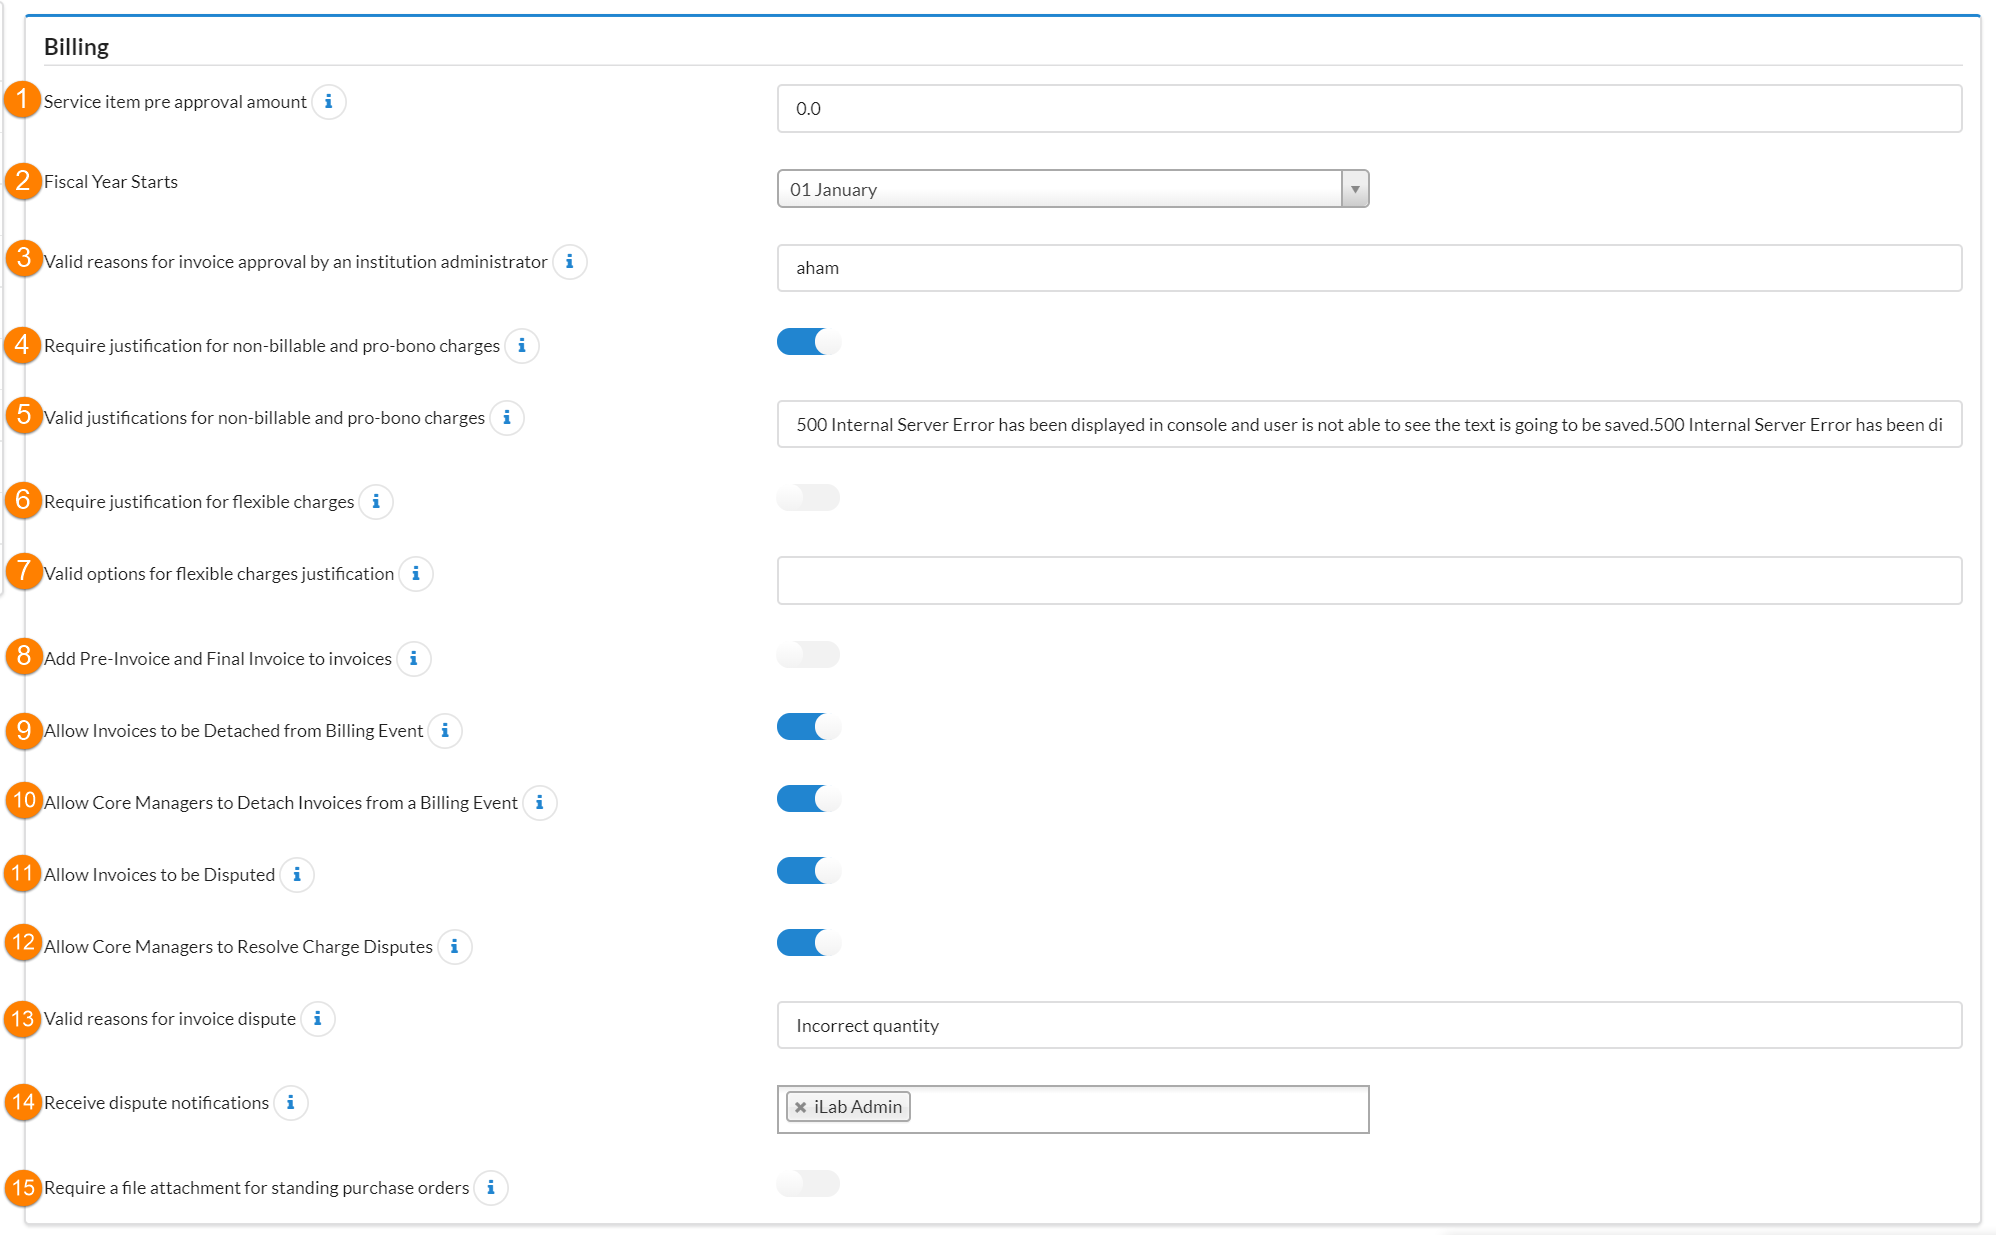
- Service item pre approval amount: Enter the amount to auto-approve service requests up to, this will be the default for all internal groups but can manually be changed in the individual group settings.
- Fiscal year starts: Indicate when your institution's fiscal year starts.
- Valid reasons for invoice approval by an institution administrator: Enter valid reasons for invoice approval by an administrator. Separate reasons with an "|". NOTE: This setting is visible if you have invoice approval setting turned on.
- Require justification for non-billable and pro-bono charges: Indicate if the institution should require justification for non-billable or pro-bono work. If the answer is YES, enter valid justification reasons in the next field.
- Valid justifications for non-billable and pro-bono charges: Enter valid reasons for non-billable and pro-bono charges. Separate reasons with an "|".
- Require justification for flexible charges: Indicate if the institution should require justification for flexible charges. If the answer is YES, enter valid justification reasons in the next field. NOTE: Flexible charges are charges that are not listed as a service fee.
- Valid options for flexible charges justification: Enter valid reasons for flexible charges justification. Separate reasons with an "|".
- Add Pre-Invoice and Final Invoice to invoices: Indicate if a pre-invoice and final invoice should be added to invoices. A pre-invoice is a list of charges sent to the customer after the work has been completed. It gives the customer the opportunity to dispute charges before the final invoice is sent. A final invoice consists of the charges that remain after any disputes have been resolved with the pre-invoice.
- Allow Invoices to be Detached from Billing Event: Indicate if the institution should allow invoices to be separated from a billing event and re-associated to a different billing event in the future.
- Allow Core Managers to Detach Invoices from a Billing Event: Indicate if the institution should allow core administrators/managers to detach invoices from a billing event. If not turned on, only institutional administrators and institutional financial managers may detach an invoice.
- Allow Invoices to be Disputed: Indicate if the institution should allow customers to be able to dispute a final invoice, indicate YES in this field.
- Allow Core Managers to Resolve Charge Disputes: Indicate if the institution should allow core administrators/managers to resolved invoice disputes.
- Valid reasons for invoice dispute: Enter the valid reasons customers may select for an invoice dispute. Separate reasons with an "|".
- Receive dispute notifications: Indicate who should receive email notification when an invoice has been disputed. In the case above, the iLab Administrators for this core will receive the invoices.
- Require a file attachment for standing purchase orders: Indicate if the institution requires a file to be attached when creating or updating a standing purchase order.
Payment Methods and External Purchase Orders

Turn this on to display Pay Now on invoices and allow a single payment method to be entered for the invoice.
Core Controls

- Google analytics ID for external page: Enter Google analytics ID (UA-XXXXX-X).
- Allow cores to create billing files or invoices?: Turn on if core administrators/managers are allowed to create billing events containing the billing file and invoices.
- Ready for review billing event notification email addresses: Type in the name of the administrator that should receive notifications when a billing event is marked as ready for review. Note: this setting is only an option when the setting Allow cores to create billing files or invoices? is turned off.
Misc

- Text for Login Page for institutions with integration: Enter the text you would like to appear on the login page.
- Note for Lab Page header: Enter the text you would like to appear on the lab page as a header.
Manage Non-iLab Cores
Enter information for non-iLab cores to be displayed on your institution landing page. Click Save once you have completed all needed information.

Core Landing Descriptions
Enter a description for each iLab core to be displayed on the institution's landing page. Click Save when complete.

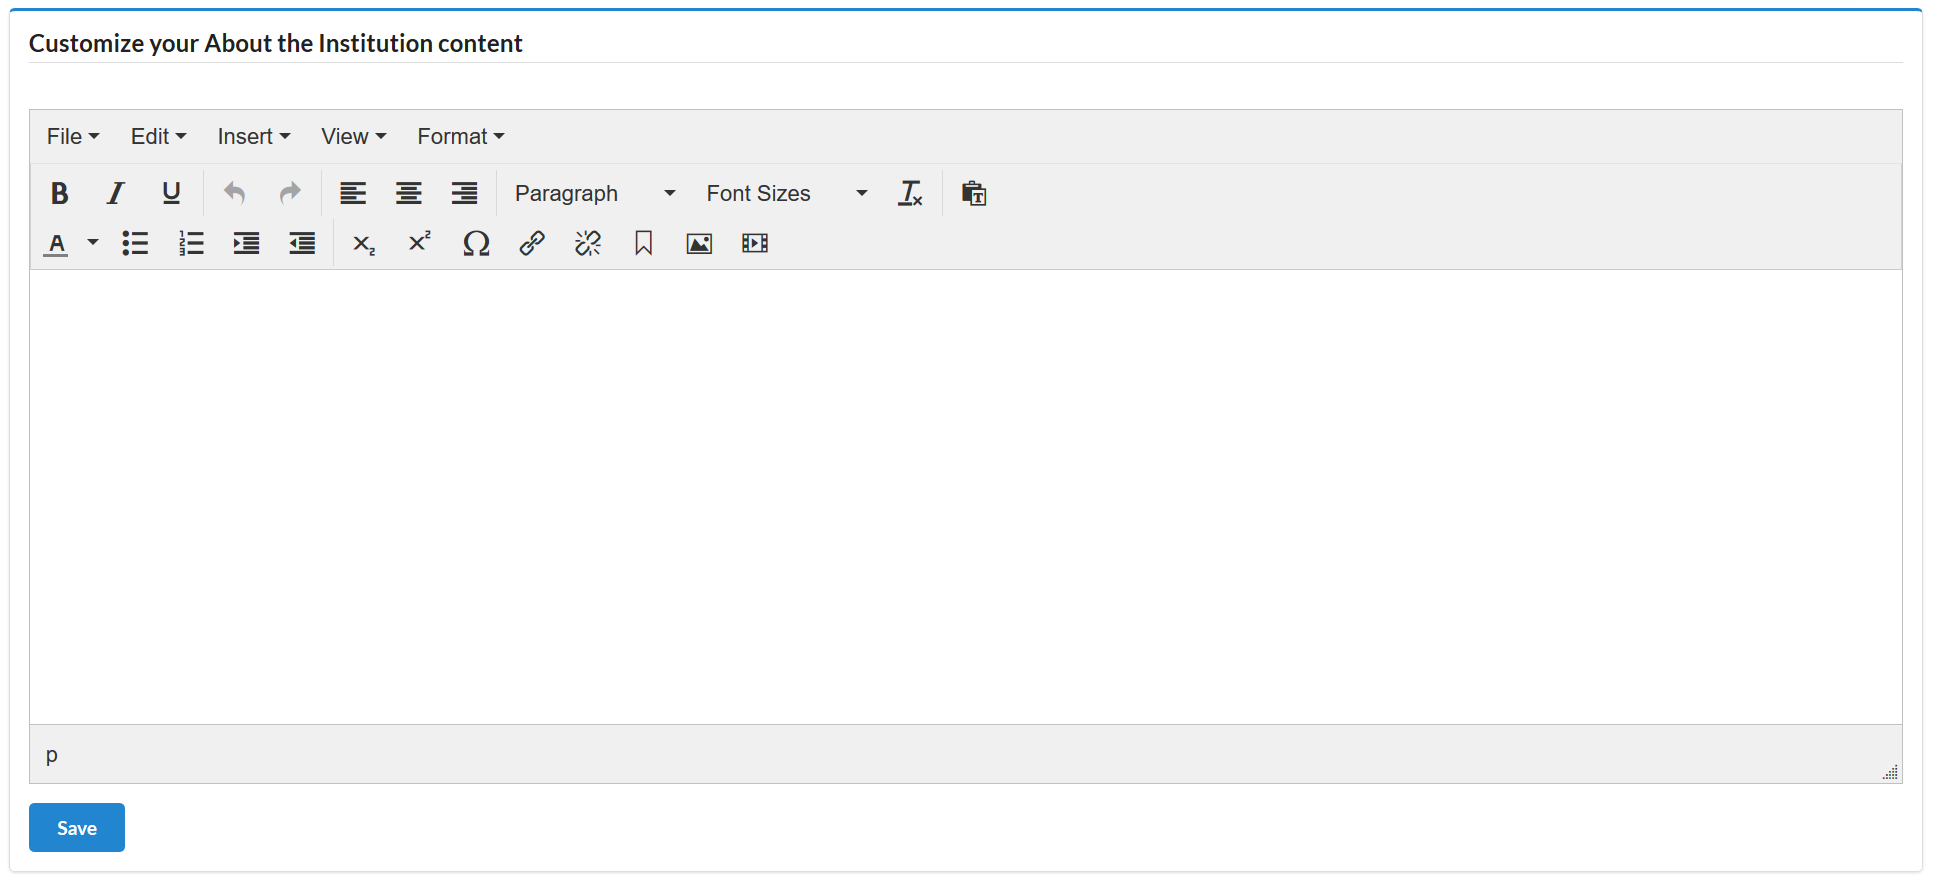
Landing Page Settings
Enter information to customize your institution's landing page. The text will appear on the About Our Institution landing page. Click Save once you have added the wanted information.