When you have several different types of orders, it may be beneficial to group your orders into ordering blocks to better manage your responsibilities. By selecting how items should be processed that land in this order block, language and highlighting will display on the screen which will help managers determine what action should be taken. Choosing an option will NOT, however, restrict lab managers from performing other actions on items.
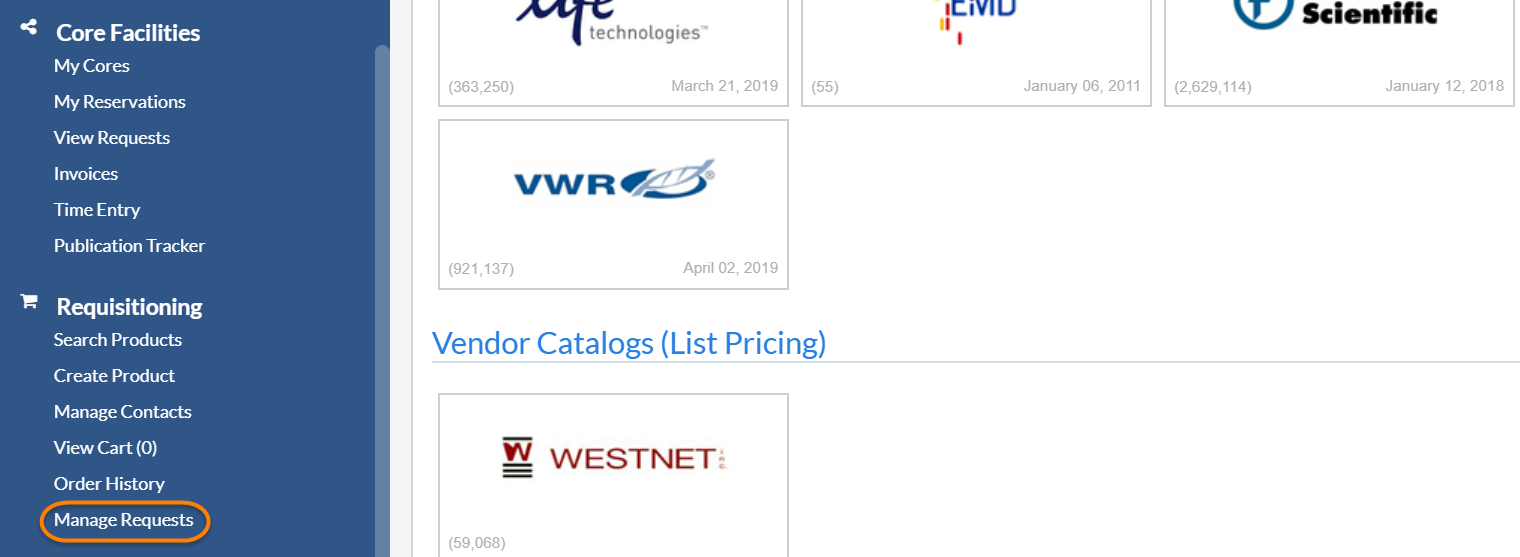
STEP 1: From the core's homepage, access manage requests under the Requisitioning tab.
The order management screen displays.
STEP 2: Create a new ordering block.
There is a default ordering block created for every all unassigned requests in the core. All requests will be assigned to this general ordering block unless and until they are assigned to a new block.
To create a new block, click on add block link on the Ordering Block tab.

The Ordering Blocks management fields will display.
STEP 3: Select a recommended action for your new ordering block.
Once you complete Step 3, you will be asked to select a recommended action for your new ordering block.
Options are:
- Purchase: The recommended action for items in this order block is to select, review and Process Items for Purchase
- Approve: Order blocks can be defined through order rules to advance to different blocks depending on the way the rules are defined. These must be set up through iLab Support.
- Filter: The recommended action for items in this order block is to filter into appropriate order blocks (i.e. by vendor) for eventual purchase by clicking Move to Order block.

STEP 4: Name your new block.
You will want to name your new block in a manner which will easily distinguish it from the other blocks.

STEP 5: Add a note, if desired.
You may add a note about your new ordering block if you desire. This note will display beneath the block name and usually offers more details.

STEP 5: Click Create.
When you are satisfied with the content, click Create to save and create your new block.

Your new block will now display and is ready to accept orders.

Editing a block
To edit an existing block, click on the pencil icon and edit the content.

Deleting a block
To delete an existing block, click the red X beside the block.

Email notification options
You may define whether you will receive email alerts. If the email icon is blue (on), you will receive alerts once a day at 8:00 a.m. and when orders come into this block during the day. If the email icon is gray, the notification is off.
