In the Studies module, the panel serves as an easy way to quickly navigate to specific parts of the study. The panel is on the left side of an open study.
To edit any section of the study, click on the pencil icon in the upper right hand corner. This will turn the section into an edit mode. When you have completed your updates, click the "save" button at the bottom of the section.
NOTE: The areas you can edit are dependent on your privileges. A core customer would not have access to change some of these fields.
- Summary
- Status and Dates
- Research Team
- Fields
- Forms
- Subjects
- Notes
- Cost Analysis
- Attachments
- Protocols
- Templates
- Scheduled Resources
- Statistics
- Data Links
- Comments
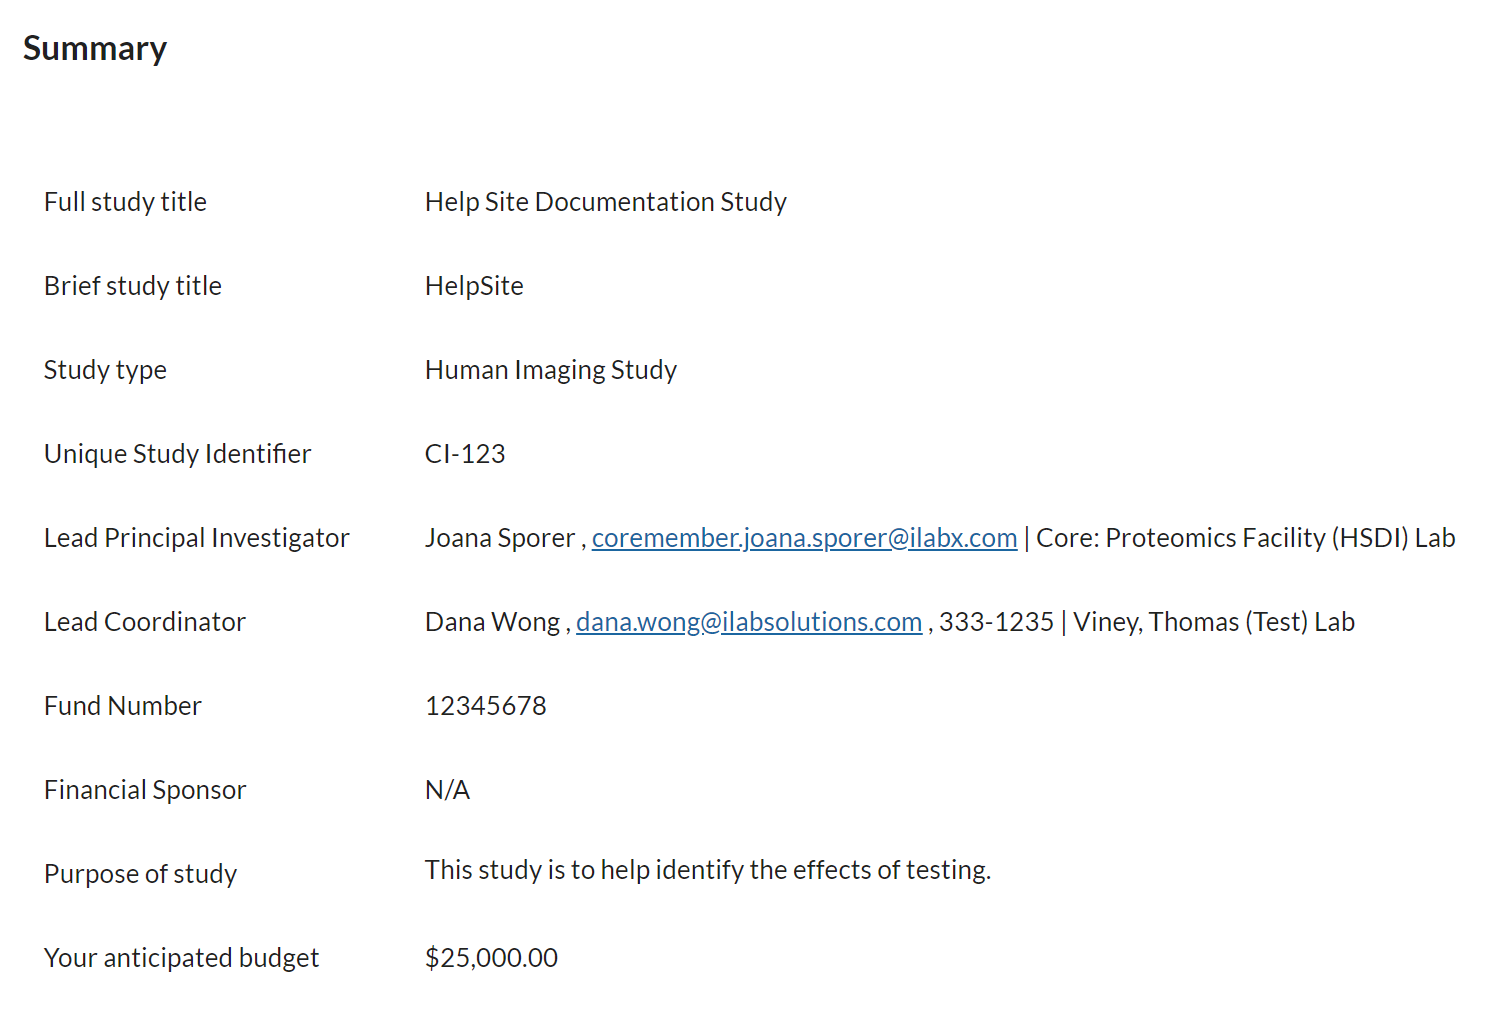
Summary
- Contains the highest level overview of the study, including the full title and a summary description.
- This helps identify the purpose and content of the study.
- All fields in this section are visible to both the customer and the core.
- Several fields are editable only by the core.
- The unique identifier - this can be renamed to a term more applicable (IRB, IACUC, etc.) and is only editable by the core.
- Several fields are editable by both the customer and the core.
- All dates labeled "anticipated" can be made editable by the customer.
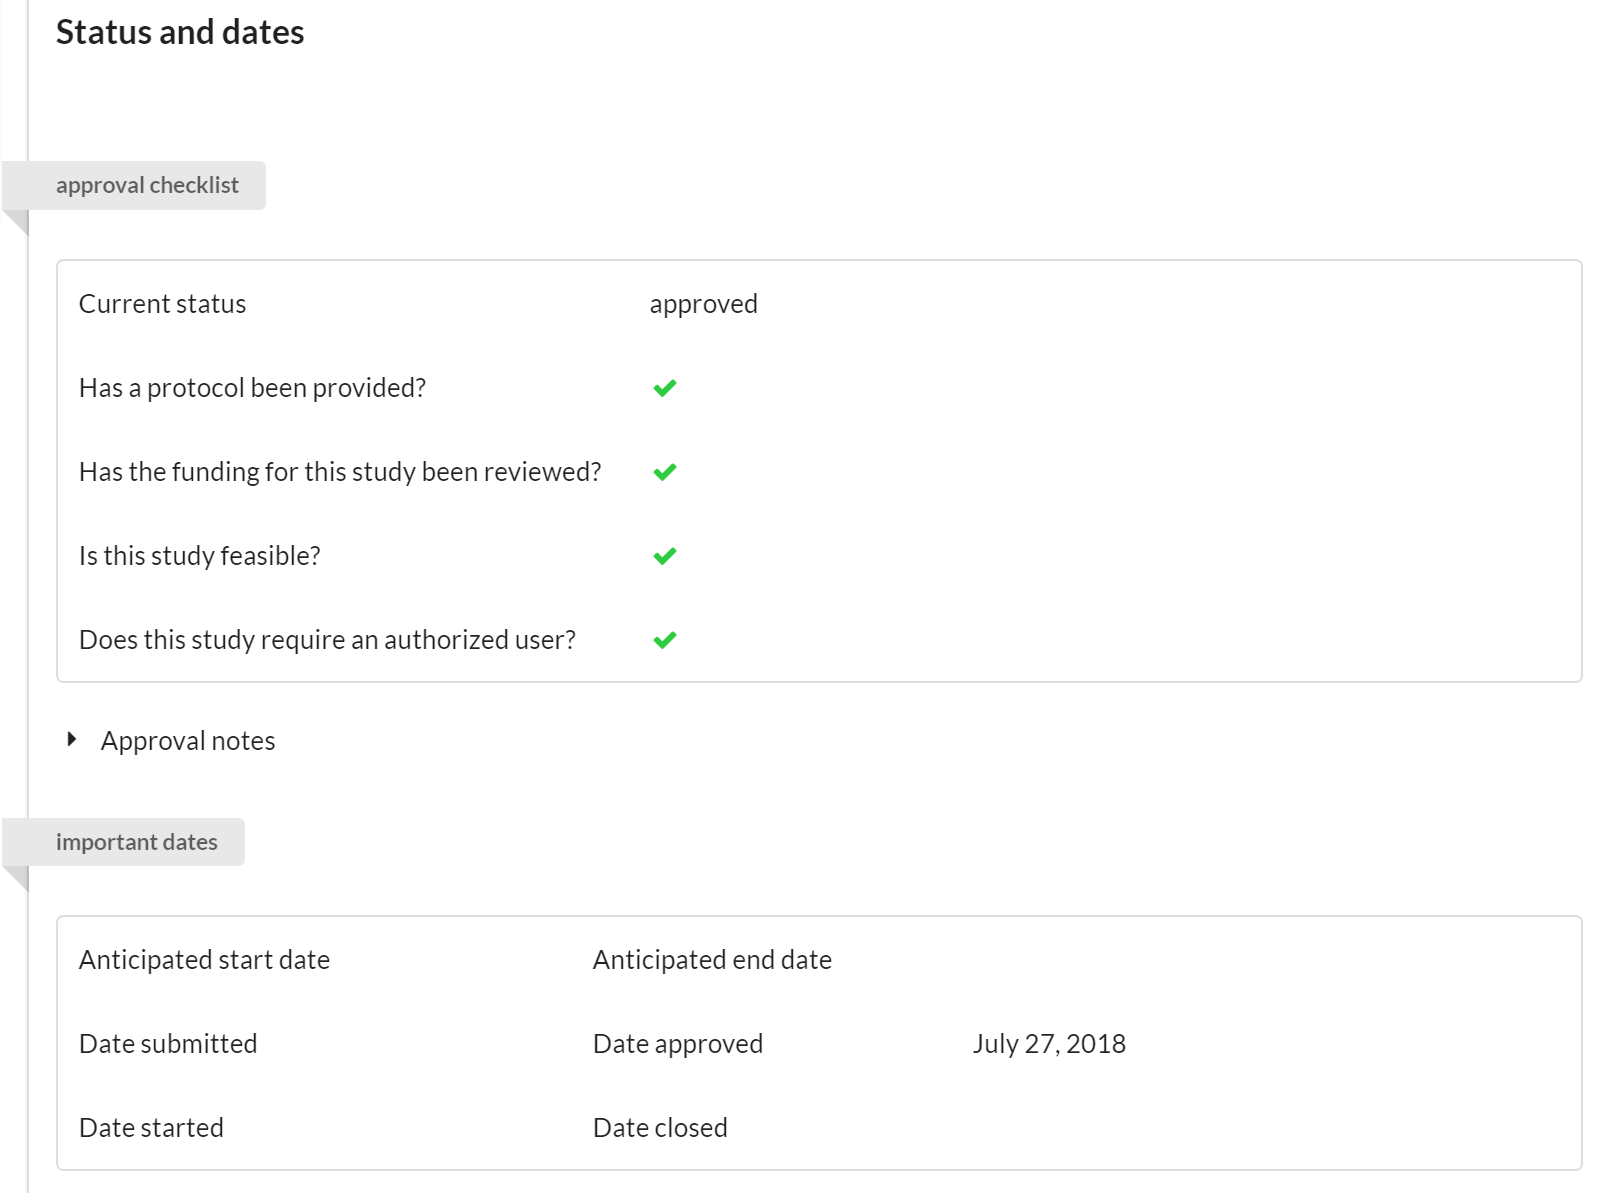
Status and Dates
The key function of this panel is to track the status of a project. We’ve integrated a basic checklist that allows the core to indicate:
- Whether a valid protocol has been provided for work that is to be conducted.
- Whether the financials seem in order.
- Whether or not the study is feasible.
- If the study involves subjects, you can indicate if there's an authorized user that can make changes if required (ex. the subject is allergic to a drug typically administered in the study, so the authorized user can prescribe the use of a different drug).
Additional section features:
- Visible to the Core and to the Customer.
- Editable by the Core only.
If any of the items on the checklist have not been approved, a status icon on the studies list view will provide all users with a warning. Furthermore, several of the approval states tracked in this section can be used to filter for studies on the list view.
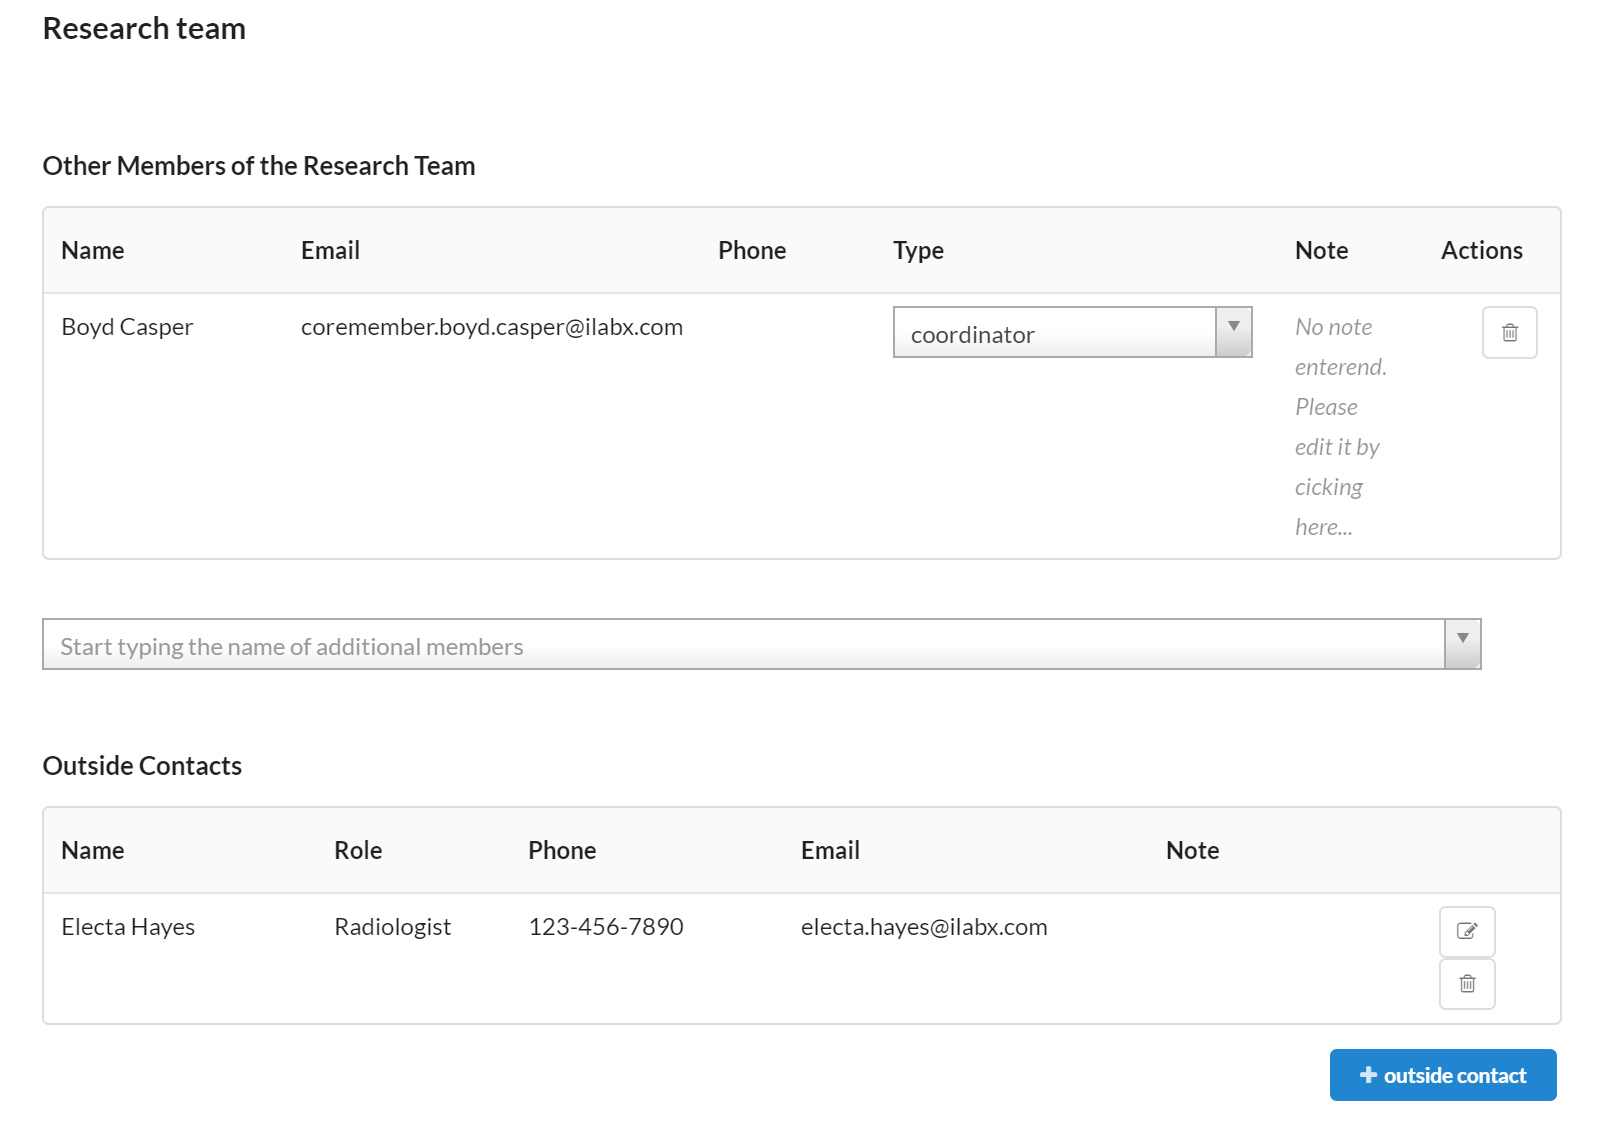
Research Team
The Research Team section allows you to designate any staff involved in the study.
- The Other Members of the Research Team portion allows you to search and add any individual that has access to the study in iLab.
- Outside Contacts enables you to list any additional team members that do not have an iLab account. This section will allow you to access their contact information easily within the study.
Please note: only staff added as a coordinator will be able to take any action against the study. The authorized user, radiologist, billing contact, and other options will simply allow the team member to view the details of the study.
Fields
Fields are displayed prominently at the top of any new study request and provide a simple set of options that can be used to capture high-level information about the study from your customer. You may add a number of different field types to your study in order to capture the appropriate information.

Forms
Forms are a powerful way to capture information that is required by the customer. At any point in time, the core can add additional forms and designate them as for core use only or for core and customer user.

Features of the Form section include:
- Tool to capture complex data - including grids, conditional statements and forms for file uploads.
- Custom forms respect customer visibility settings.
- Editable by the core and the customer on the study view if visible to both core and customer.
- Can be locked to prevent the user from editing a custom form and will stop facility staff from inadvertently changing data as well.
- Can be study-level forms, or can be ‘included in visit’, which means responses can be templated to reduce duplicate data entry and to increase consistency across tests.
- Values entered can be seen on the study summary when scheduling events or initiating a new service (visit) request.
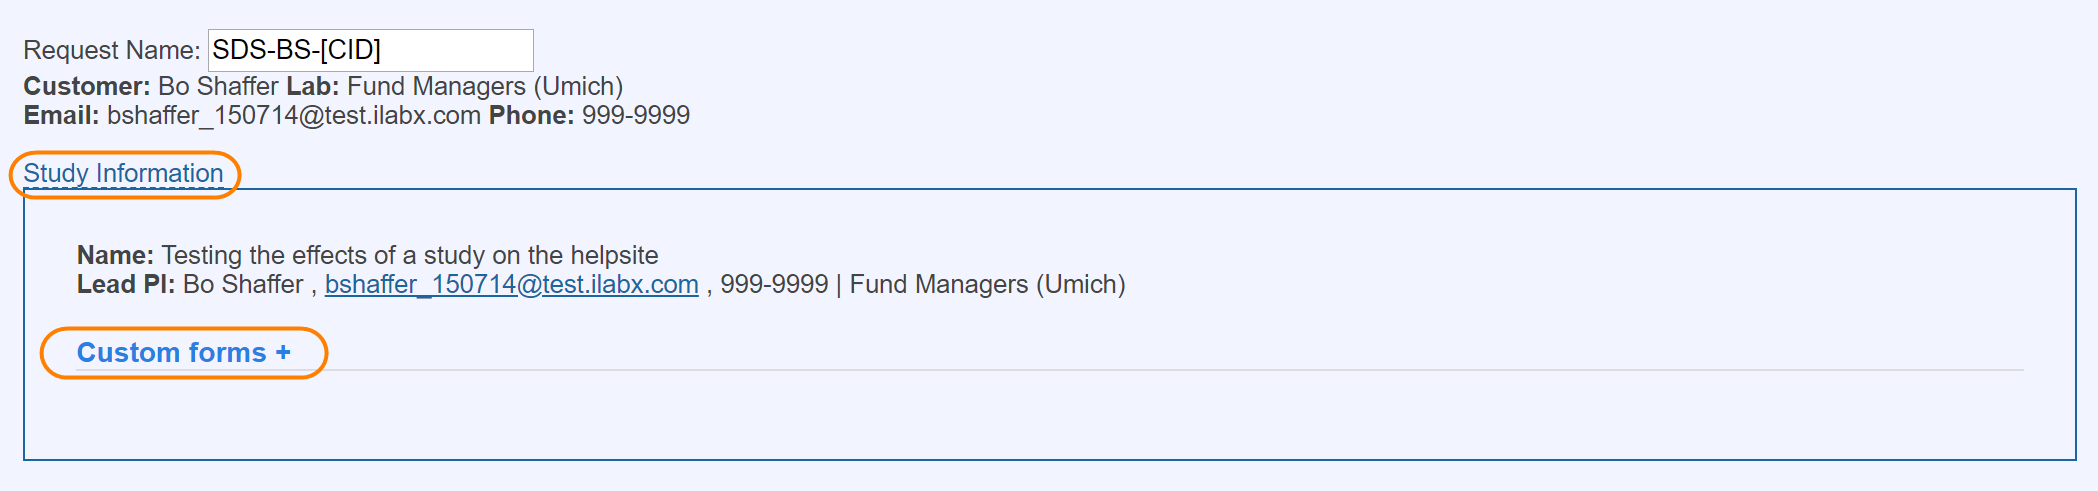
If the 'include in request?' box is checked, the completed form will default to open and display as an additional form on any request initiated off of the study.

If this box is not selected, the completed form will still be accessible in the 'custom forms' section at the top of the request when 'study information' is selected.
Subjects
The subjects panel provides several key features to the core facility as well as the customer.
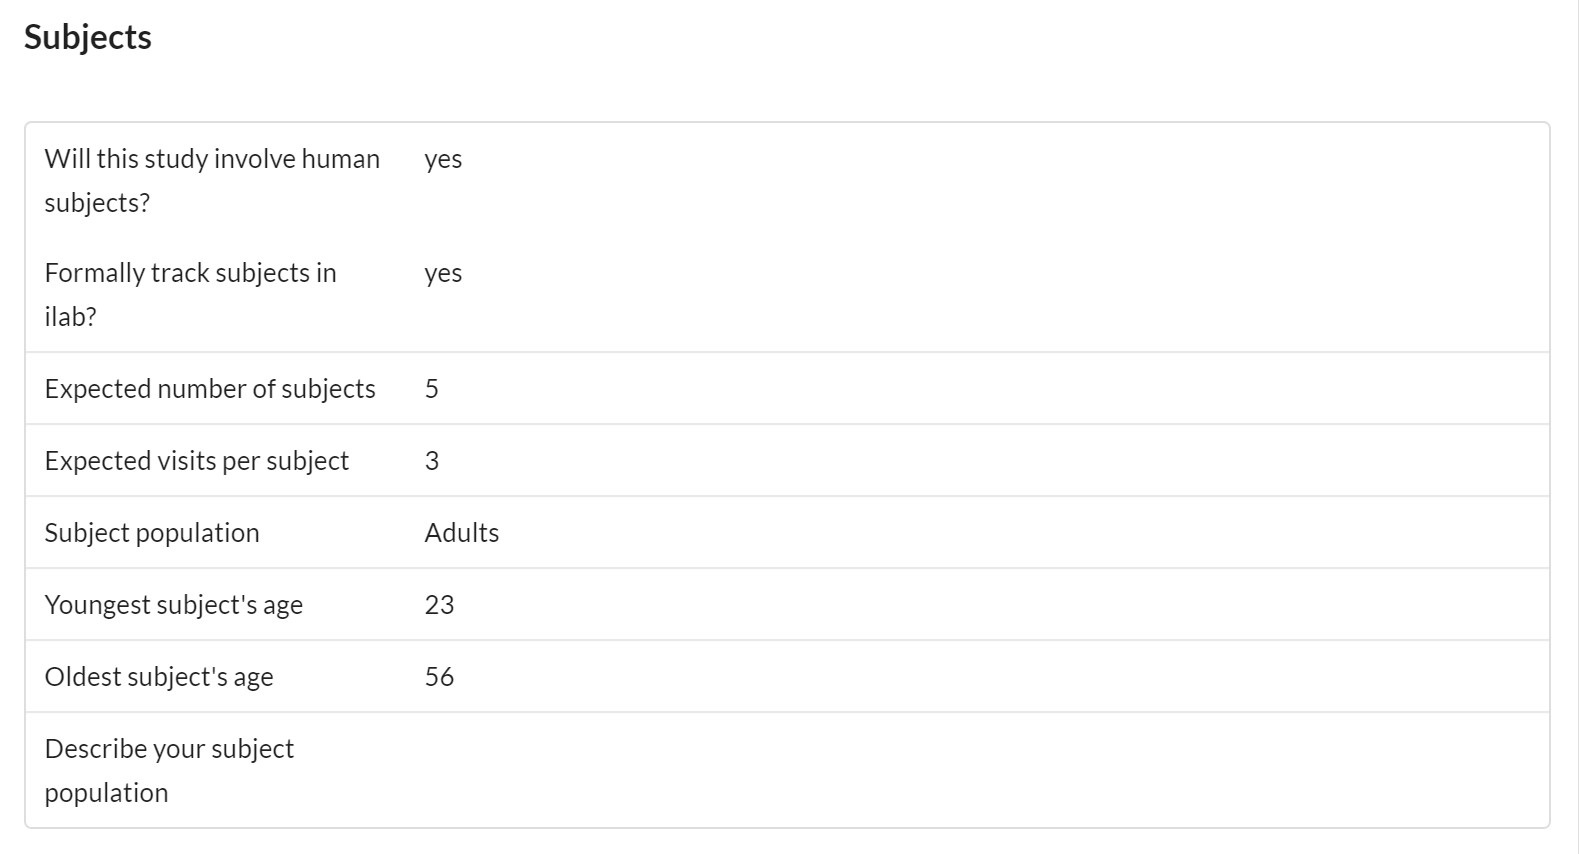
This panel helps capture important information about the age and other characteristics of subjects involved in the study.
Features of the Subject section include:
- Visible to core and customer
- Editable by core and customer
- Helps capture important information about the age of subjects involved in the study. Also allows for the flexible capture of additional information in a text area.
- The option of subject tracking allows the ability to capture specific subject data per request.
If subject tracking is activated, each new request requires the customer to formally enter information that is required for the subject. This allows more robust tracking of subject participation in a study, including a count of the number of visits as well as quick access and links to those visits.
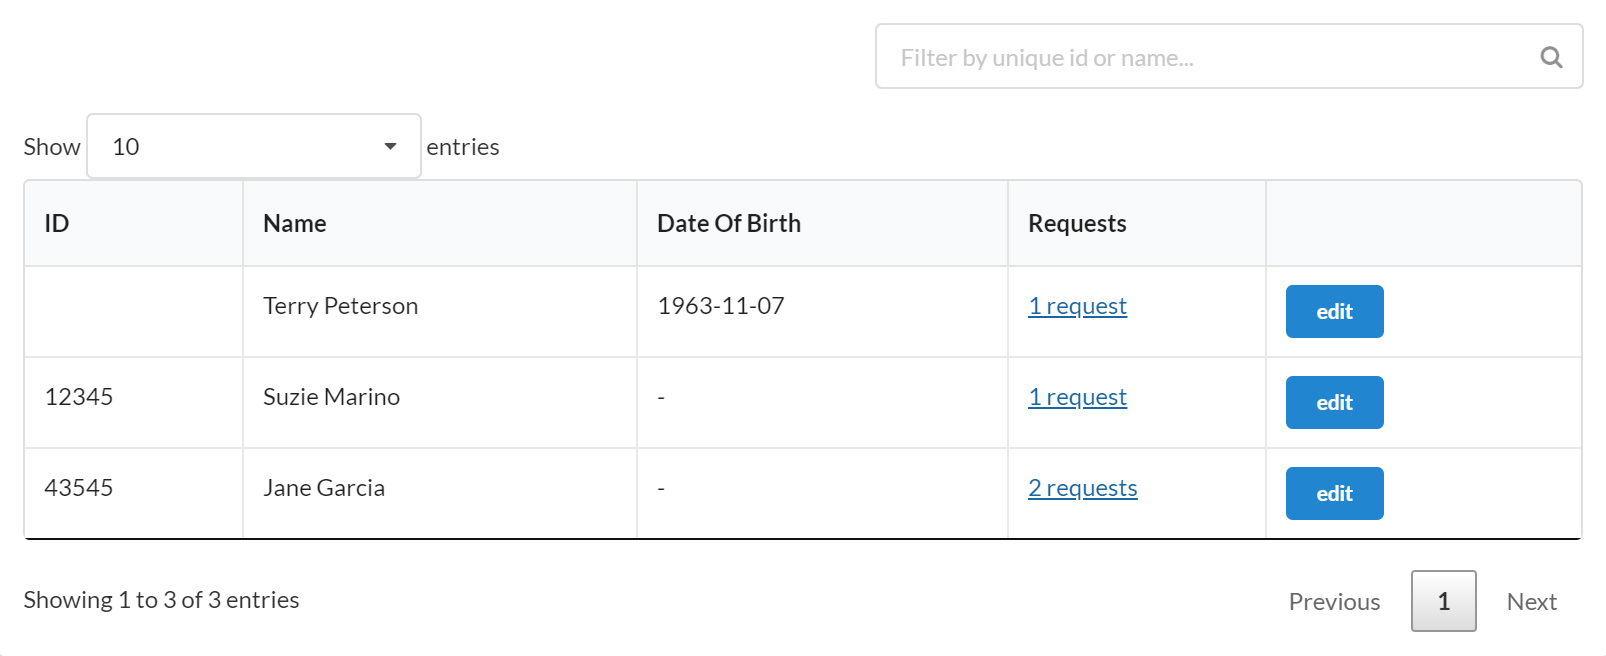
Click on a visit to see additional information about visits that the subject has participated in.
After clicking the ‘visit’ link next to an individual, we can see when and where they participated in the study. Links are provided to visits in which they participated.
With Subject Tracking turned on, you will see a section to capture Subject Information when submitting a new service request (visit). You will need to either link the visit to an existing subject involved in your study, or create a new entry for a new subject.
Here is the interface for searching for and selecting an existing subject. The system will only search for subjects who have participated in previous studies that the user has been involved with.
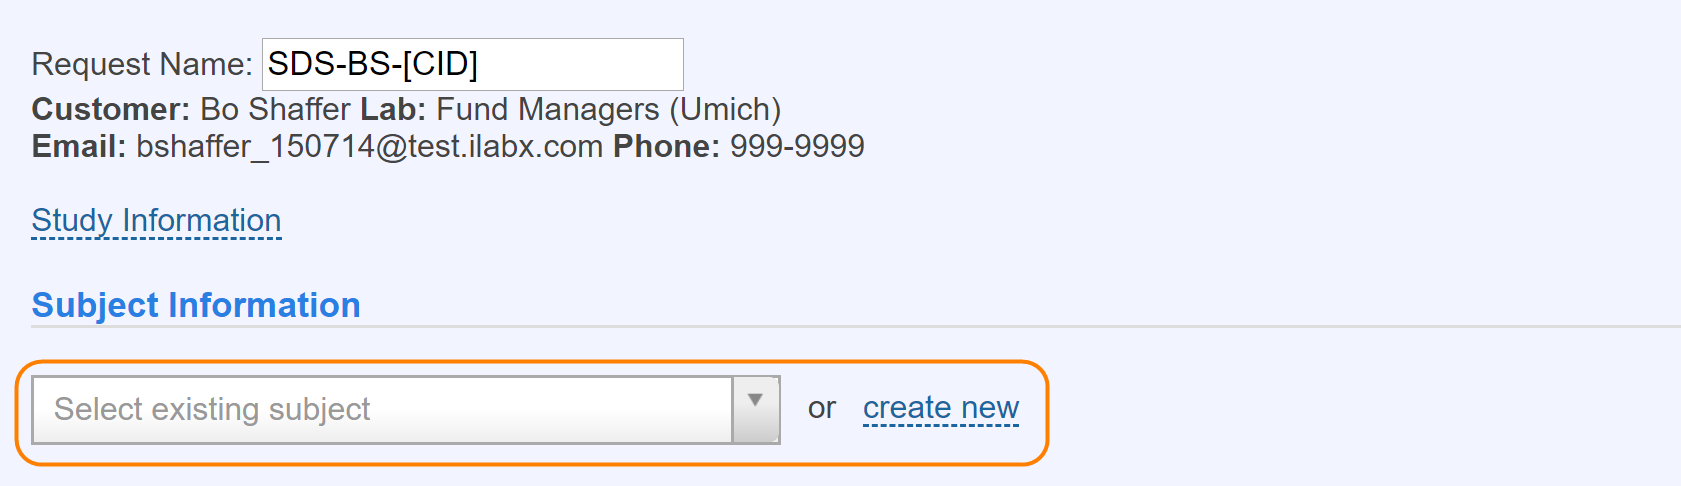
The interface above can be used when the option to formally track subjects is turned on. On a new service request, you first search to see if you can find the individual (this only pulls people who have participated in that particular study you have run in the past) who will be participating.
To add a new subject who has not previously participated in one of your studies, click on the “create new” link. You will then see the following interface where you can enter a name, date of birth and/or a unique identifier. Please note: only 2 of these fields should be populated to stay in compliance.
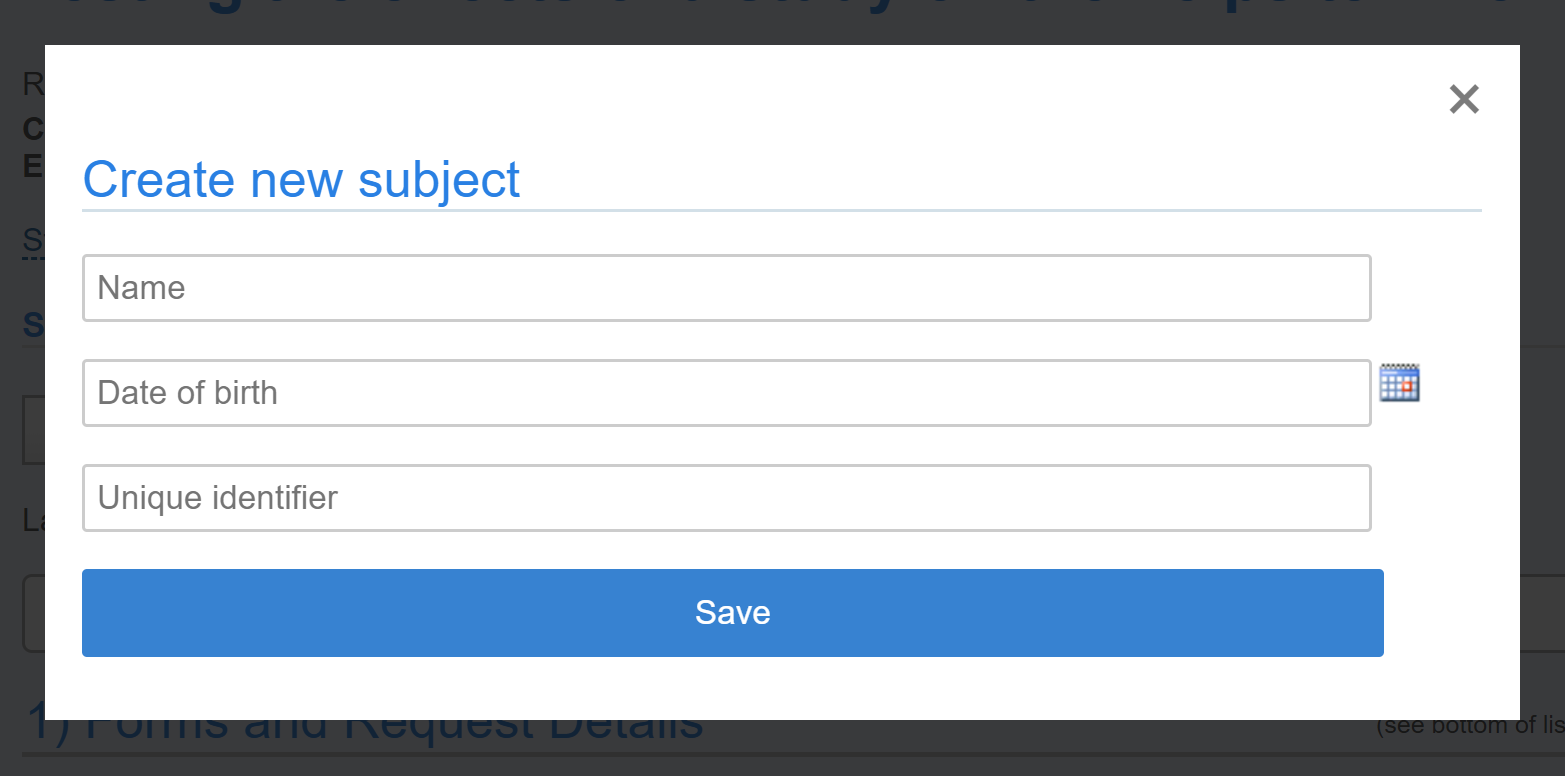
The unique subject identifier can be included in invoices. The Subject name is strategically positioned in hover-over on events and on service requests.
Notes
The notes section give the core a chance to flexibly store other important information about the study.
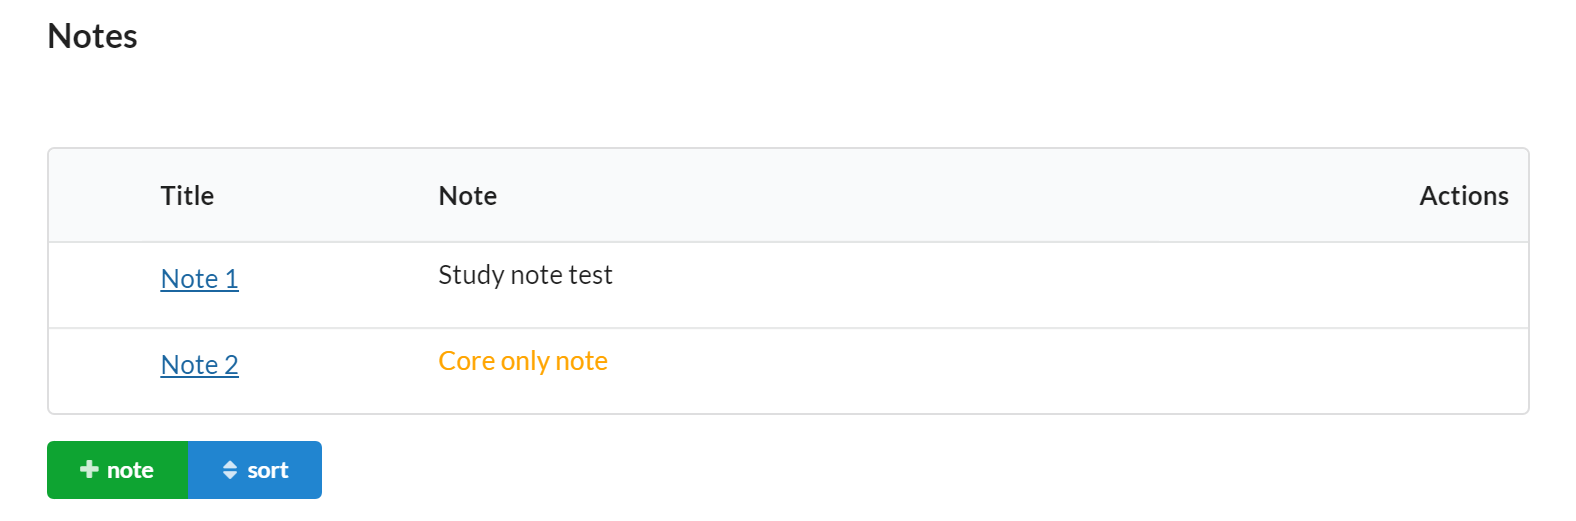
Core staff can add Notes to a study to capture important details. Notes are visible within the study summary when scheduling events or initiating a new service (visit) request.
Features of the Notes section include:
- Visible to core and/or customer.
- Editable by core only.
- Each note has a title and a text area to capture the note. This field is great for unstructured information that will be important when submitting a service request (visit)
- Values entered can be seen on the study summary when scheduling events or initiating a new service (visit) request.
- You can add more notes to a study at any point in time and set the sort order you would like.
Cost Analysis
Cost Analysis provides an overview of the study's anticipated cost. In this section you can indicate the cost per request (visit), as well as the overall cost per the study.

Attachments
Attachments is a great place for uploading reference documents for a study that do not fall into any of the other areas (such as IRB protocols, spreadsheets that were used to calculate the cost of the study, etc). They are visible in the study overview and can be accessed in very little time.
To add an attachment, click the edit pencil icon and then choose a file you’d like to upload. You can upload several at a time.
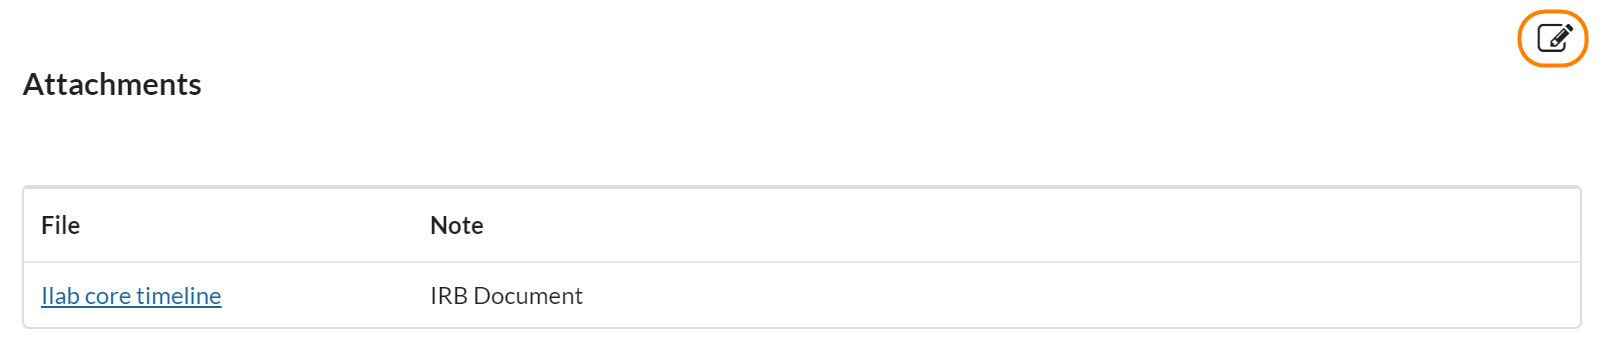
Attachments are a great way to load data that is relevant to the study but better kept in a traditional file format (such as a large PDF or excel file). To add an attachment, click the pencil icon to move into edit mode, type a note in the note field, then click choose file and select the file you would like to upload. Then click save.
The attachments section is also included in the study overview when you’re scheduling a service request (visit). This means that it can also be used to upload general procedure protocols that you would like to be able to reference during any visits on the study.
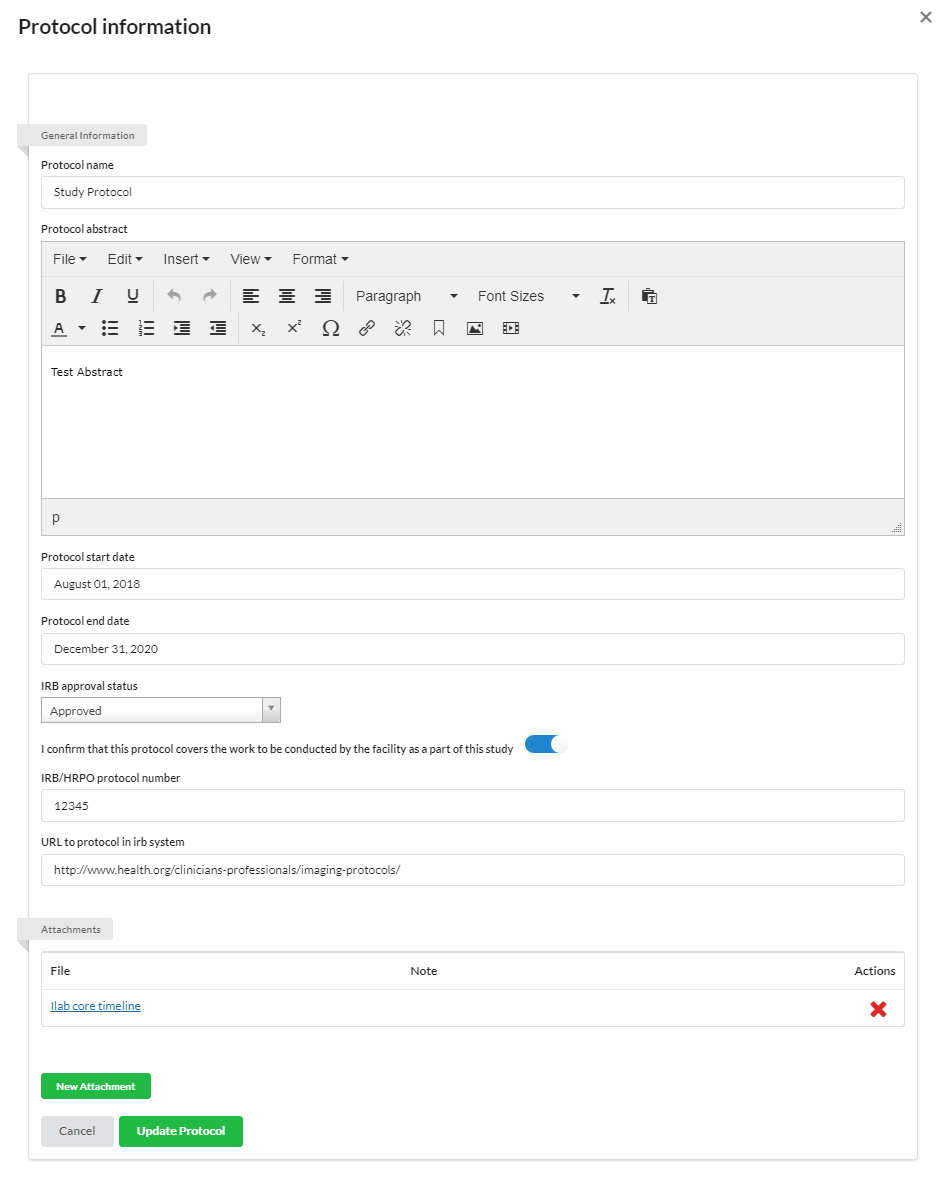
Protocols
You may use the Protocol section to establish protocols for your study.
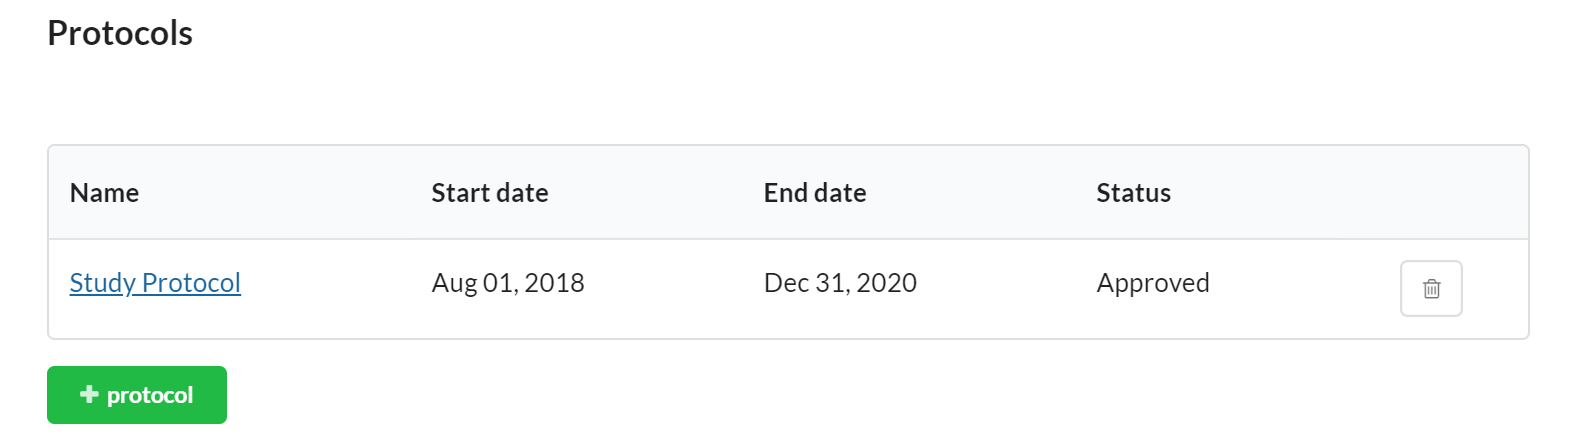
To add a new Protocol, click the '+protocol' button and populate the appropriate information.
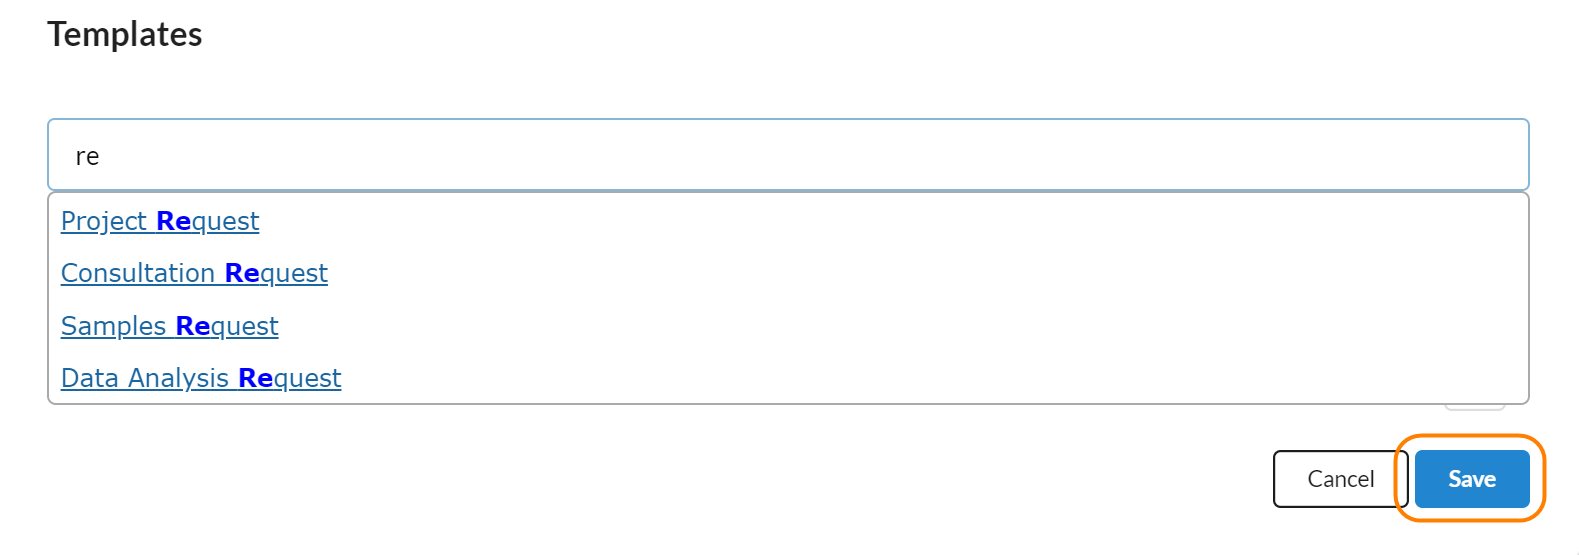
Templates
Templates are where a core manager can associate a service request template with a study. The value of this is that the core can customize what milestones and forms a customer should fill out when they request services against a study. Core staff can associate multiple templates with one study, allowing studies that have multiple types of requests to have a tailored set of questions for each type of request.

Features of the Templates section include:
- Visible to customer and core.
- Editable only by the core.
- Allows a robust, customizable experience for customers who will be initiating service requests (visits) off of a study.
To add a service request template to a study, click on the pencil icon to turn the section into edit mode and then start typing the name of the request template that you would like to associated with your study. When you see the appropriate one, click on the row to associate that service template with your study and click 'Save.'
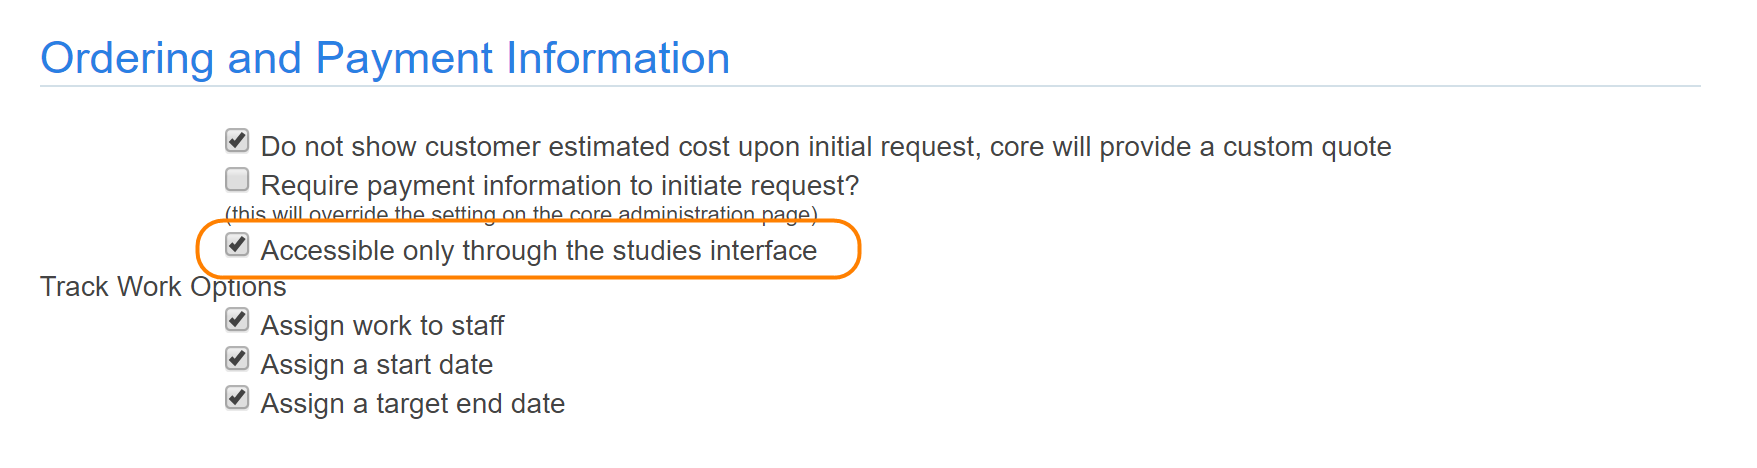
Service project templates are normally visible on both the services tab and now also on a study. If you wish to make some service project templates ONLY appear on studies, you can accomplish this by selecting the checkbox labeled Accessible only through the studies interface. This helps prevent users from associating an incorrect study, or forgetting to associate the study altogether.
Scheduled resources
In this section, core managers can associate schedulable resources to the study. Making this association has the benefit of the system automatically selecting any schedulable resources associated with the study when using the add event interface on a service request (visit).
Features of the Scheduled resources section include:
- Visible to customer and to core.
- Editable only by the core.
- Helps reduce the time to schedule required resources for a study by pre-populating the add event interface with the relevant schedulable resources.
To add schedulable resources to a study, click on the edit icon in the Scheduled Resources panel. Next, search for resources that you would like to use during each visit on the study in question. Make sure you click save when you’ve completed.
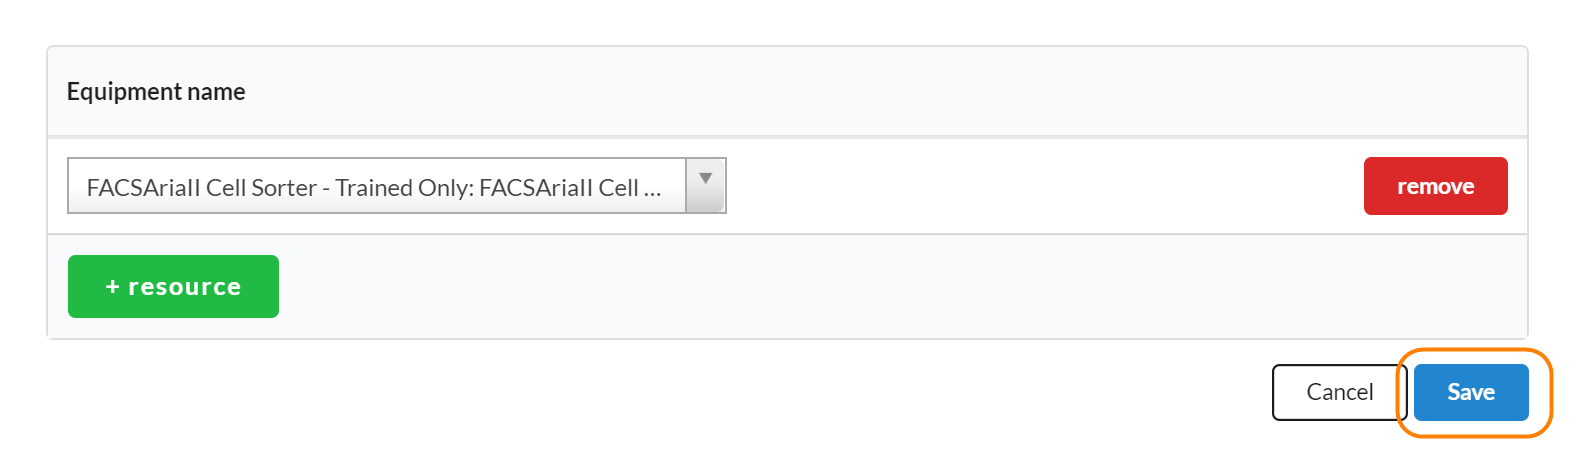
To add additional resources, use the '+resource' button to add another line.
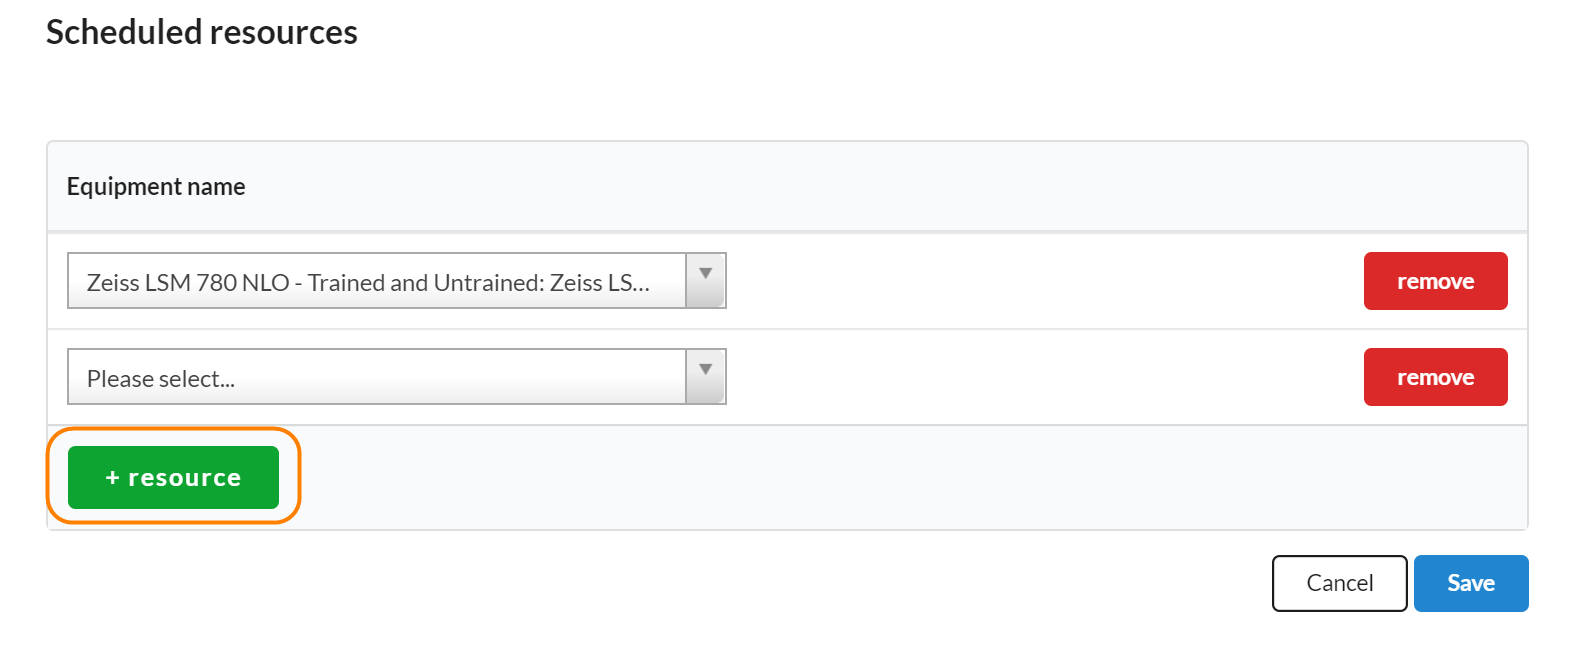
Any resources listed in this section will automatically be included in the add event interface.
Statistics
Each study has a dashboard of statistics which provides a quick and high-level overview of the activity on the study. In this section you can see the latest information on cost and events, as well as a progress bars.
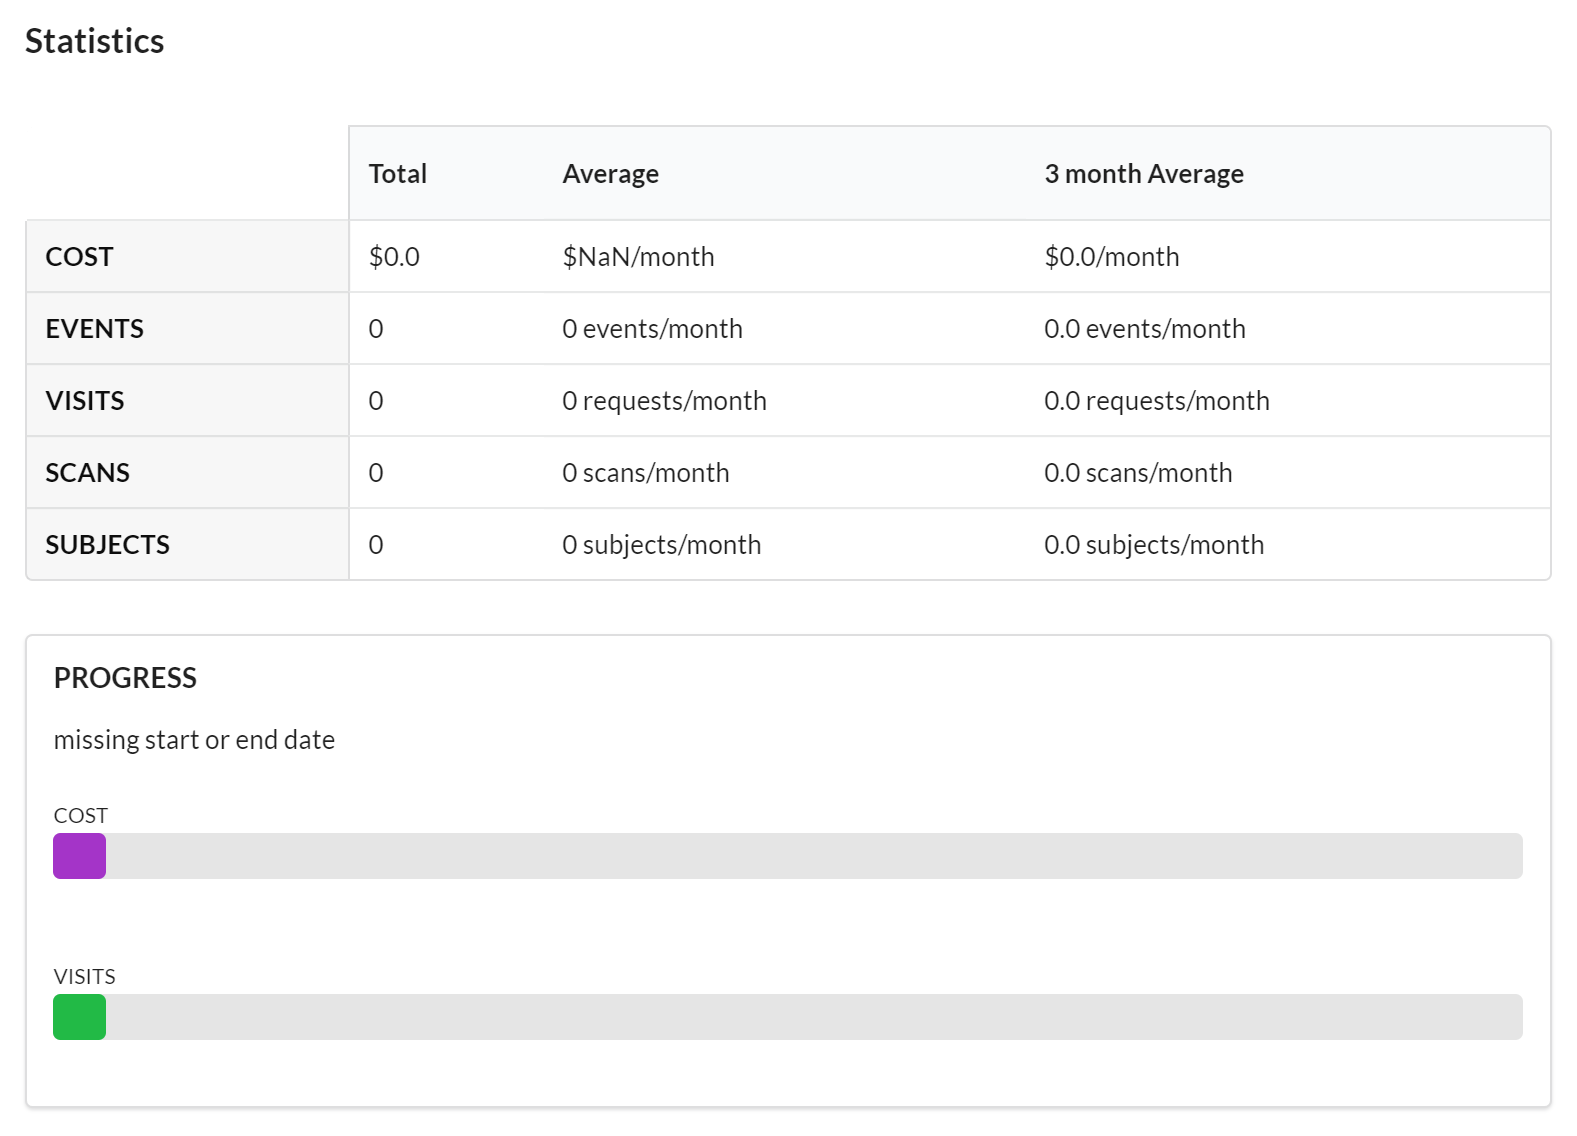
Features of the Statistics section include:
- Visible to the Core and to the Customer.
- Contains high-level graphs and totals of important activity against the study.
Data Links
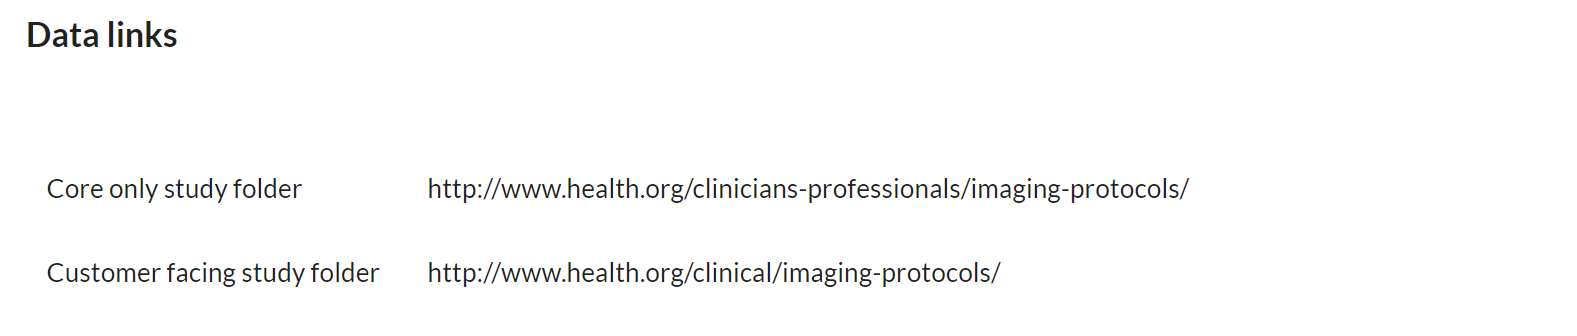
This section allows core facility staff to formally track the digital location(s) where important data might be stored for a study.
More specifically, the facility is provided with two fields that can be filled out. One field, though not editable by the customer, is visible to the customer. The other field is only visible to and editable by the facility staff. This allows the facility to distinguish where customer and non-customer facing results should be captured.
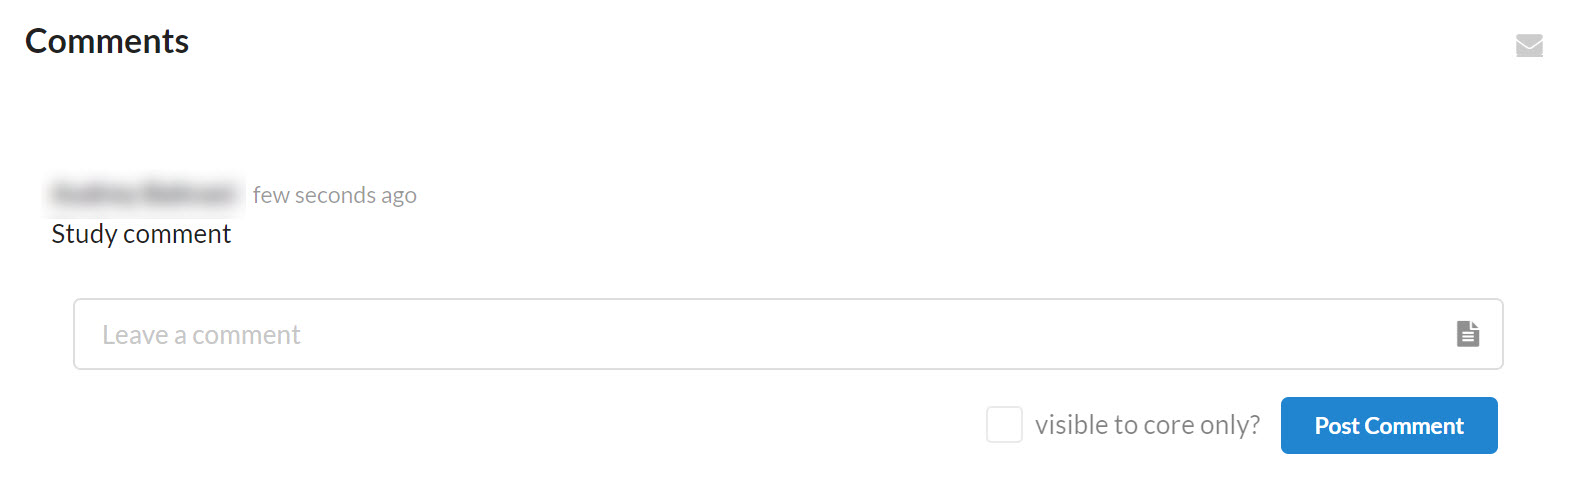
Comments
The comments section facilitates communication between the core and study contacts regarding the study and keeps the discussion tracked in one place for easy reference. Comments can also be received by email for quick alert.
When a comment is left on a study, all individuals associated with the study who have email settings turned on will receive a message in their email. Otherwise, they will see the comment the next time they login and scroll to the comments section on the study.